Showing posts with label remodeling. Show all posts

Thursday, August 6, 2015

DIY Summer School // Updating Doorway Trim


Hi Team! Welcome back to DIY Summer School, created and hosted by my dear Beth of designPost Interiors.

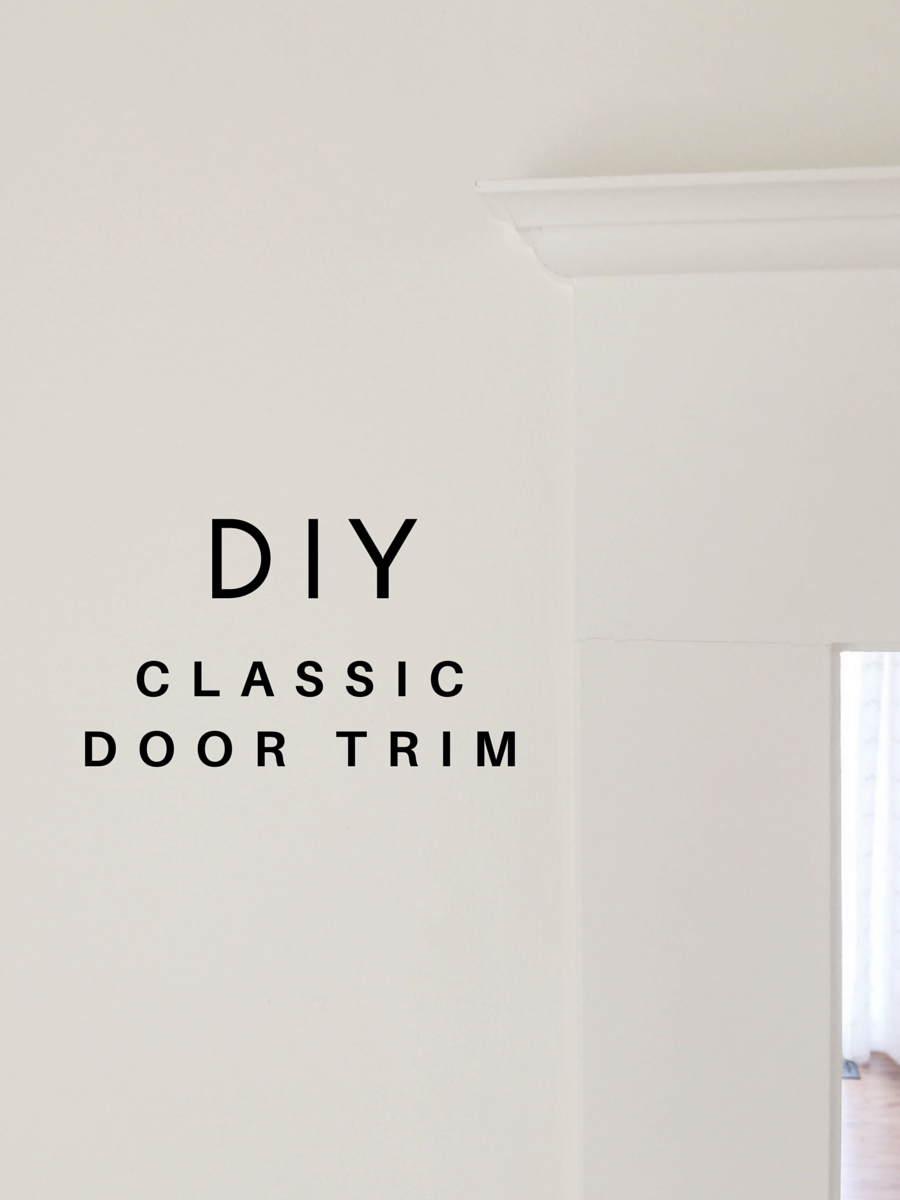
Today's theme is "Hardware Store," and Ryan and I certainly see plenty of the ol' Depot. We have been focusing on updating the architecture of our builder's basic 1991 house (slowly but surely). Beefing up the baseboards and door & window trim, along with replacing the interior doors, is making it feel like a new house entirely.

Today I'm going to share with you how to trim an interior doorway, using a classic trim design. We settled on this style because it has a nod to history but also works well with the more minimal interiors of today. And I love it!!
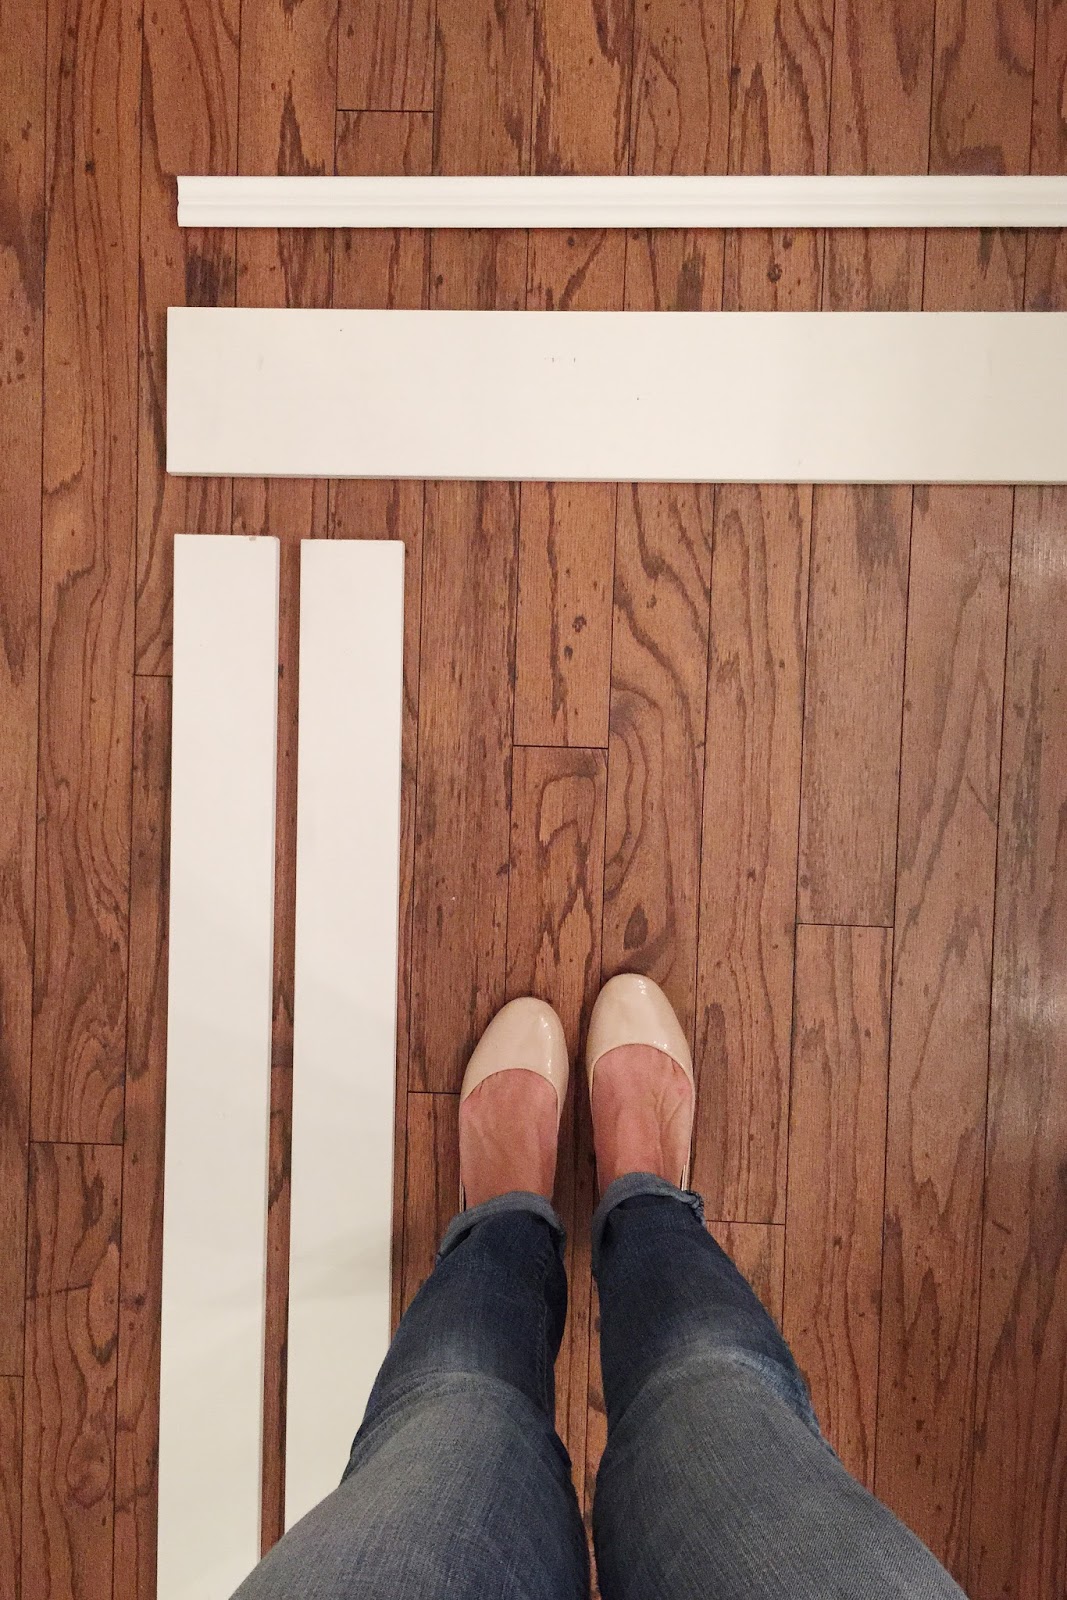

** Note, this is for a pass-through interior doorway without a door. There's a little different procedure for the inside frame if you're putting on a door, but the outside trim would be the same.


TRIM PIECES:

Across the top: EverTrue 5.5" x 8' Interior Flat Trim (Qty. 1)
Along the sides: 3.5" x 8' Composite Trim (Qty. 2)
Crown: 1-5/8" x 8' PVC Composite White Crown Moulding (Qty. 1)
Inside Door: Door Frame Kit (Qty. 1)


SUPPLIES NEEDED:

Caulk (we use DAP Dynaflex in white)
Semi-Gloss Paint (we use Sherwin Williams Pro-Classic color matched to Martha Stewart Pure White)
Finishing Nails
Lightweight Spackle
Lightweight Sandpaper
Shims (optional)

SUGGESTED TOOLS:

Compound Miter Saw
Caulking Gun
Air Compressor
Nail Gun
Crowbar (if removing existing trim)


1. STEP ONE

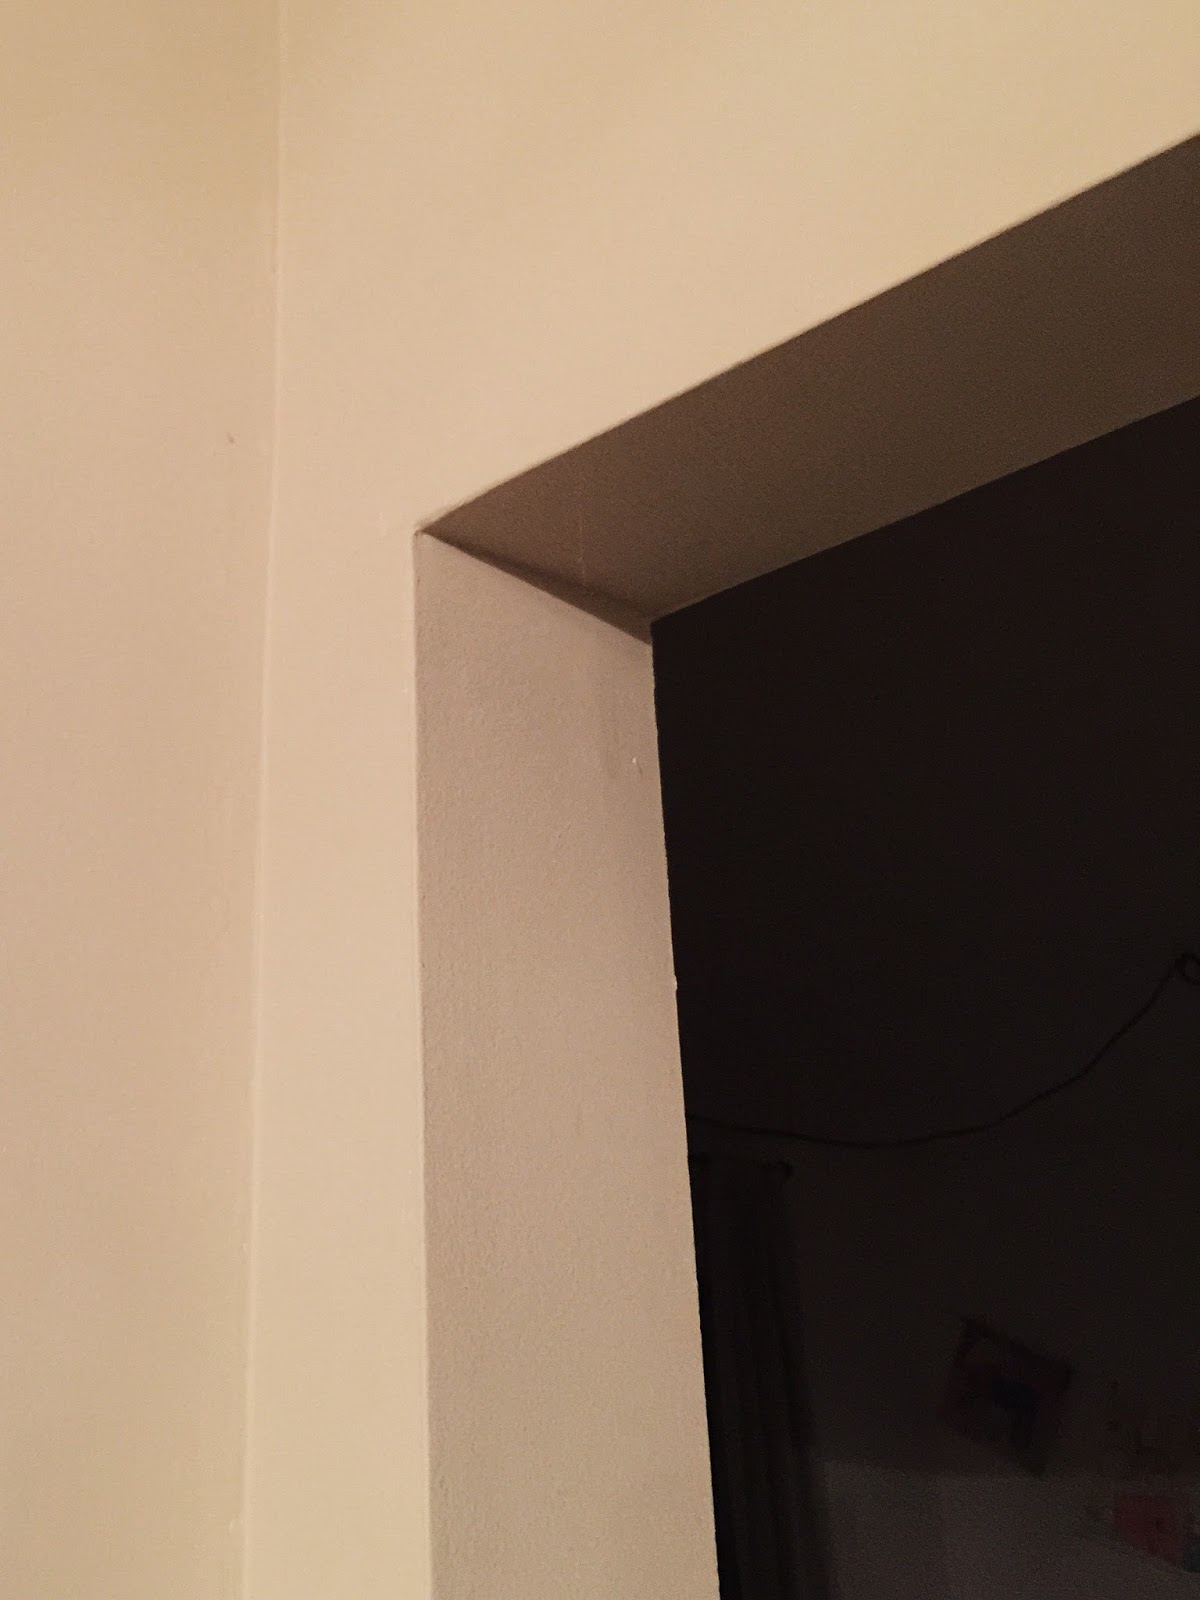
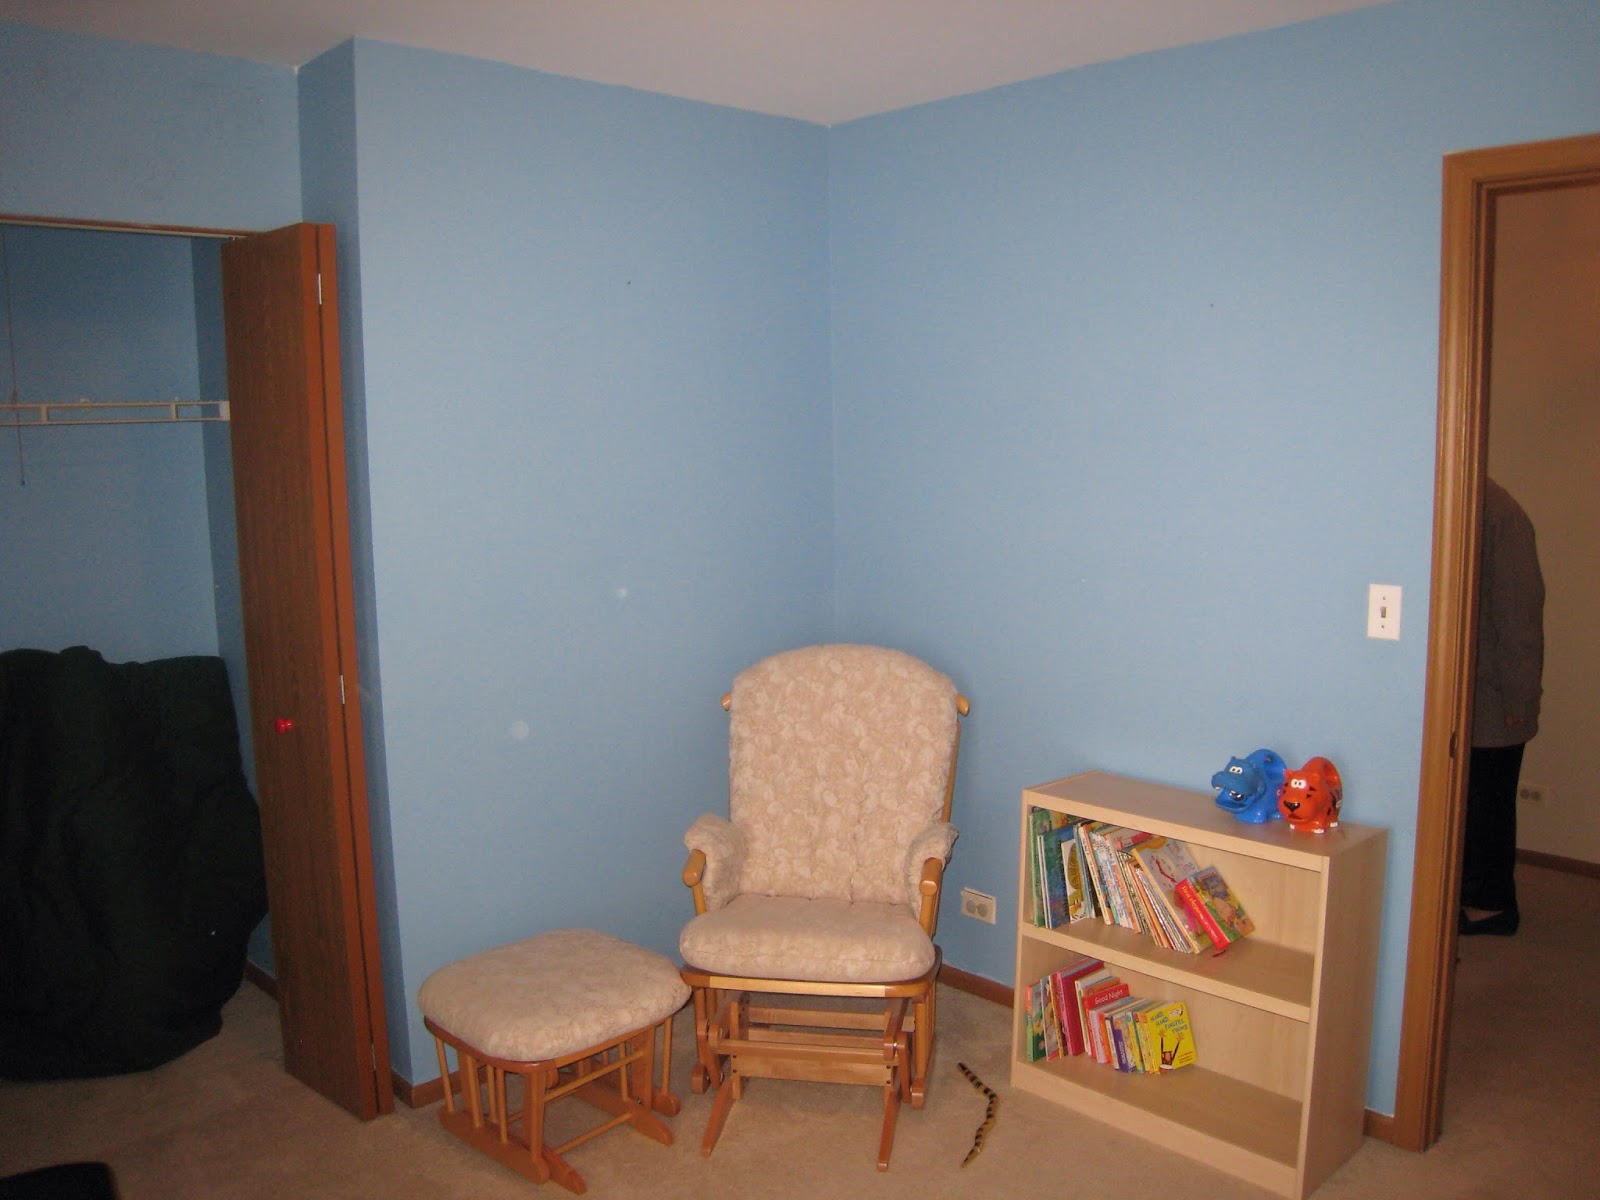
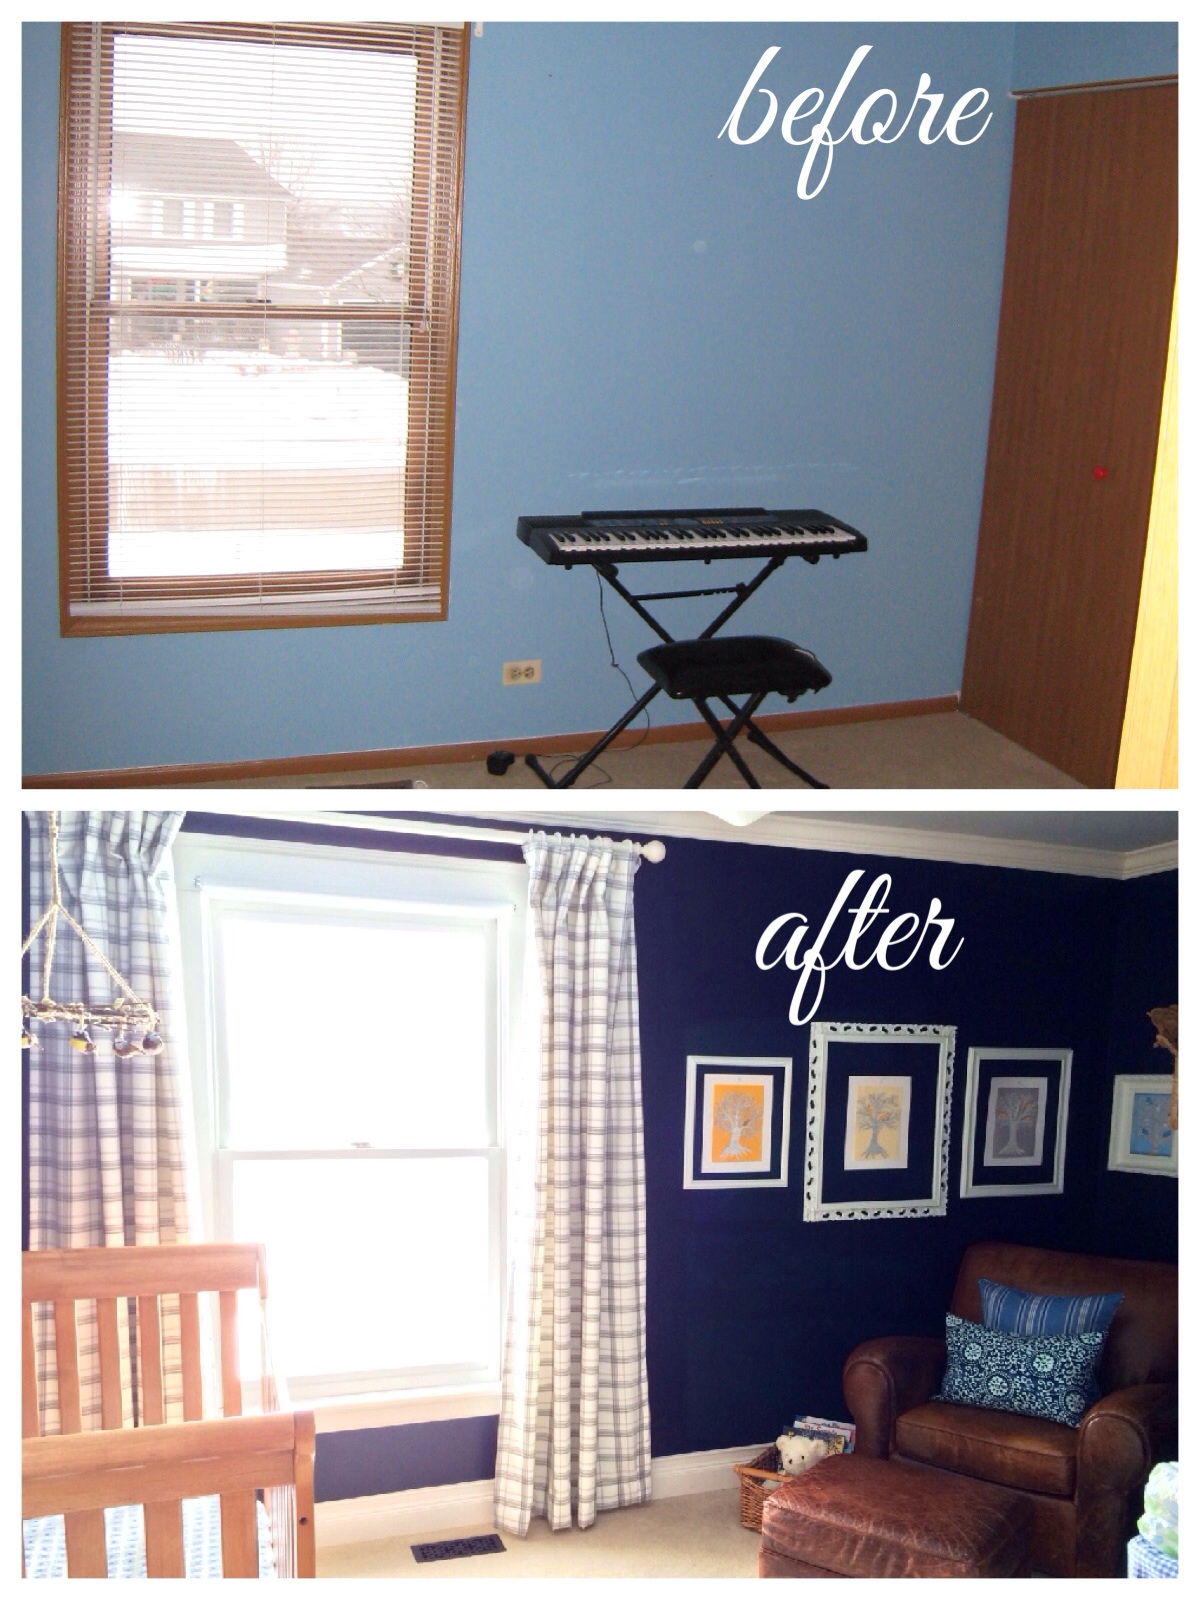
Remove any existing trim with a crowbar. Our doorway started like this, with plain ugly drywall:


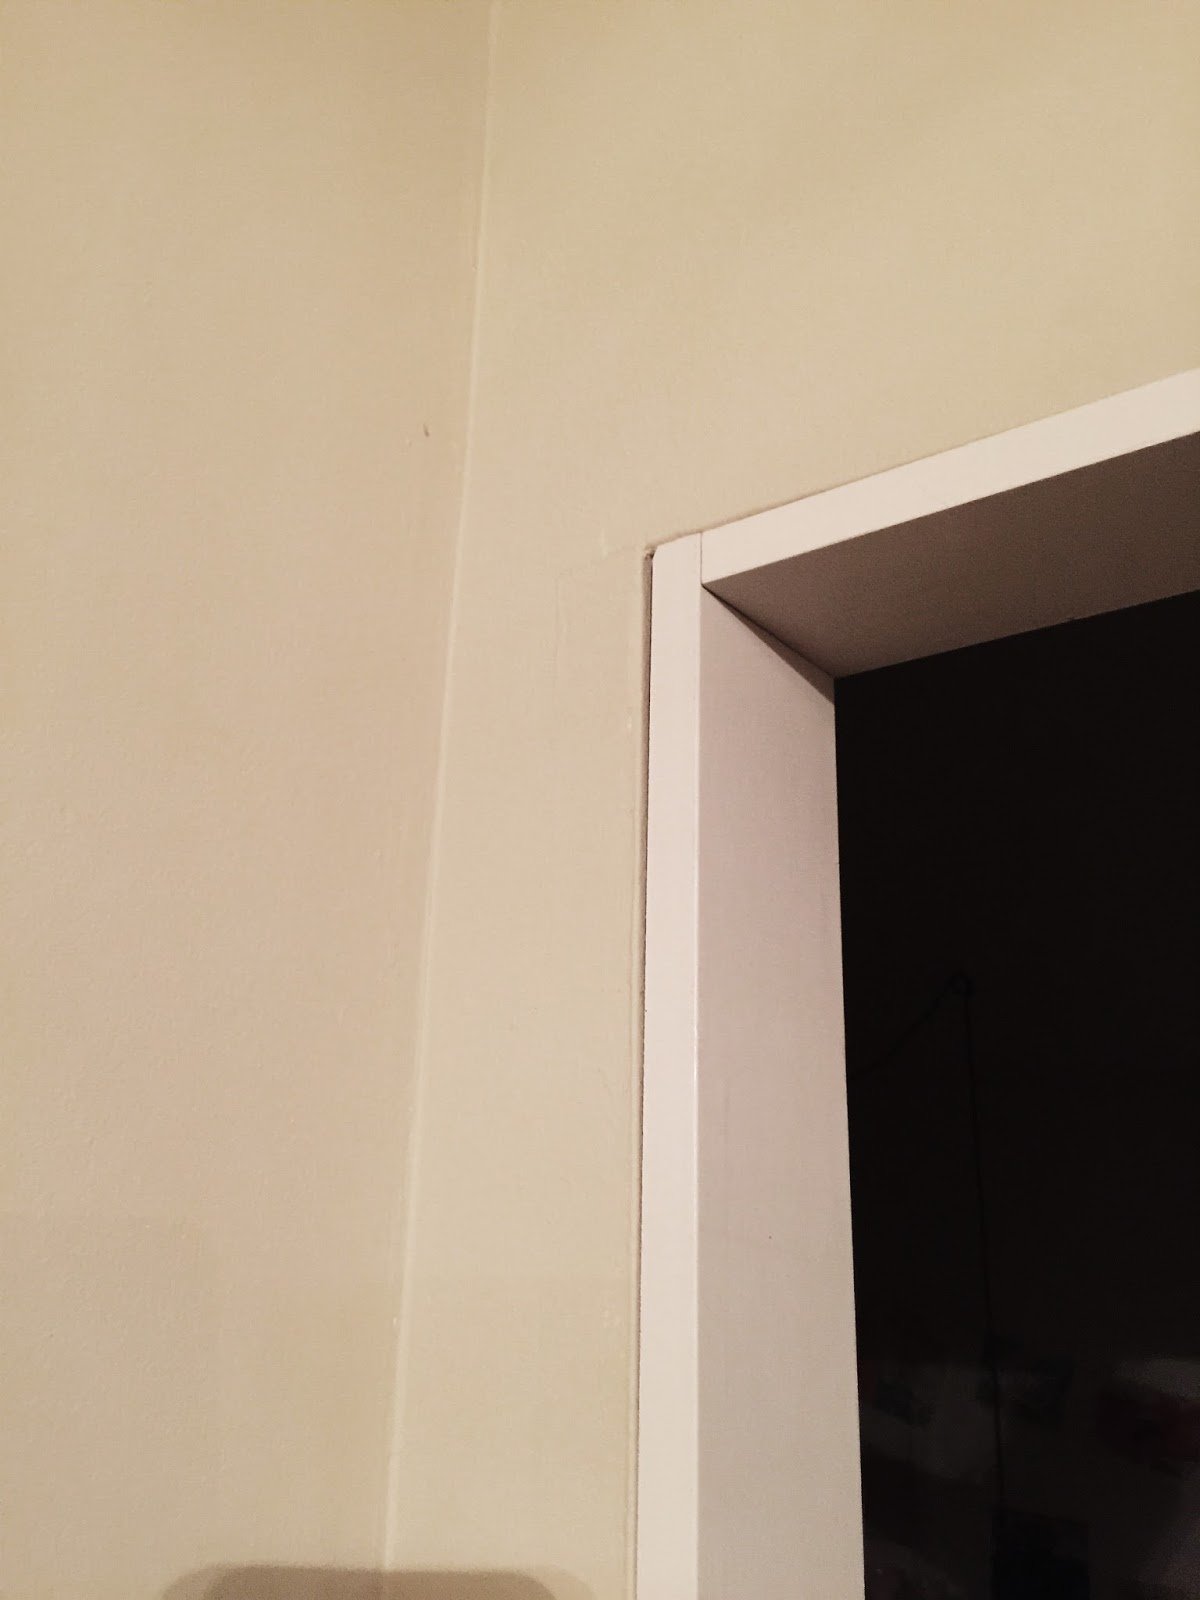
2. INSTALL DOOR JAMB KIT

The kit comes with instructions for you to follow. You will cut the pieces to size. Use shims if needed to make it even and plumb. Use the nail gun to nail it in place.


3. INSTALL SIDE CASING

Cut each piece of side trim (3.5" wide) so that it is 1/4" higher than the bottom of the jamb. This shows the height of the side piece compared to the top of the doorway:


The side piece should overlap the door jamb so that about 1/4" of the jamb remains uncovered, like this:


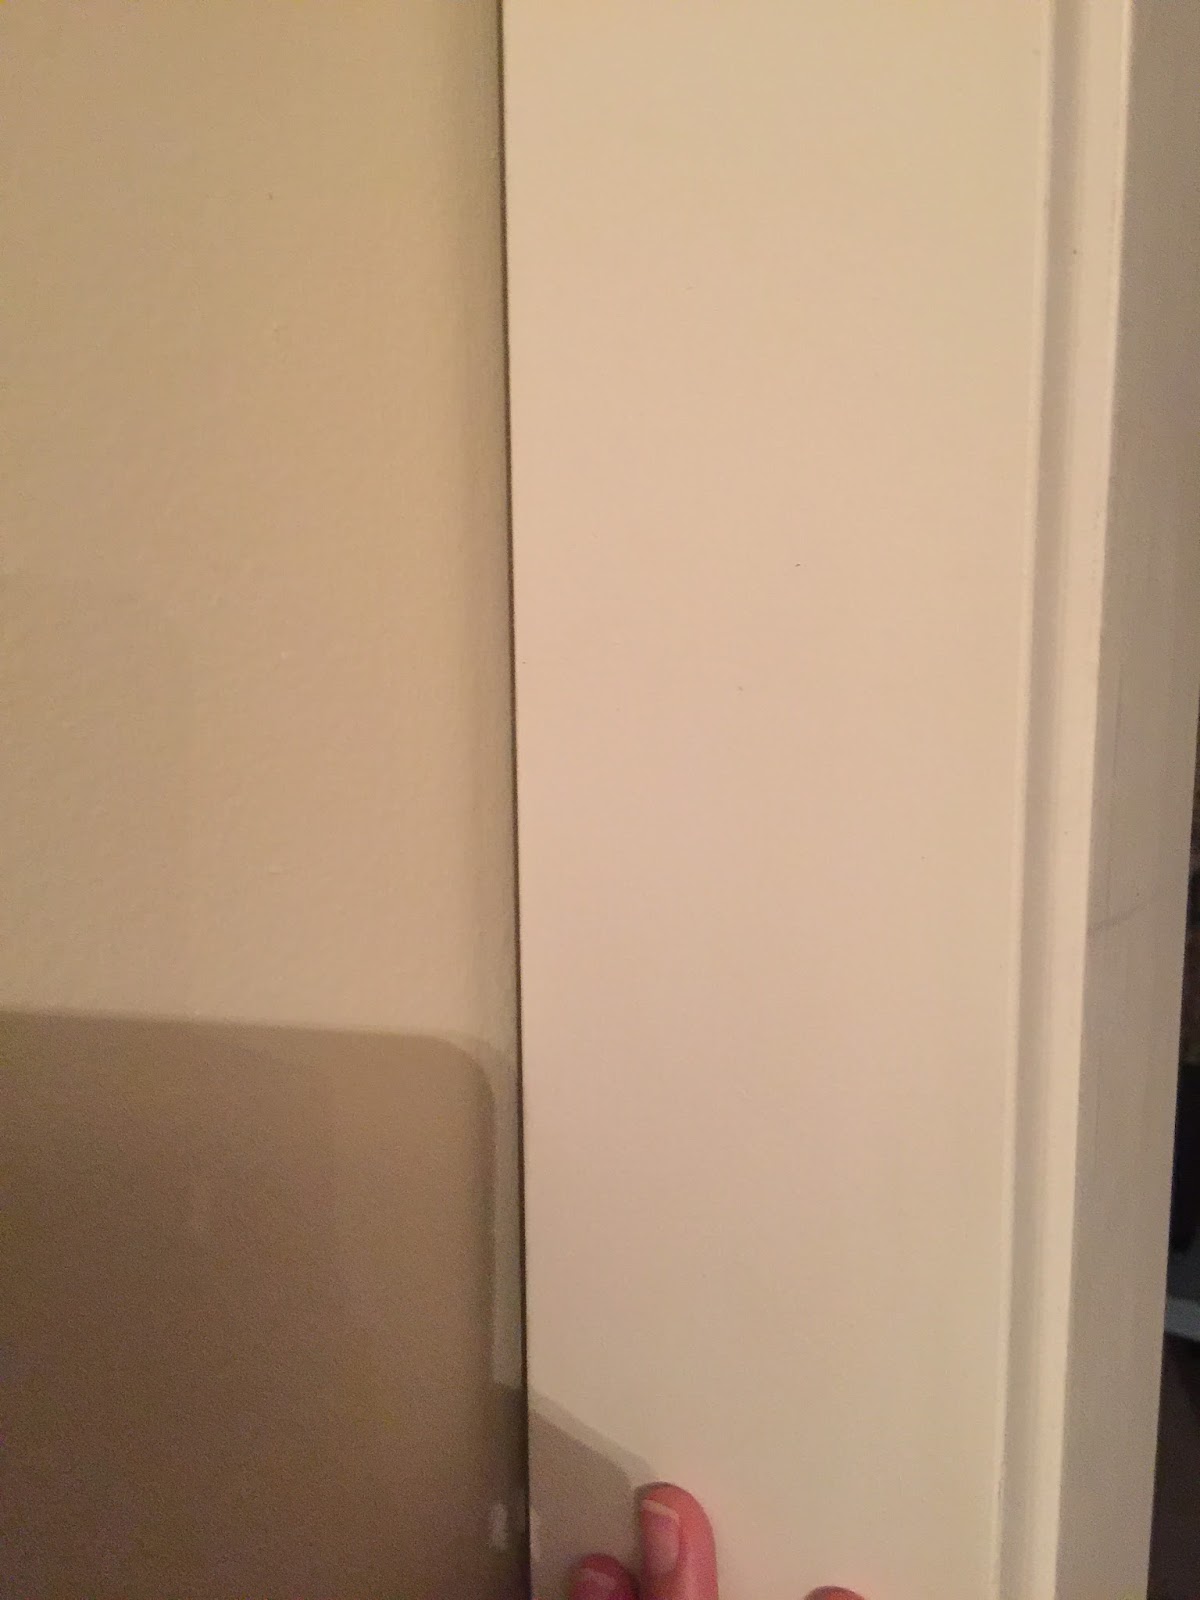
Nail the sides in place. Lay a level across the top of both sides so that you make sure they are installed at the exact same height.

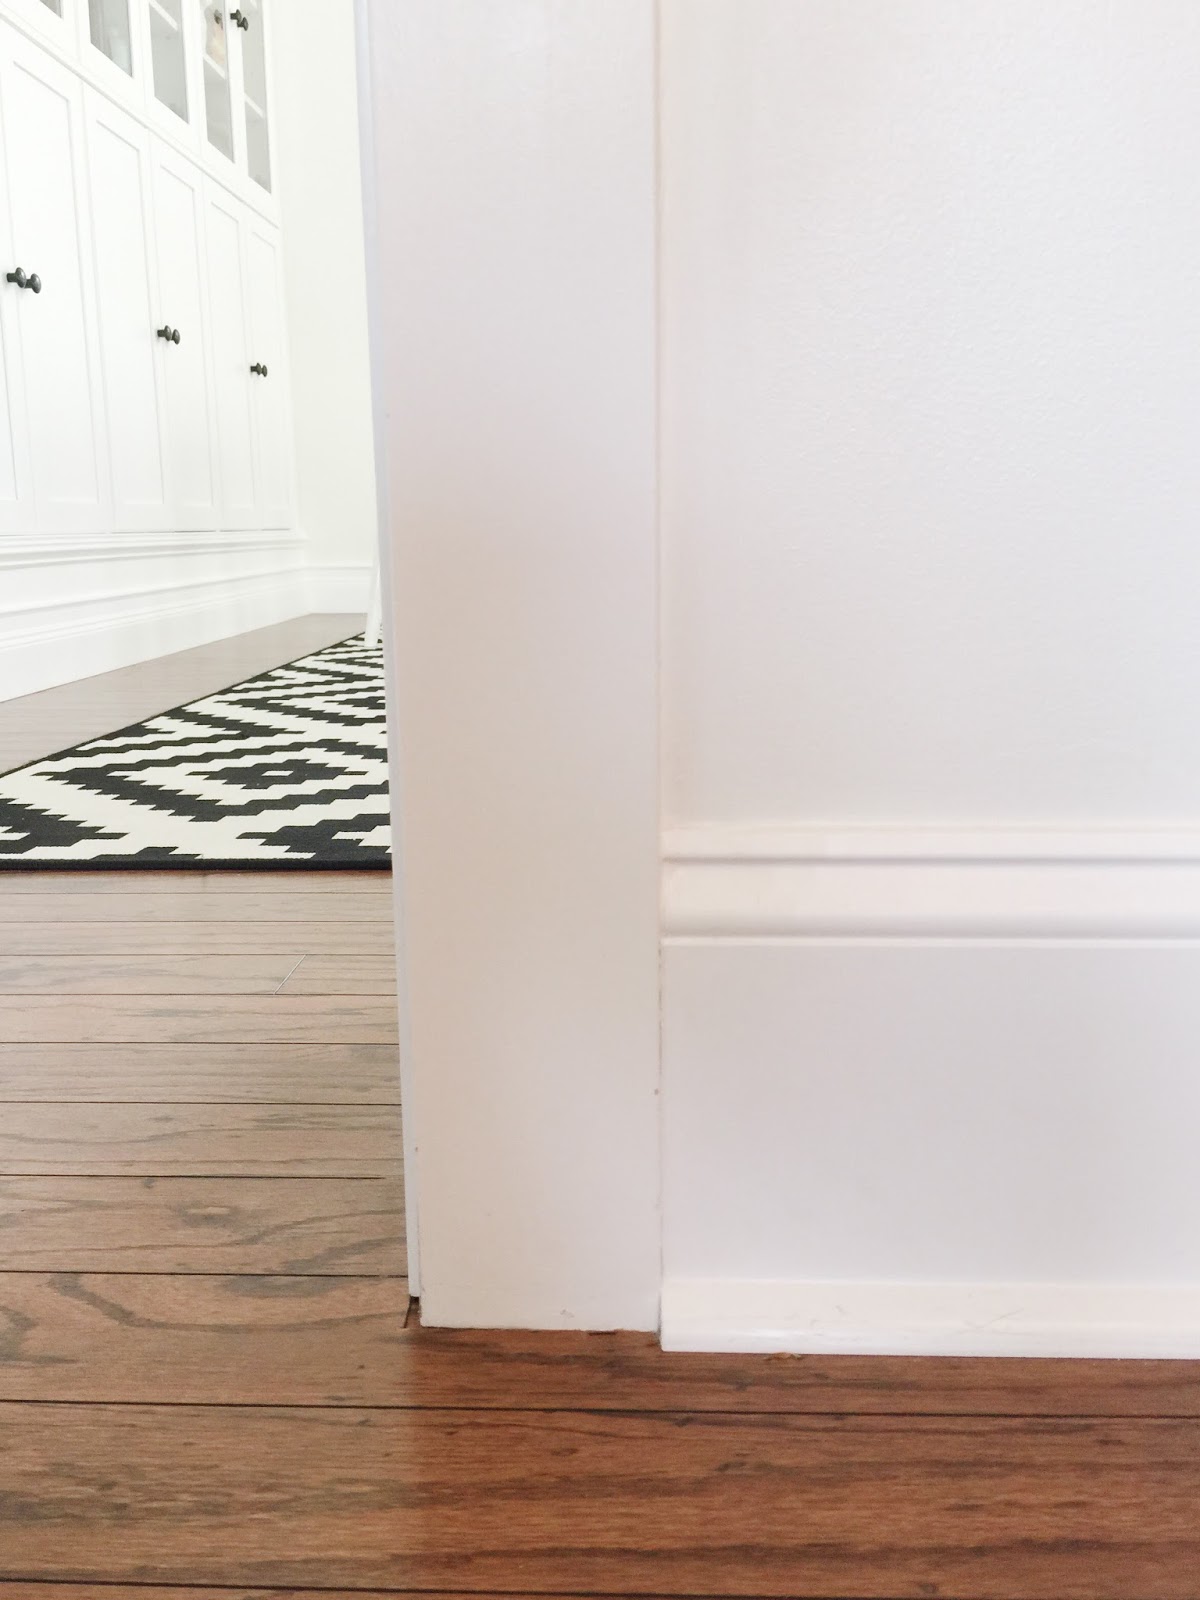
You can see from this picture how these sit on the floor- we didn't do anything fancy around the bottom:


4. INSTALL TOP CASING

Cut the piece of 5.5" trim for across the top so that the ends match up with the outside edges of your side pieces. Again, leave 1/4" of the door jamb showing. Use a level to make sure it's straight and then nail into place.

5. INSTALL CROWN

This is the only real tricky part of this project. You need to know how to use a compound miter saw. If you're like me, with absolutely no spacial reasoning skills and no hope of ever knowing how to use a compound miter saw, maybe you would like the look of this door trim without the crown moulding? Or maybe you have a handy neighbor. Thankfully I have Ryan. For the rest of you who are like him and capable of figuring this out (you lucky dogs), here is what you need to know:

Your piece is 45 x 45. You're doing an outside corner and you need to put on a 90-degree angle. The miter adjustment is 35.26 and bevel adjustment is 30.


Here is an excellent tutorial with graphics and explanations for how to use a miter saw and how to cut crown:

How to Use a Miter Saw & Cut Crown Moulding by Dewalt

Ryan's tips are: Use a scrap piece to practice, and if it goes wrong your piece is probably upside down. :)

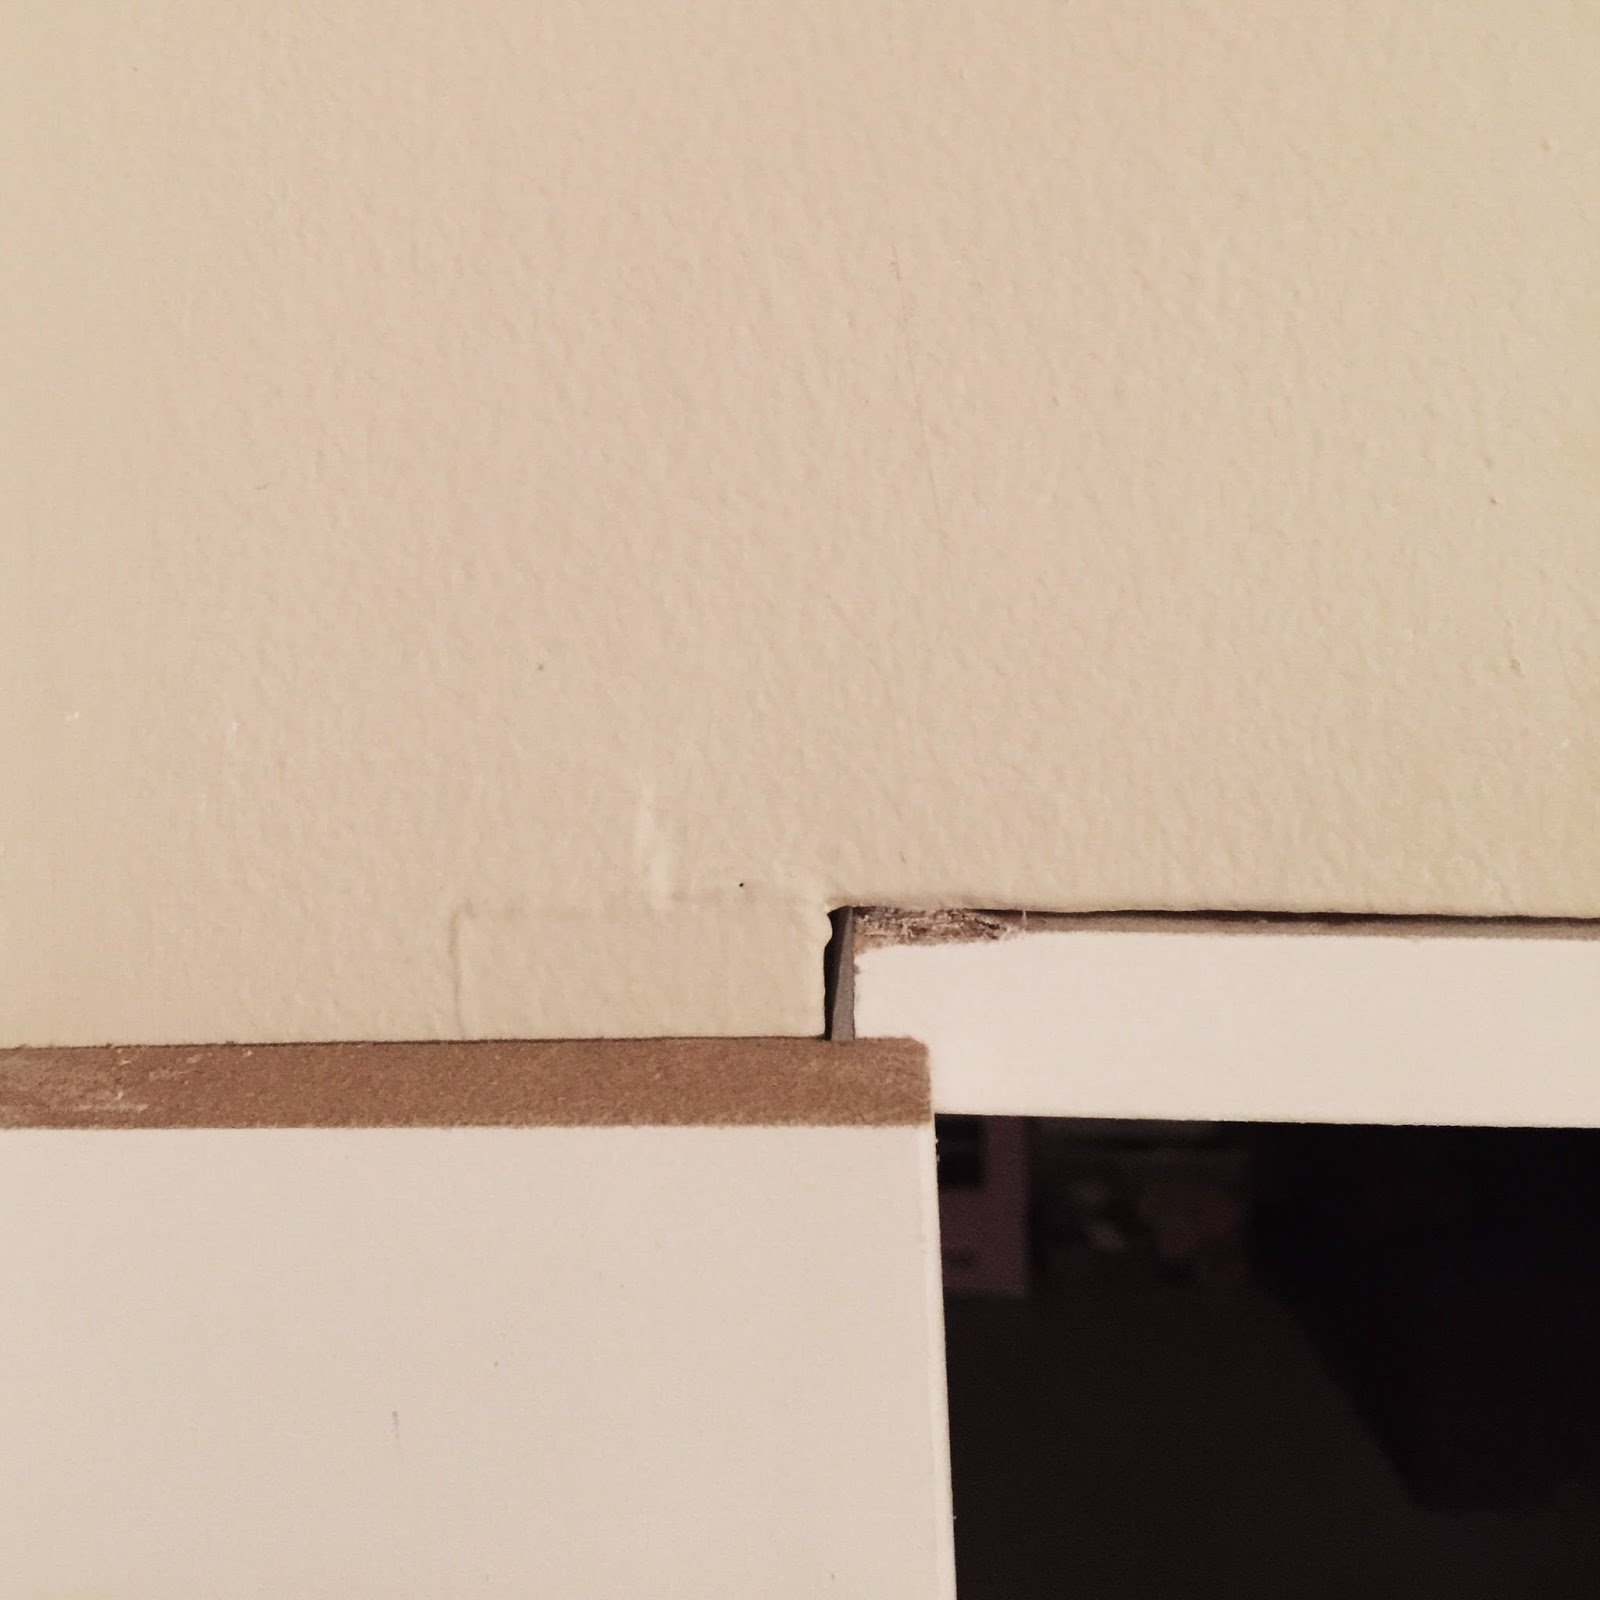
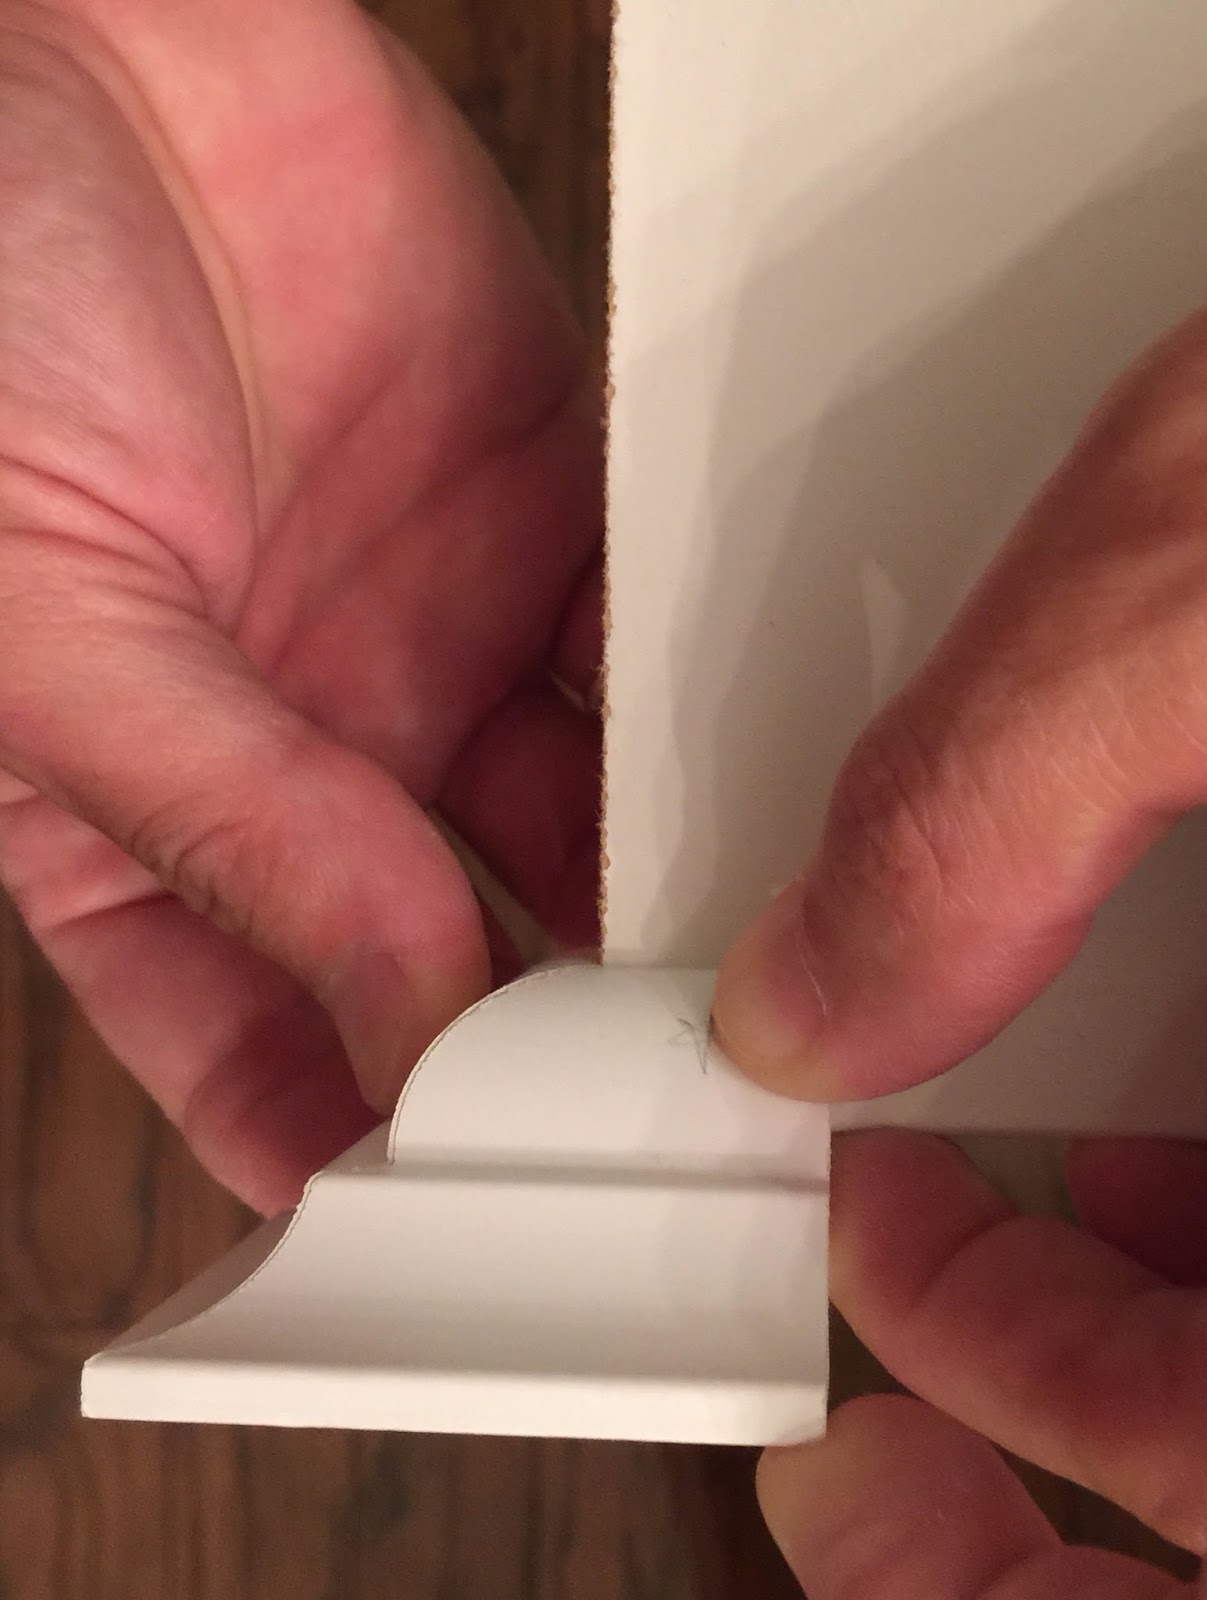
Once the front and sides of your crown are cut, place the front along the top of your top casing, with the bottom of the crown about 1/2" below the top of the casing. Nail it into place by driving your nails straight through the bottom, so they attach it to the casing. Start with the center nail and then do 2-3 nails on either side, evenly spaced. The nails go in straight, not at an angle.

Then fit your sides in, and nail them into place with one nail each. You can glue these instead of nailing them if you feel more comfortable. Just use wood glue.

In this example, the star by Ryan's thumb represents the part of the crown where the nails go.


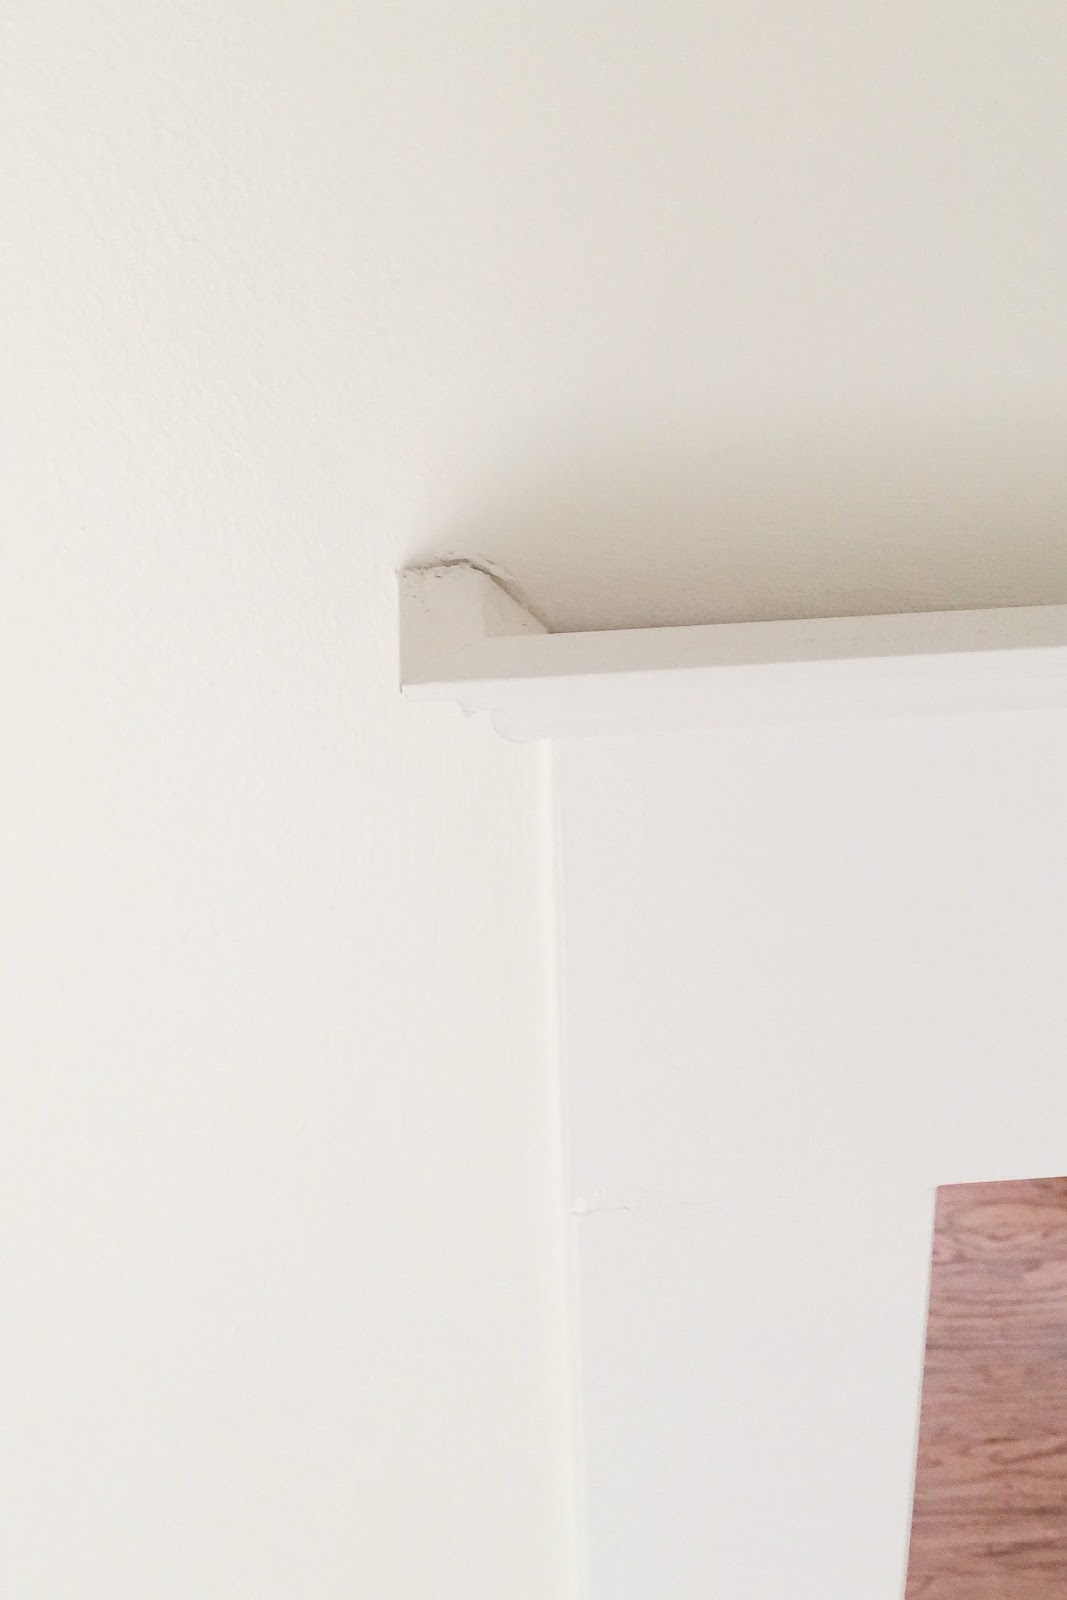
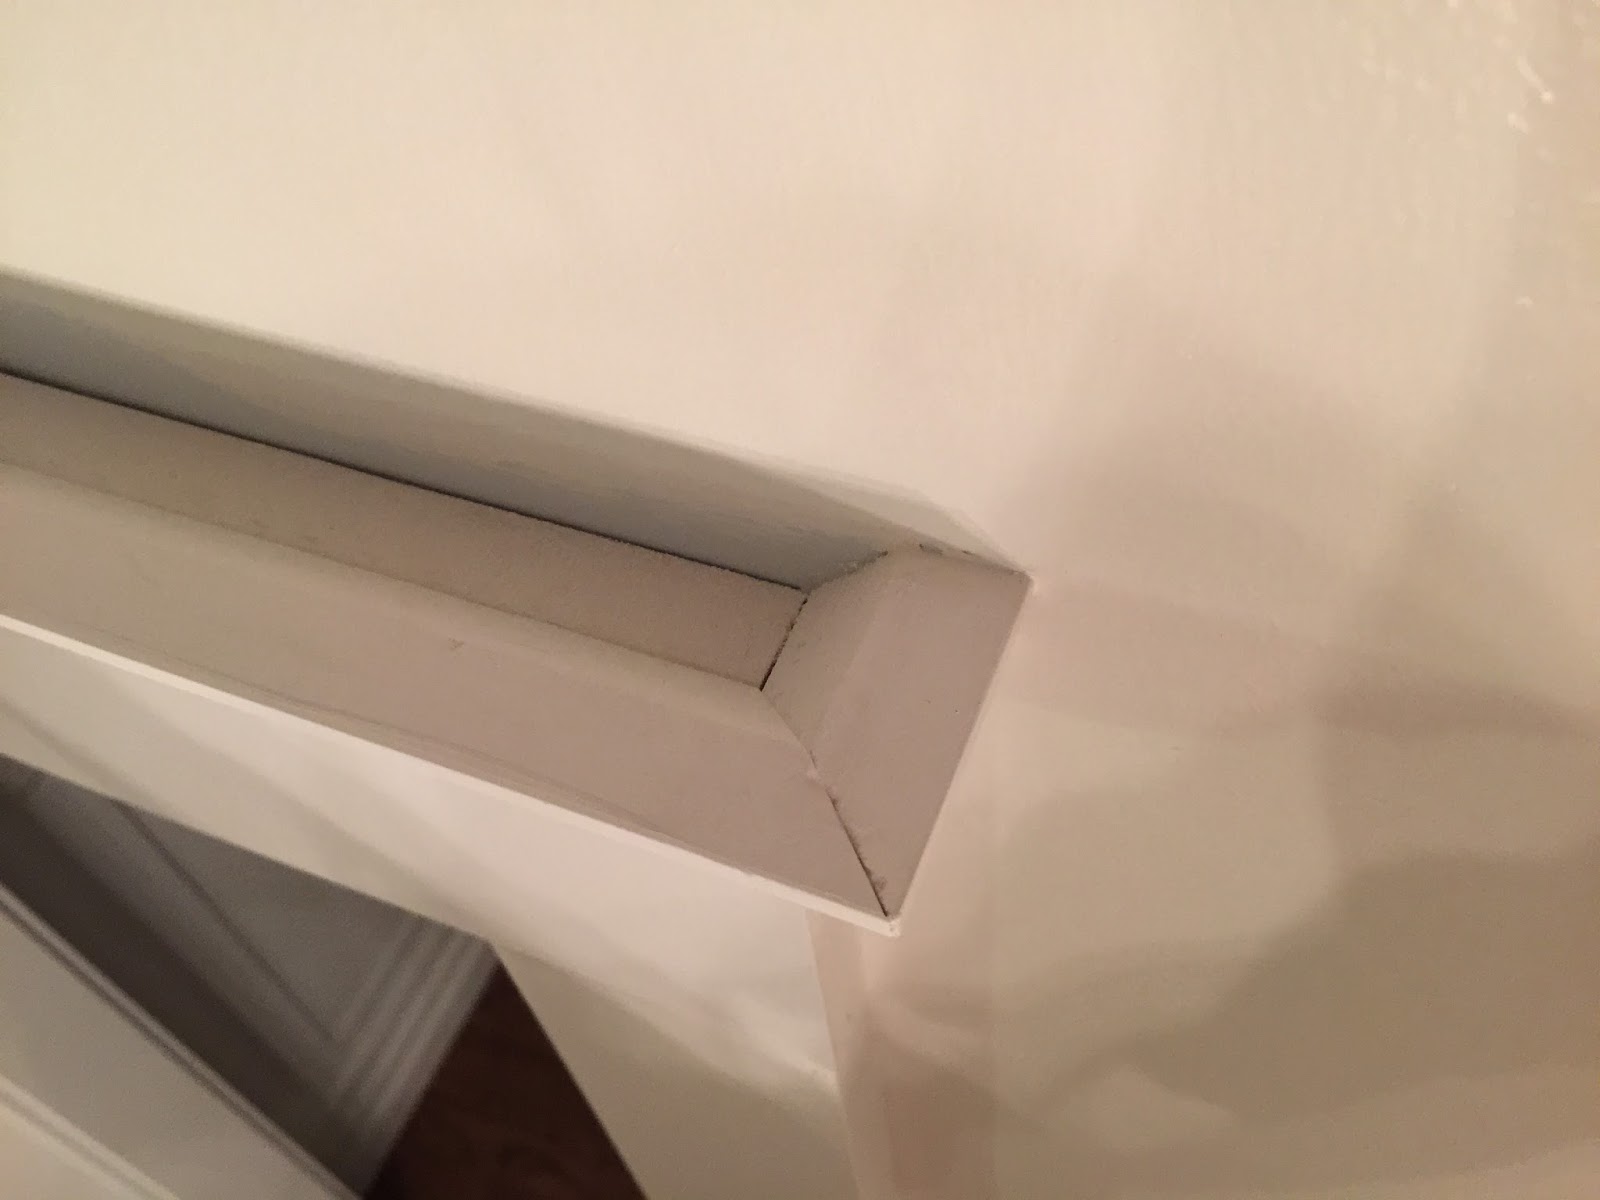
Here is how it will look from the top:


6. CAULK THE SEAMS

Use caulk and a caulk gun to fill the seams- aaaaaalll the seams. You need to hit the inside and outside edges of the top and sides, all the seams where the trim pieces meet, and underneath the crown where it sits against the casing. The best thing about caulk is that if your crown corners didn't meet up perfectly (or if there is a gap) the caulk covers a multitude of sins. Caulk will make your door look so much better. It is a critical step in all trim work, and though mind-numbingly time consuming, it will be your best friend.

7. FILL THE NAIL HOLES

Use spackle to fill the nail holes. Ryan uses the kind that goes on pink and turns white when it's dry. Once it's dry, lightly sand it so that it doesn't leave visible patches that will show through your paint.
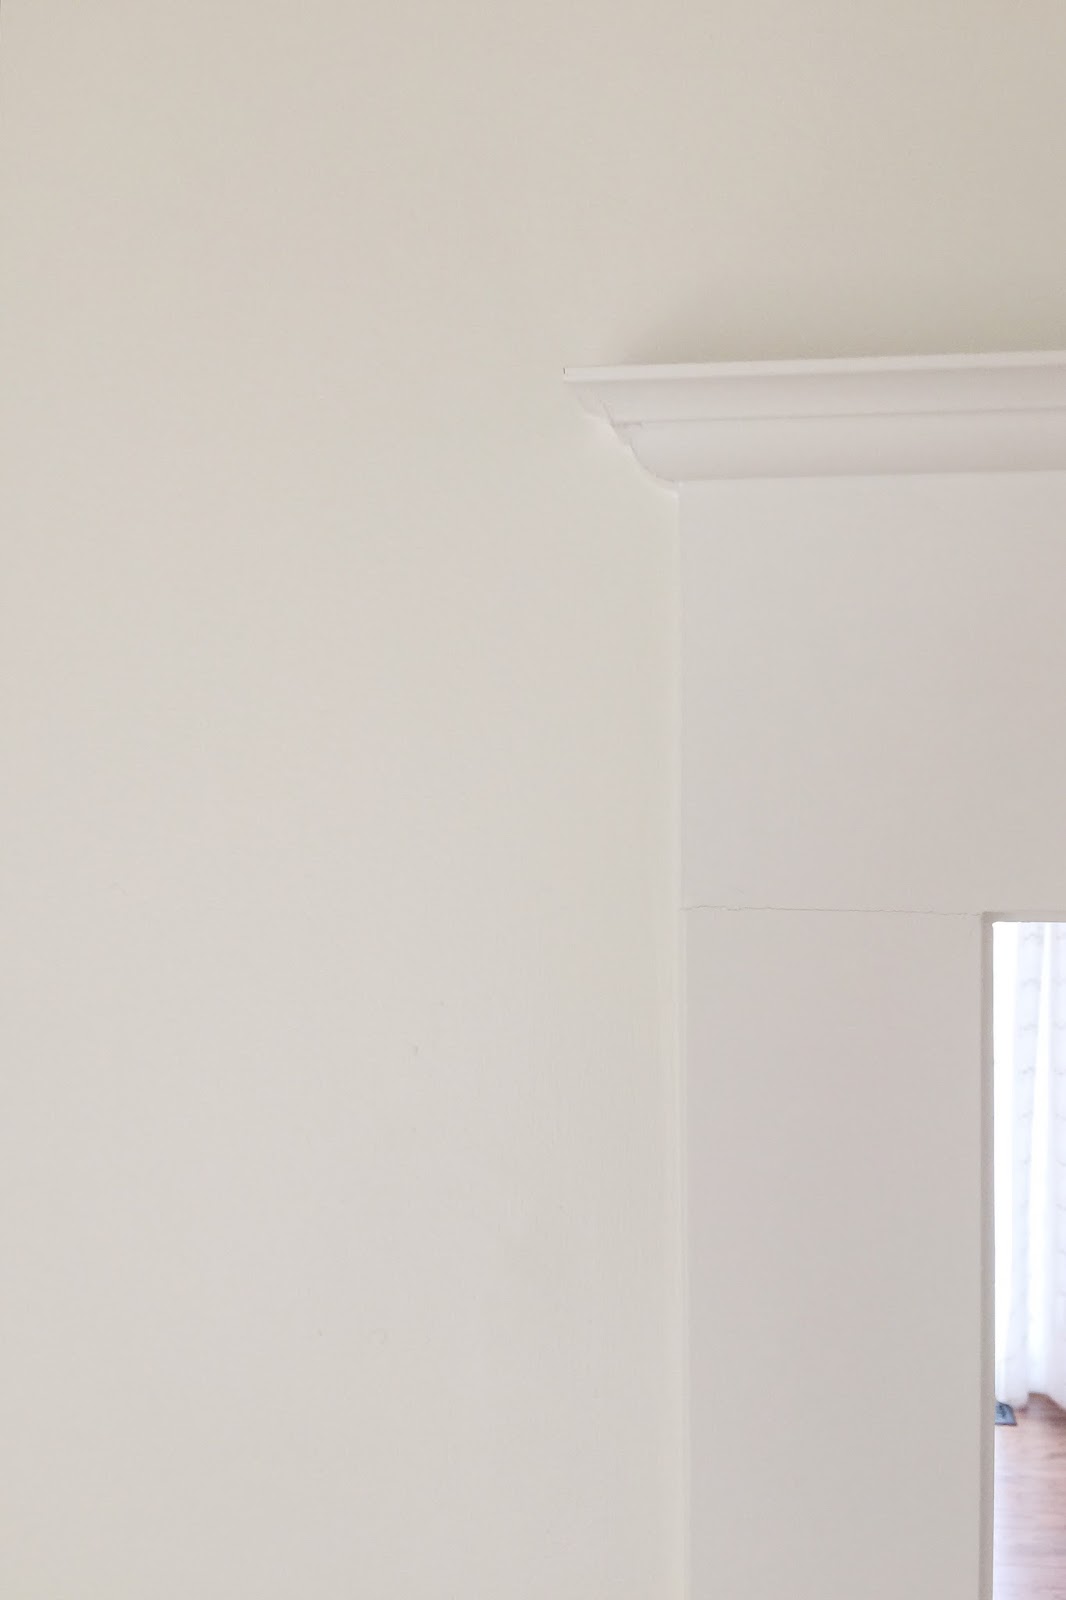
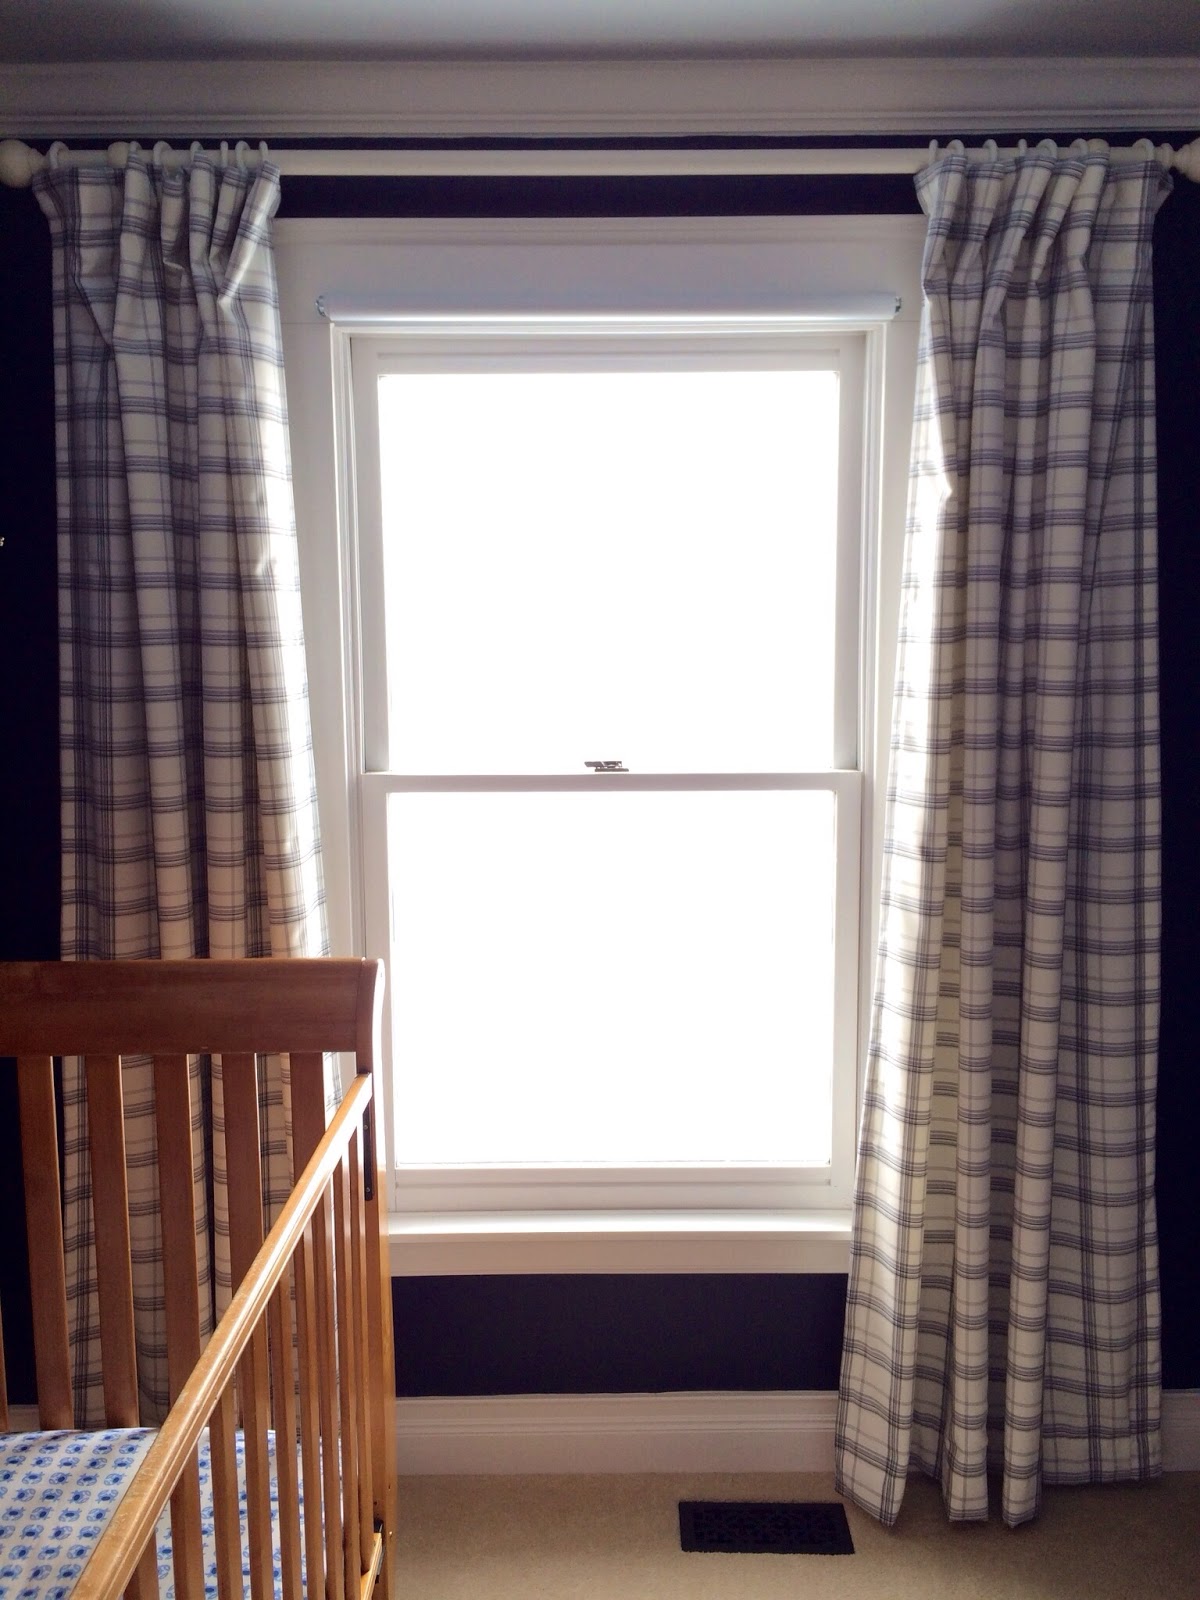
8. PAINT 

Paint your new trim with a semi-gloss finish paint.


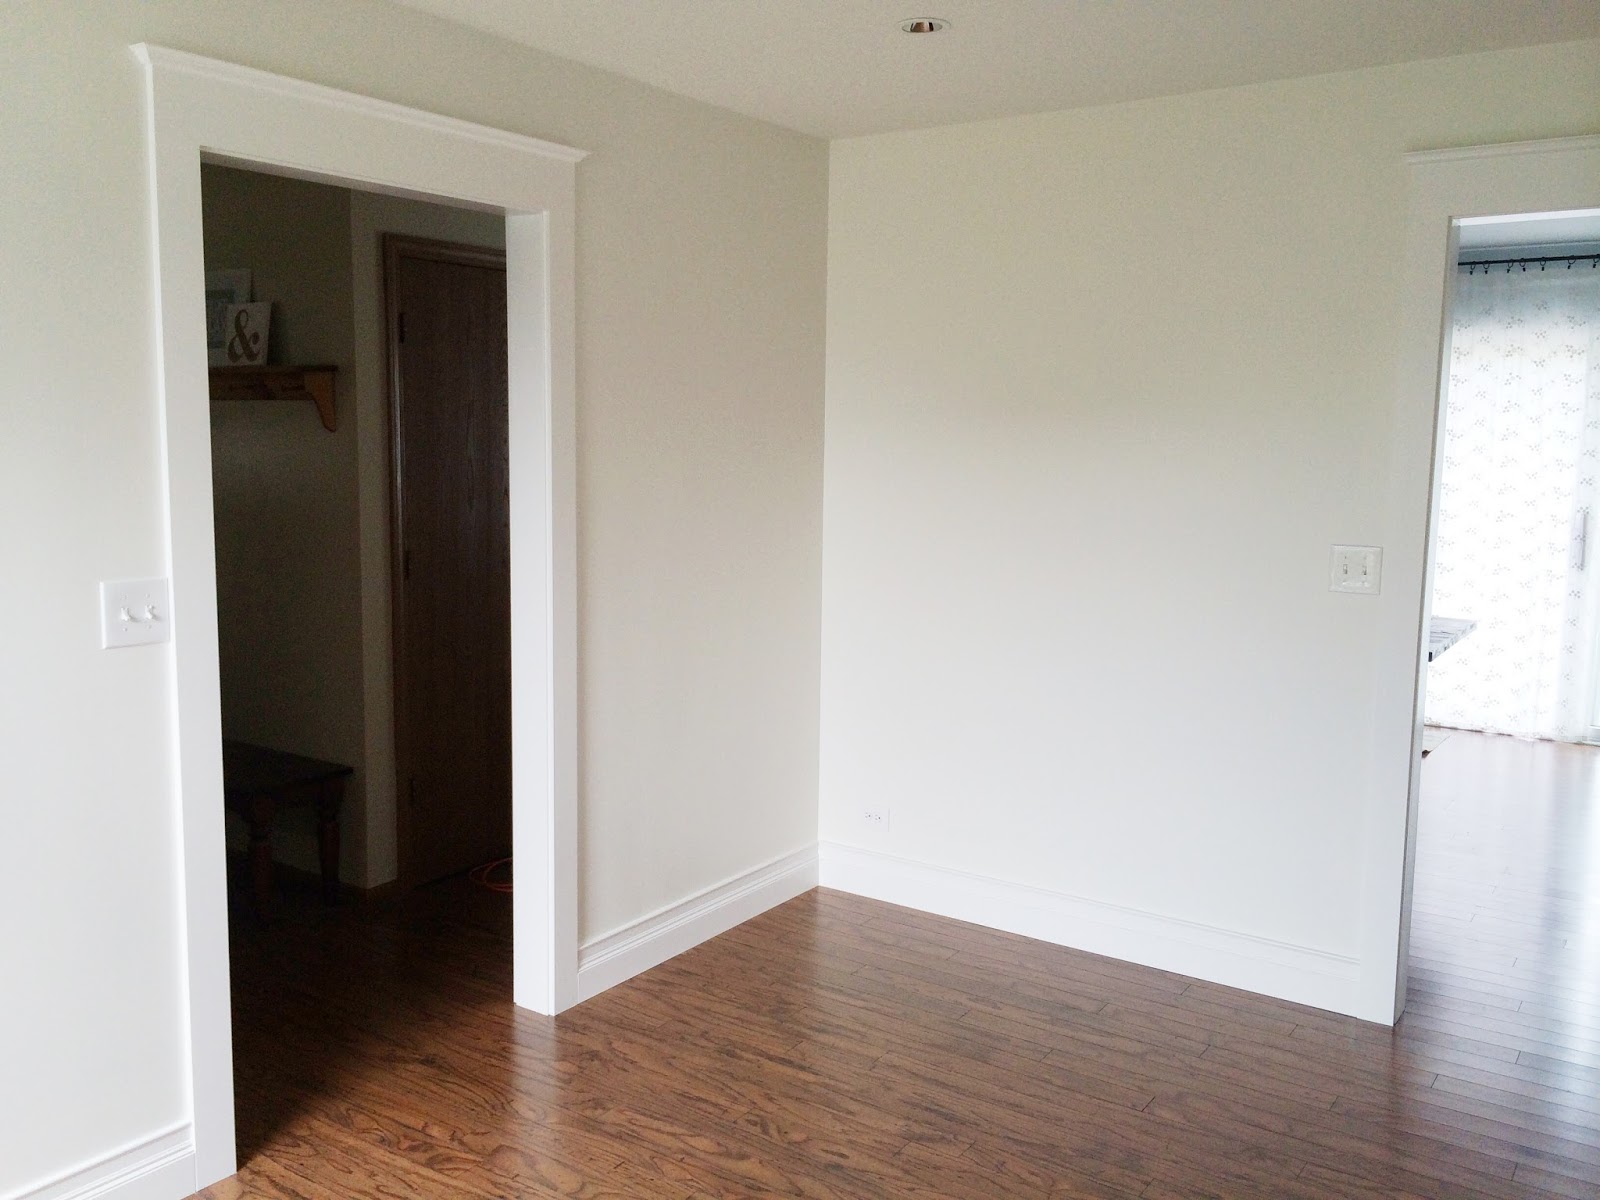
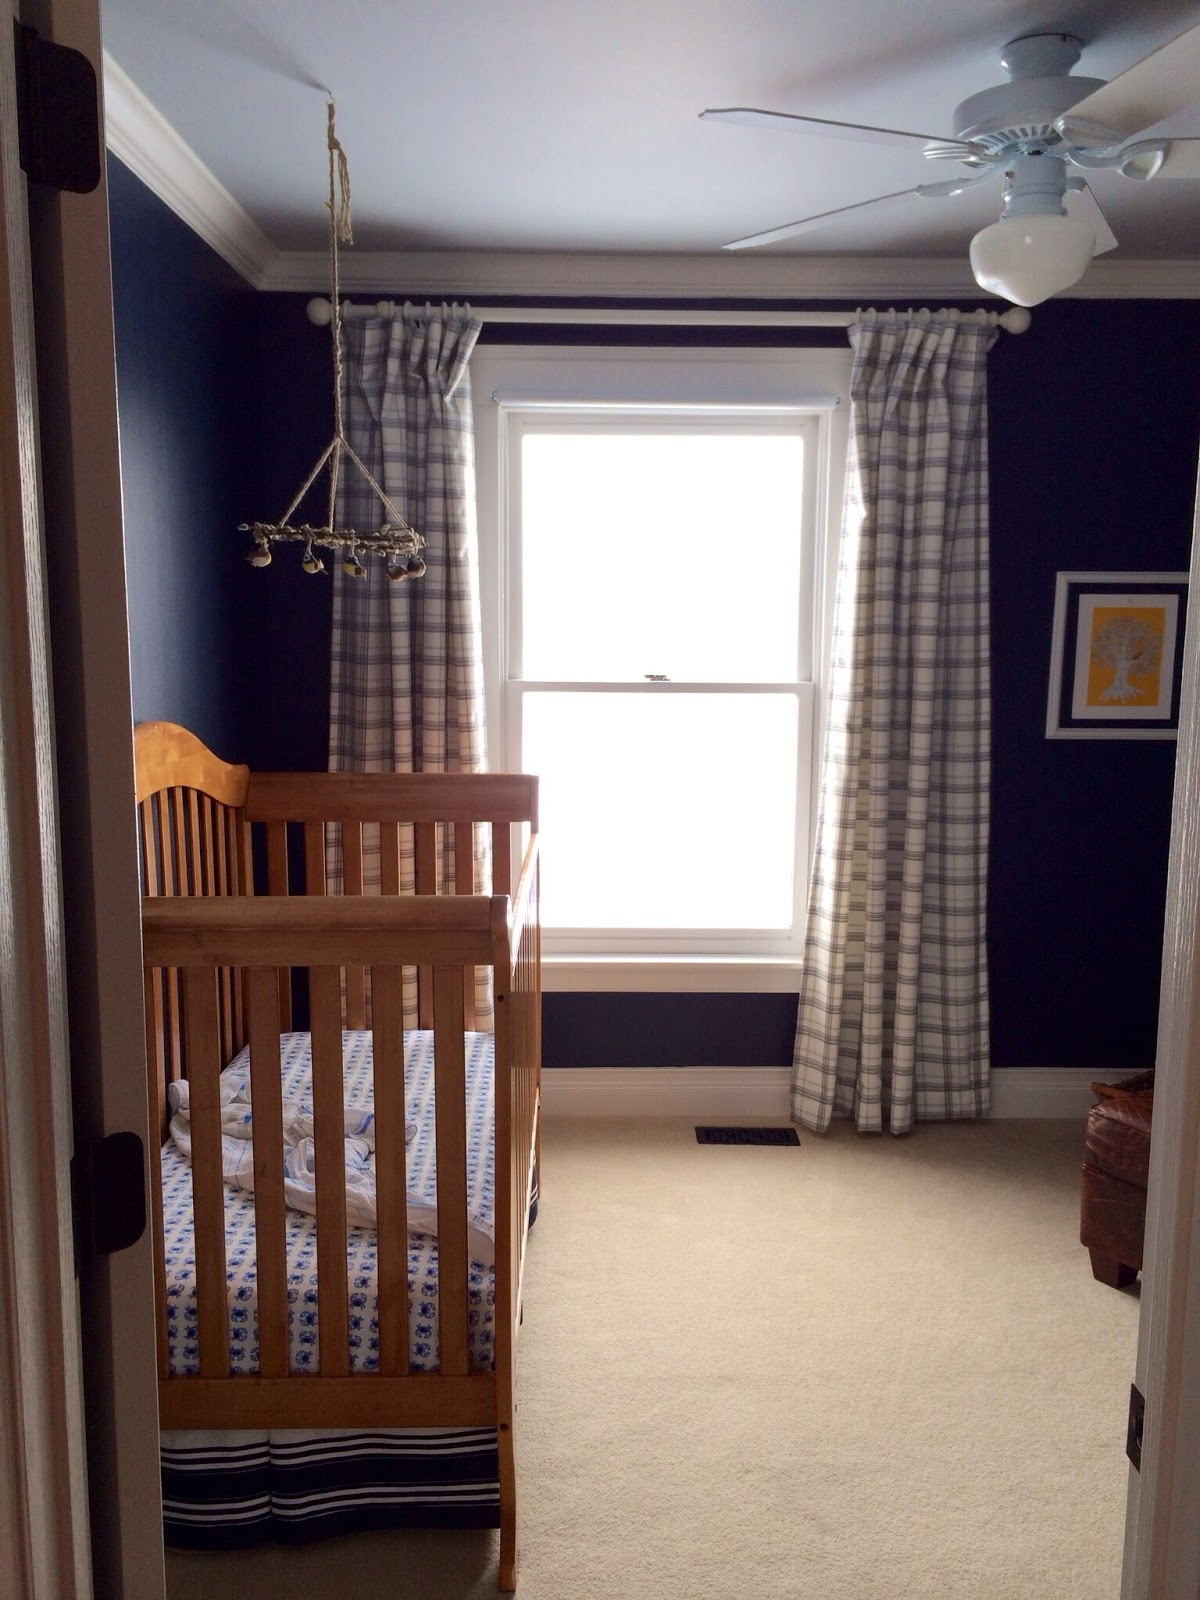
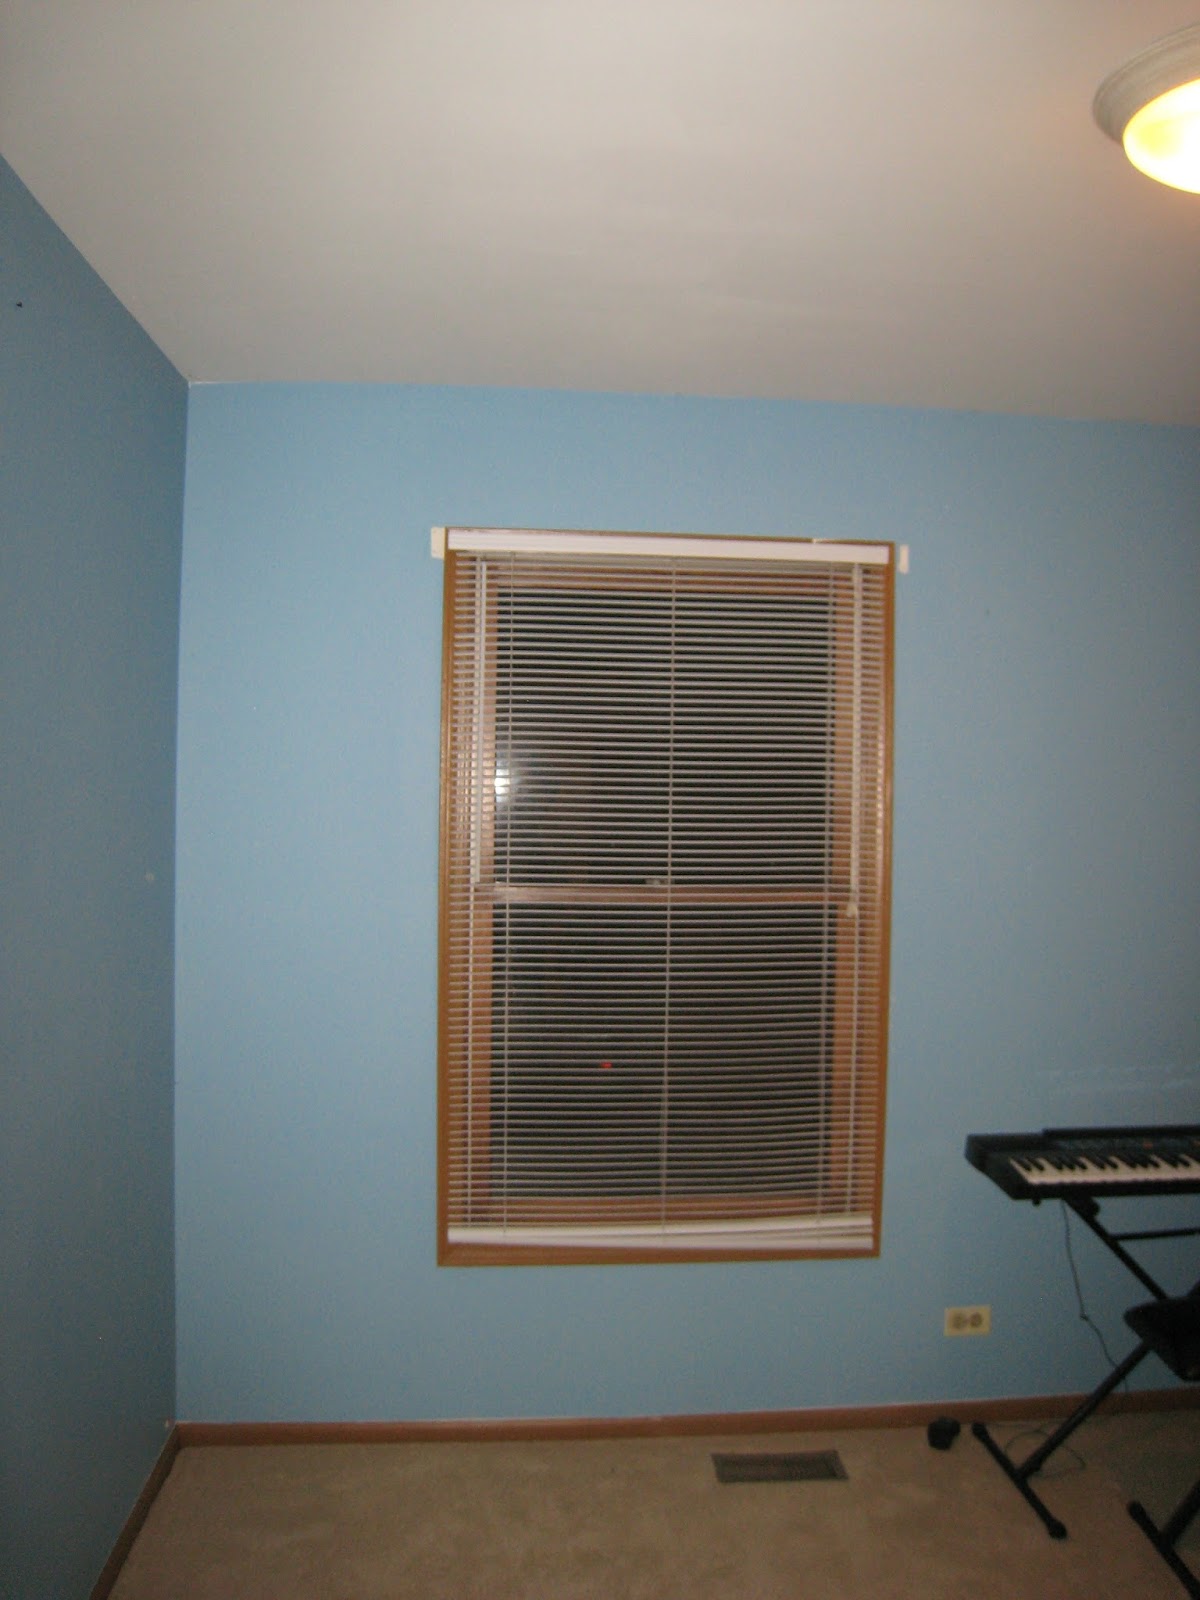
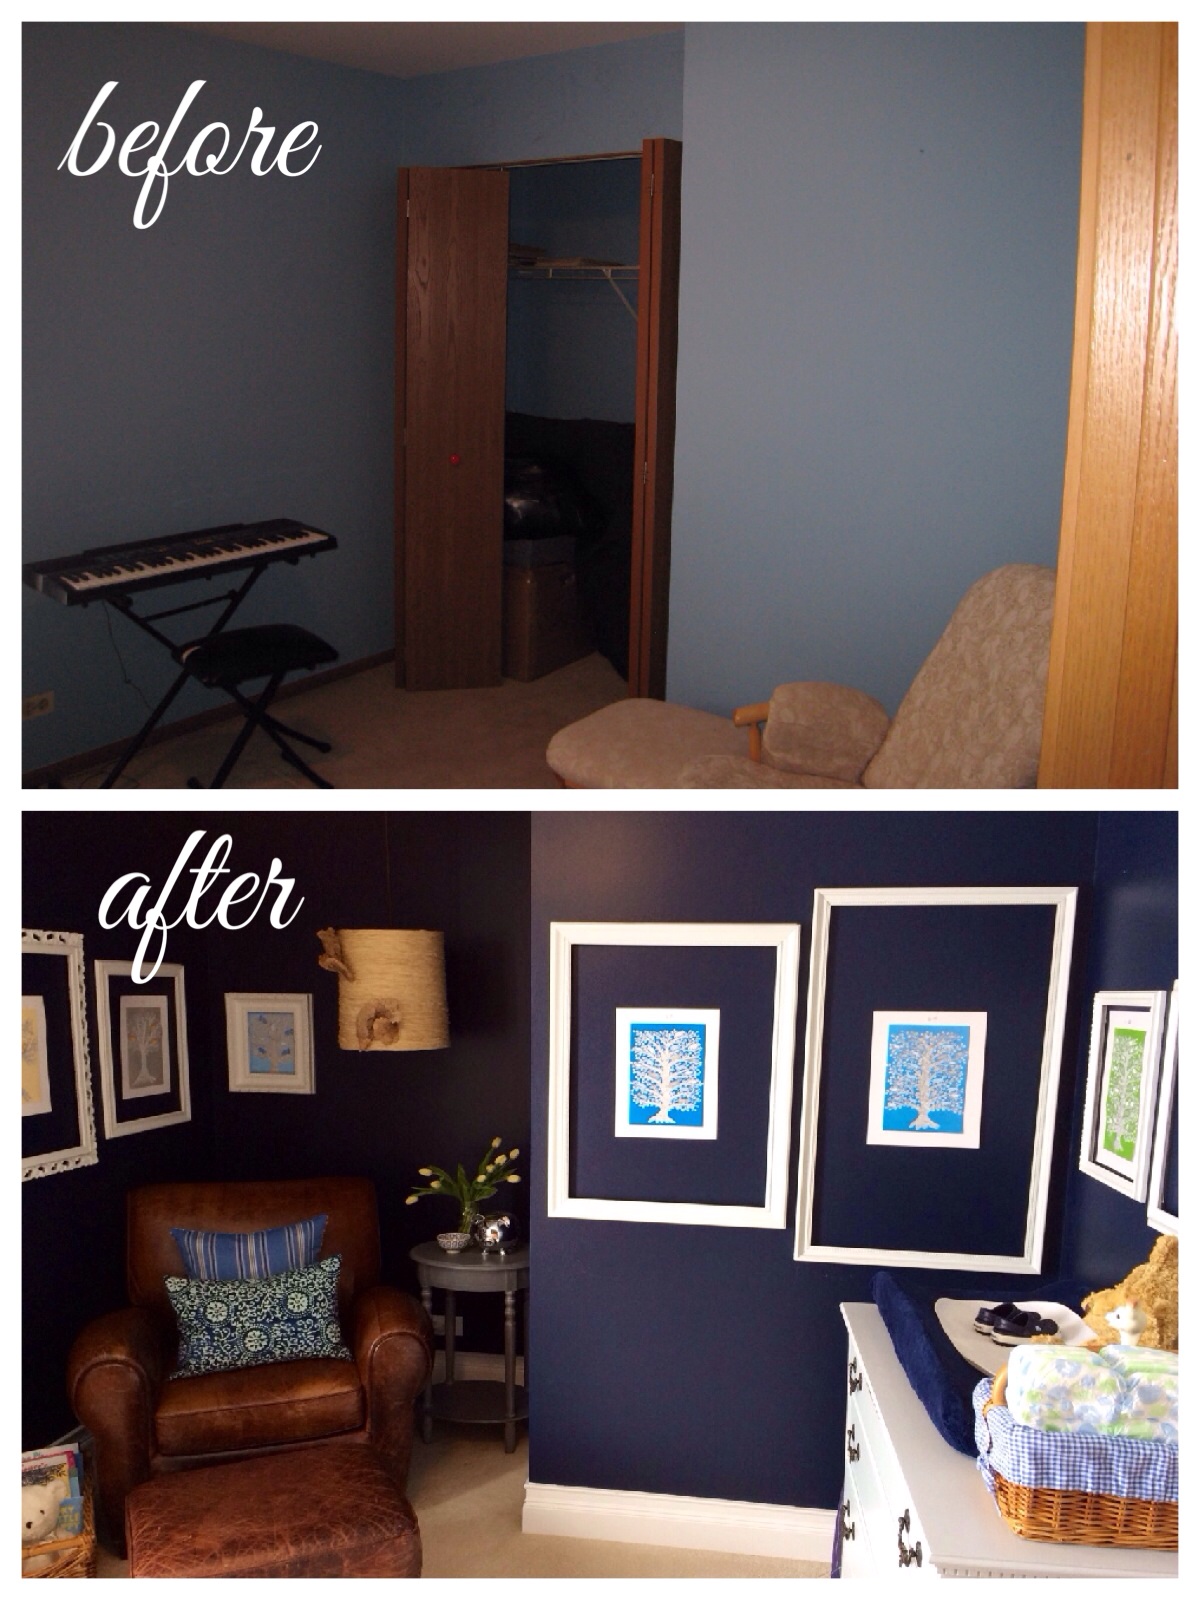
And you're done! It's definitely tricky with the crown if you're unfamiliar with doing it. But the end result is sooo incredible, especially compared to how our doors in this house started out. Just to give you an idea, here's a shot of a current door (in real time!) that's waiting in line patiently for new trim:


Shudder! One at a time....one at a time. Soon (or I should say eventually, someday), they will all be bright, white and pretty:


Let's see what the other DIY Summer-Schoolers have done with hardware store wares. I'm so curious! Check them out!


DIY Summer School brought to you by:

Beth, designPOST interiors
Mallory, Charming in Charlotte
Lindsey, Lindsey Brooke Design
Kevin, Thou Swell


Featuring these DIY themes:

June 4th: IKEA Hack
June 18th: Thrifting
July 9th: Wildcard
July 23rd: Craft Store
August 6th: Hardware Store
August 20th: Found in Nature

Link up below and/or show us your hardware store DIY's with #DIYSummerSchool on Instagram. We love to see what you're up to!


Monday, May 5, 2014

nursery before & after


i promised to show you before & afters of the work we've done on our house, and i want to make good on that promise. shortly after moving in, we found out we were expecting a baby boy, who gave me a great excuse to decorate a 4th bedroom that would have otherwise remained neglected forever.

we eventually want our two boys to share a room, so we did this nursery with an end game in mind; it will become a guest room as soon as the baby is old enough to jump out of his crib. (which, as of this post date, happened- waaay earlier than i'm ready for!)

the budget for the entire room came in right around the $1000 mark, thanks to craigslist, existing furniture, a ton of diy's, and a free crib from a dear friend (thank you allison!).

all of the "before" pictures were taken way back when we were house hunting:


and now, without further ado, is the after!


before:


and after:


you'll think this is nuts, but the first thing we did was remove the closet. this room in teeny tiny, and if all the necessary furniture was going to fit, it just had to happen. the reasons it works are this:

1. baby clothes are tiny. there was more than enough room in the dresser to store clothes and diapers for this age.

2. he won't be here for long. we knew our boys would share a room eventually, and his older brother has plenty of closet space for when that happens.

3. this room will ultimately become a guest room, and space to move around will be more beneficial to guests than a closet full of our unused sports gear.

so i'm glad we did it! it provided the perfect little nook for snuggling up and nursing or reading. there was even enough space for an ottoman, which was great on those nights i ended up holding the baby and falling asleep in the chair for a few hours at a time.


the pendant light started with a $1 drum shade from the good will thrift store. i wrapped it with raffia using a hot glue gun, and then glued dried mushrooms to it. a downlight kit from lowe's turned it into a pendant, and we were able to install where the previous closet fixture had been.


another before picture:


and after:


the dresser was a craigslist find that we painted with sherwin williams north star (same color as the ceiling). the walls are sherwin williams naval, however i took the can back after we started painting and had them add more black. the pictures make the blue look a little brighter than it really is!


we replaced all the baseboards and window trim, and added crown moulding. i made the curtains with clearance fabric from joann's and the rod is a discontinued style from restoration hardware. (sorry that wasn't helpful at all, was it?!)


i kept the nursery bedding minimal. now that i'm at baby #3, i know how unnecessary bumpers and heavy toddler quilts are. aden & anais make the best linen swaddling blankets on the planet, and they were all that was needed for my summer baby.


the blue crab crib sheet is from serena & lily. for the crib skirt, i used one we had from my older son's nursery, and used iron-on fusing tape to add grosgrain ribbon. that was only because the skirt i wanted from pottery barn kids was sold out at the time. 

here is a before shot of the window, which is actually quite tiny:


beefing up the trim and hanging the curtains higher and wider than the window made it look huge!


i made the nursery mobile by twisting three faux willow brances into a circle and securing them with twine. then i tied on mini birds from a craft store with twine and strung it from a cup hook in the ceiling. 


the picture frames are all from my grandma's house, my basement or good will. i removed the glass and spray painted them all the same glossy white. the artwork came from a children's book, one, two, tree by anushka ravishankar. i carefully cut out the pages and mounted them to card stock. they are thumb-tacked to the wall (and i added blue tape behind them as well to keep them from curling).

the nice thing about this art display (besides that it was cheap- less than $30 total) is that it's very easily changed out as our son grows or as the room's purpose changes. 

and i love that this particular book is a counting book, so the animals in the tree grow from one to ten as the pictures make their way around the room. its fun to count them with our little guy!


the leather chair was from the living room in our previous house and the nightstand is from homegoods. i made the lumbar pillow with batik fabric from joann's, and the striped pillow cover was rescued from my basement landfill.

so there's our little nursery! 


thanks for stopping by! i'm linking up with the pink pagoda who's hosting some other blue & white inspiration so i'm off to check those out...hope you will too! and happy cinco de mayo. ;-)

Saturday, May 3, 2014

shopping for...bookcase sconces

i am writing this blog post in real time as i am shopping for bookcase sconces. our office project is slowly but surely coming along, and ryan is building an entire wall of built-in bookcases. he's got all five of them anchored in, 2 x 4 cages built around them...and now he needs to know how big to make the holes for the three sconces i envisioned putting above them.

grrr. i hate it when its my fault a project stalls.

i haven't pulled the trigger on a purchase because i'm a little torn by indecision. everything has either been not quite right or not quite the right price. so i'm starting over on my search and here are today's contenders:

$376 


restoration hardware 20th c. factory filament milk glass sconce : : aged steel
$139


restoration hardware 20th c. library single sconce : : aged steel
$209


restoration hardware 20th c. torpedo sconce : : aged steel
$129


restoration hardware 10" vintage barn sconce : : antique brass
$209


restoration hardware vintage barn sconce : : warm white
$209


restoration hardware 8" vintage barn angled shade sconce : : warm white
$219


wait a minute...lightbulb moment (no pun intended). on a recent trip to ikea, when i was looking for a pendant for this project, i purchased this sconce:

$19.99


i had seen it here, and had absolutely fallen in love. i bought it thinking it might hang above the desk, but alas it looked awkward and is now sitting in the return pile. but hmm....could it go above the bookcases?

hold on a minute.

i'm back. ryan and i just put it together and held it up and it seems like its going to work! he says it should be no problem to snip off the plug and hardwire it in (its so handy that he has a degree in electrical engineering). 

as i look at the sconces i've been drooling over tonight, this one has an element that i love from all of them: a bit of white, a little brass, an exposed cord, the right shape. and it's a scant fraction of the price!

well, this was a worthwhile post. thanks for walking through that with me everyone! now cross your fingers that it goes as smoothly as we hope. famous last words?

{update: it worked like a charm! check out our completed office & how the sconces look here}

Saturday, March 8, 2014

goodbye school room

i'm planning to homeschool all of my kids for kindergarten (one down, two to go). i love giving them an extra year of childhood, reading out loud, field tripping everywhere, and spending that precious time with them before they're real school aged kids.


to house (and display) all the paraphernalia that homeschool brings, we turned our unused dining room into a school space. over one summer, i had the kids decorate all the letters of the alphabet to get the room ready for september. clothesline criss-crosses the ceiling to show off fresh artworks. backyard treasure hunt finds, handprint projects, and watercolors adorn the walls. the little table that fits perfectly now will all too soon be outgrown, and i daily savor watching the coloring and creating the kids do while sitting at (or laying under) it.


but as fun as this space has been, getting organized has to take priority. the meager and mismatched storage in here is overflowing, and on the other side of one wall, in the mudroom, a mountain of backpacks and snowclothes are going to avalanche soon if something isn't done.

so, ryan is at 8-1/2, which means demolition is coming in the next few weeks. we're reducing this room by half (and making it a real office), expanding the mudroom and adding a main floor powder room lest we all go insane.

before we power up the saw and start cutting out flooring, i'd like to say a proper goodbye to our sweet little school room.


ok, i'm good. now where is that sledgehammer?

 
Blogging tips