chicago is not cooperating.
at christmas card time, i wanted those idyllic vintage-inspired shots of a family hauling their fresh cut tree home, clad in shiny boots and furry hats, tromping through the snow, joyfully singing a carol. there was no snow and it was 20 degrees.
for spring, i imagined us outside in wellies, welcoming blossomed trees and jumping in puddles, twirling umbrellas and looking all bright and british. it was snowing and it was 20 degrees.
so both times we ended up inside at the last minute...henceforth, the need for a quick and cute backdrop.
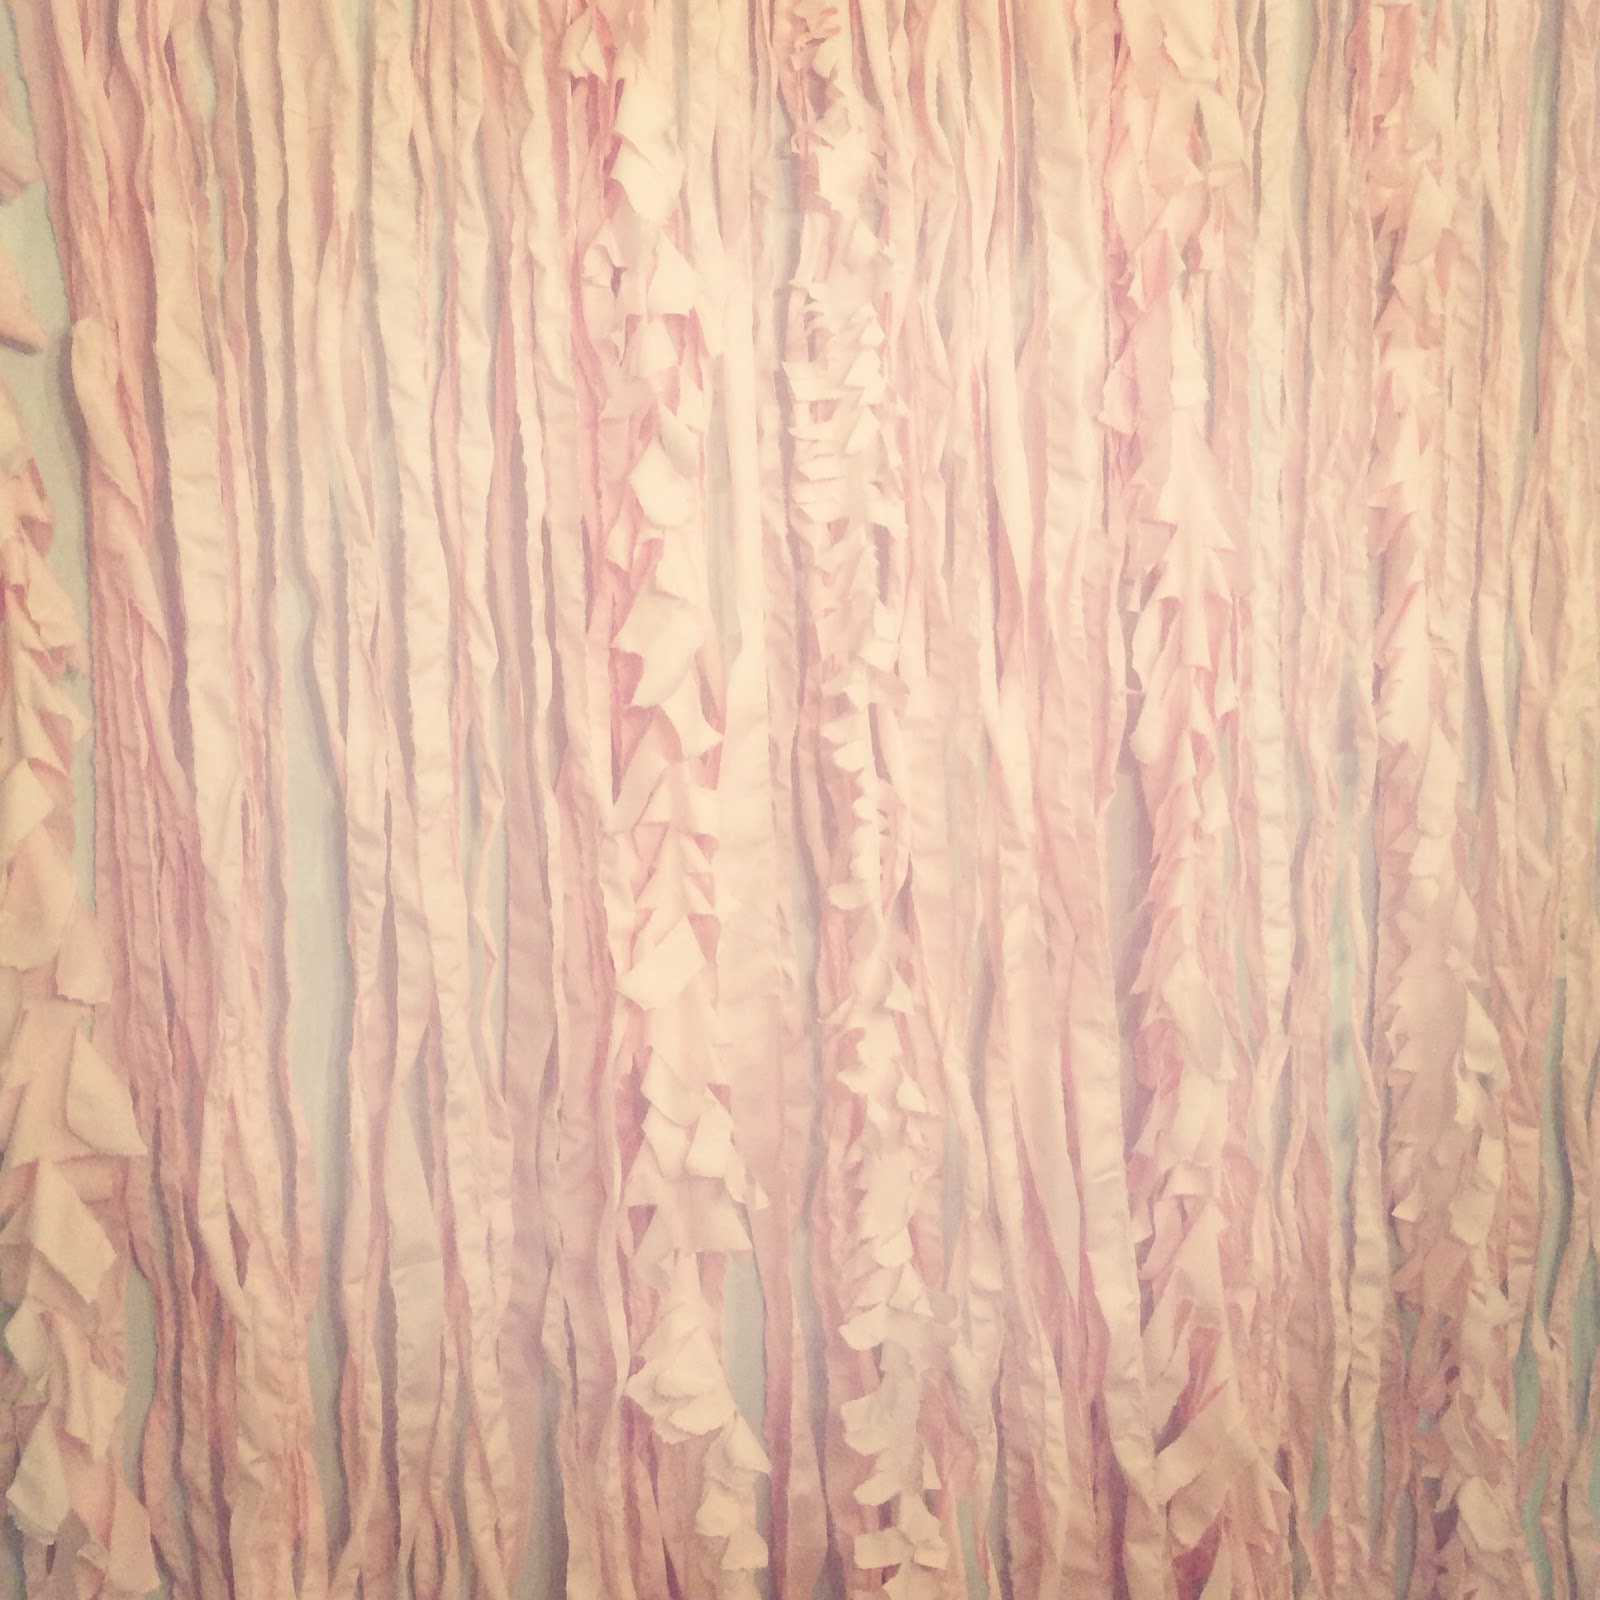
isn't it lovely? this was really easy to make (i did it the night before our family pictures), but i admit it was a bit more time consuming than i'd originally hoped (thank goodness for coffee and fx movies).
the stats:
skill level: novice
patience level: saint
time: 3 hours
materials: thin fabric, clothesline, scissors, cup hooks
cost: $24
the tutorial:
1. purchase your material
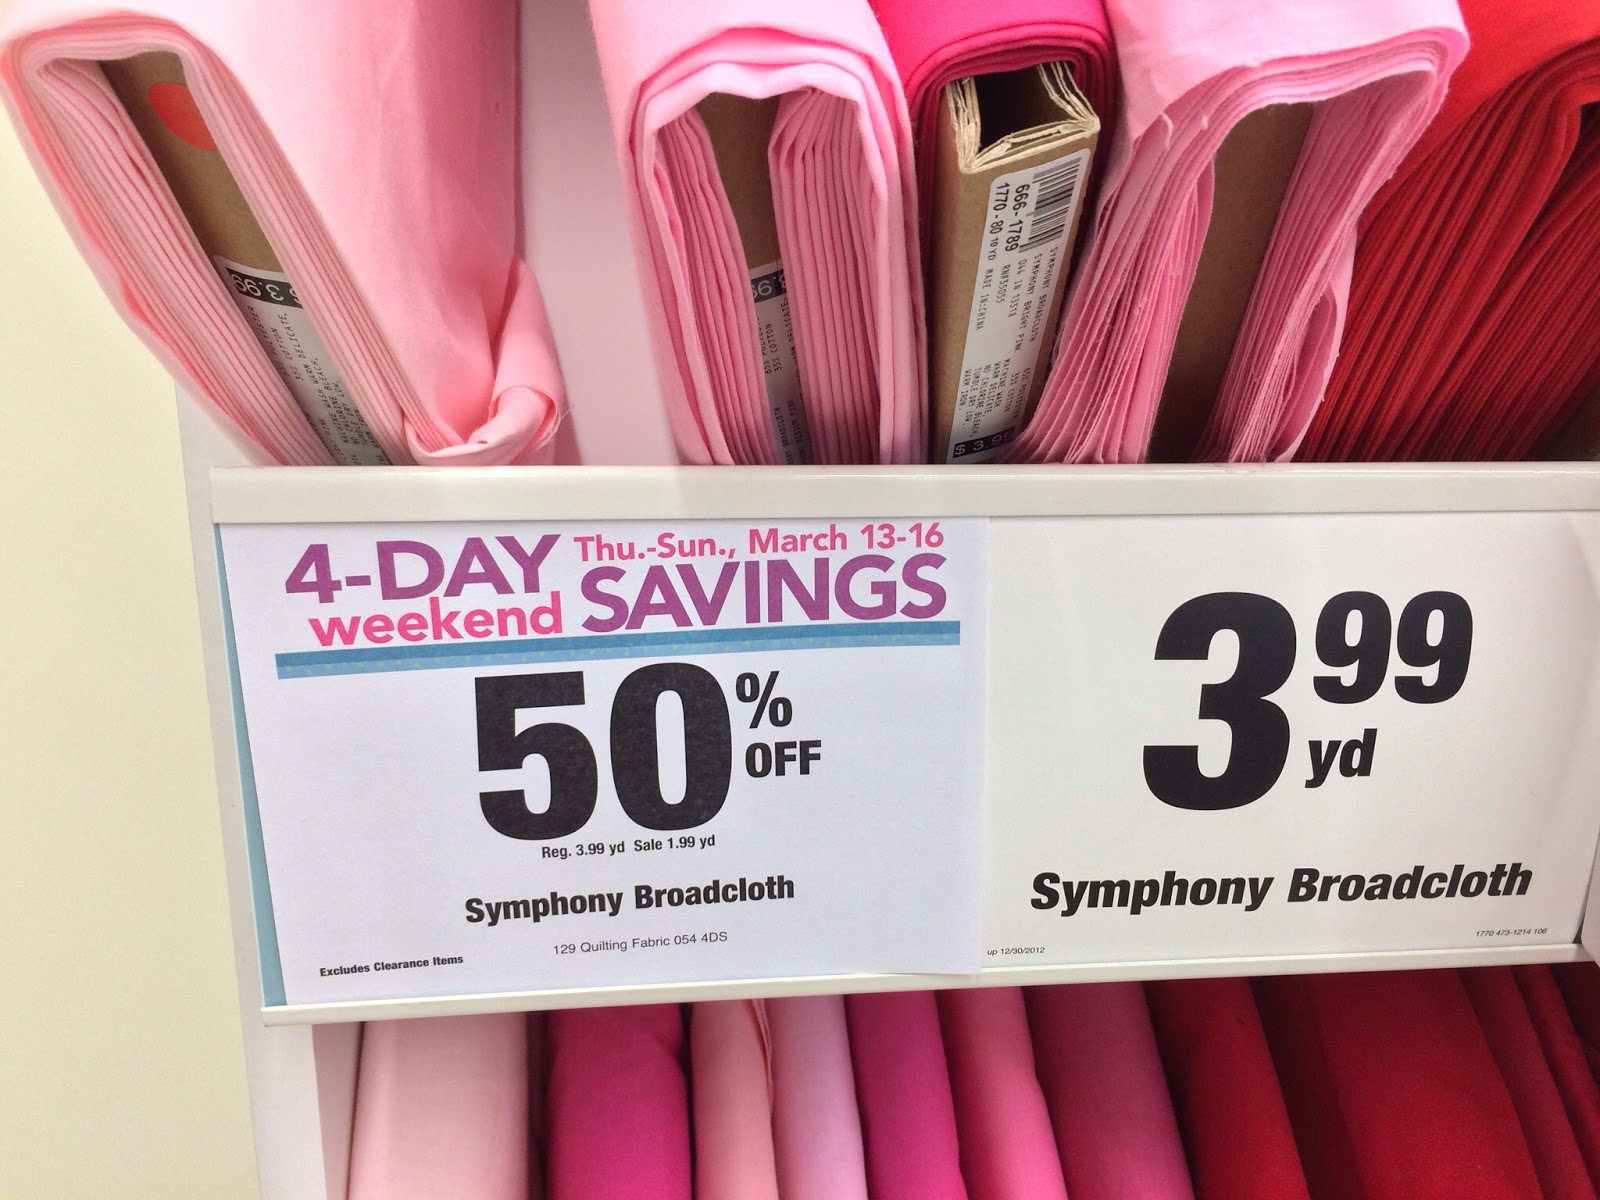
for a wall space that is 6' wide x 8' tall, i purchased 12 yards of fabric. i chose pale pink symphony broadcloth from joann. if you aren't lucky enough to catch it on sale, there are coupons always available here.
when choosing a fabric, make sure it is cotton and fairly thin (you'll be ripping it). the quilting section is the best place to look.
note: i was hanging this on a wall, so it didn't need to be super "full" or opaque. when it was done, you could see through it. if you're hanging it as a stand-alone backdrop, for instance at an outdoor wedding strung between two trees, you'll need about 3X the amount of fabric to fill a 6' space.
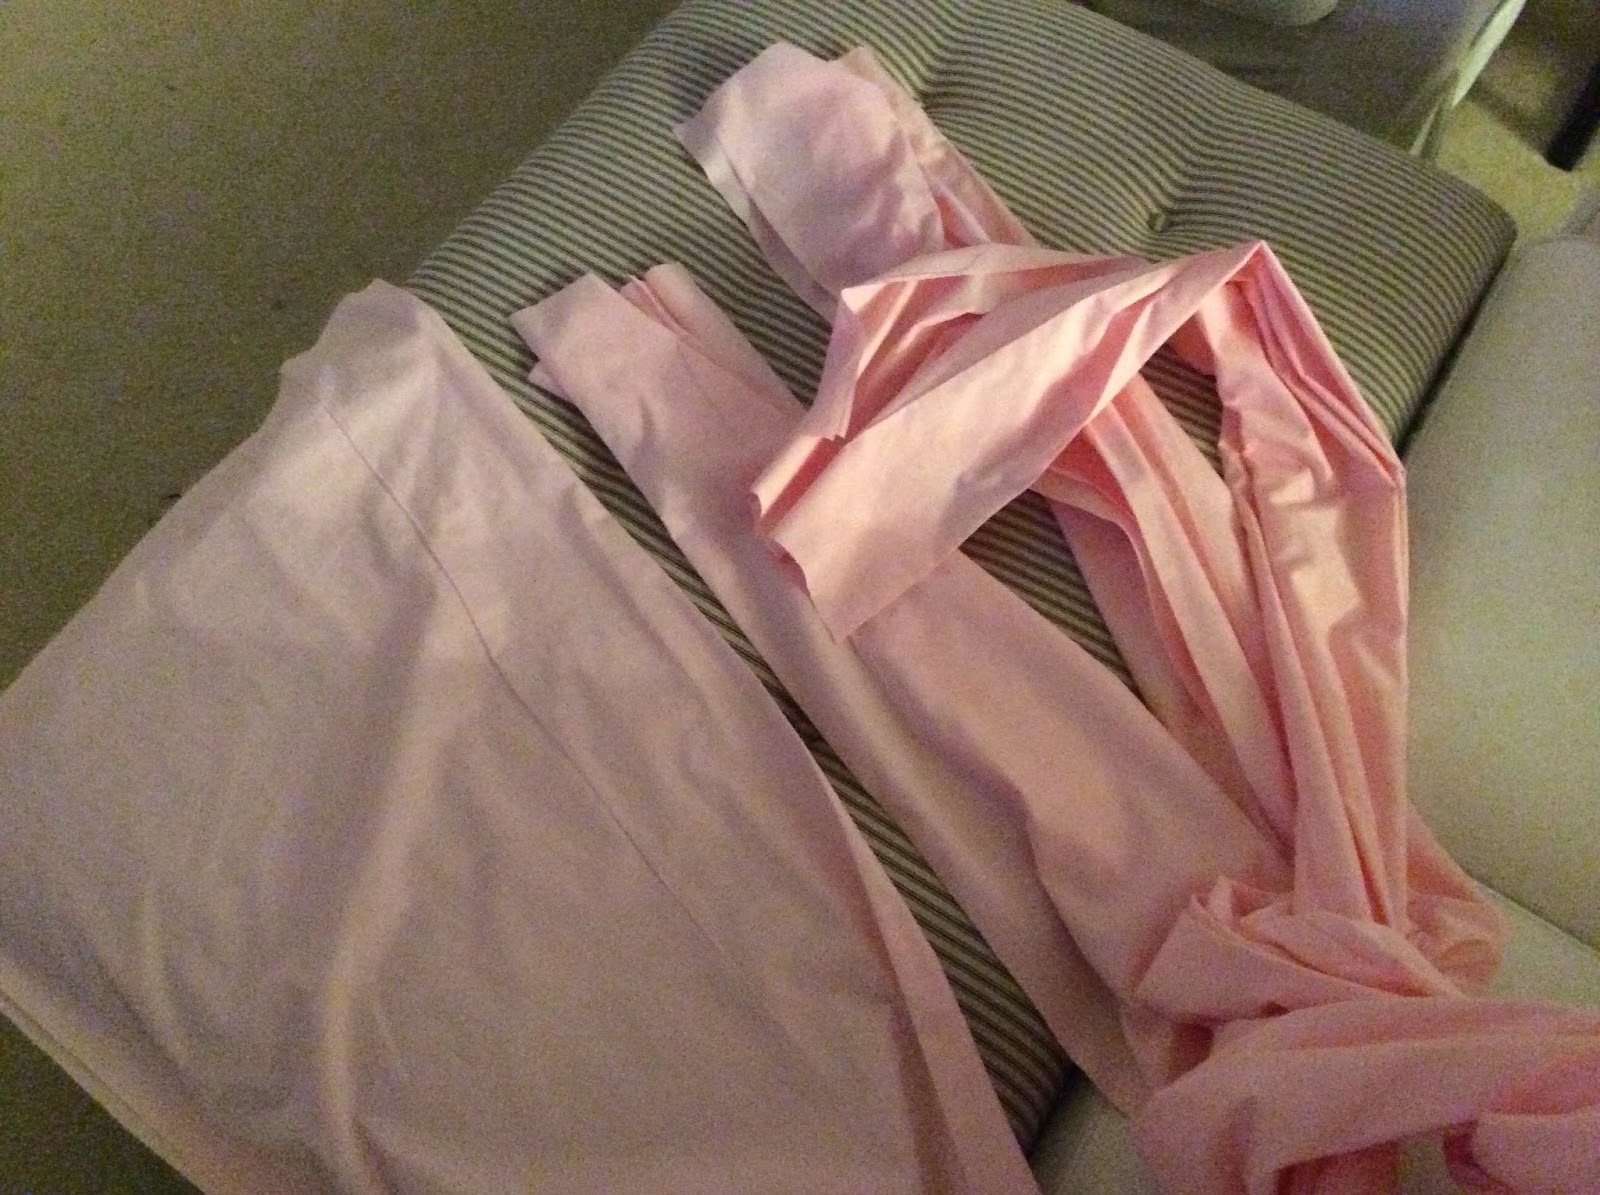
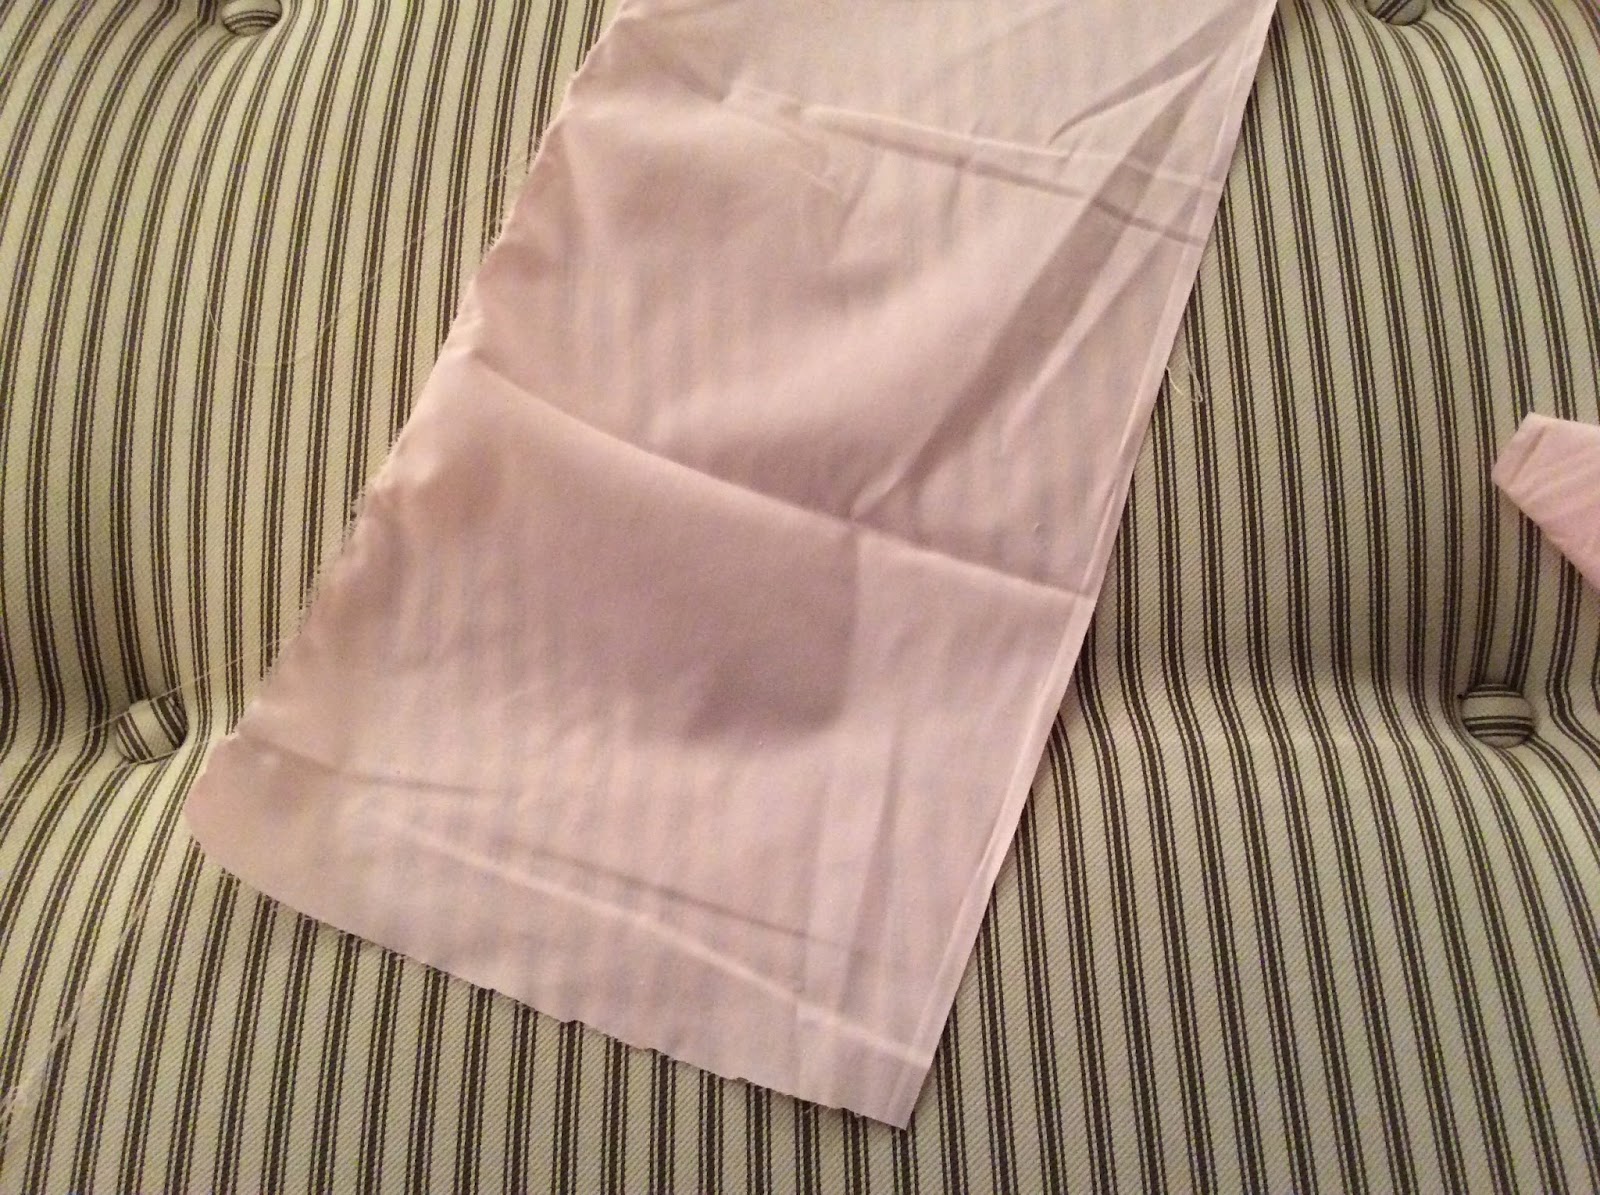
2. cut fabric into (4) 3-yard long panels
you are dividing your 12 yards of fabric into 4 equal pieces. each piece will be roughly 9' long (doesn't have to be perfect), giving you 6" to tie at the top and 6" to pool on the ground (well, more than that because the rope will sag, but close enough). if your space is taller or shorter you can adjust accordingly.
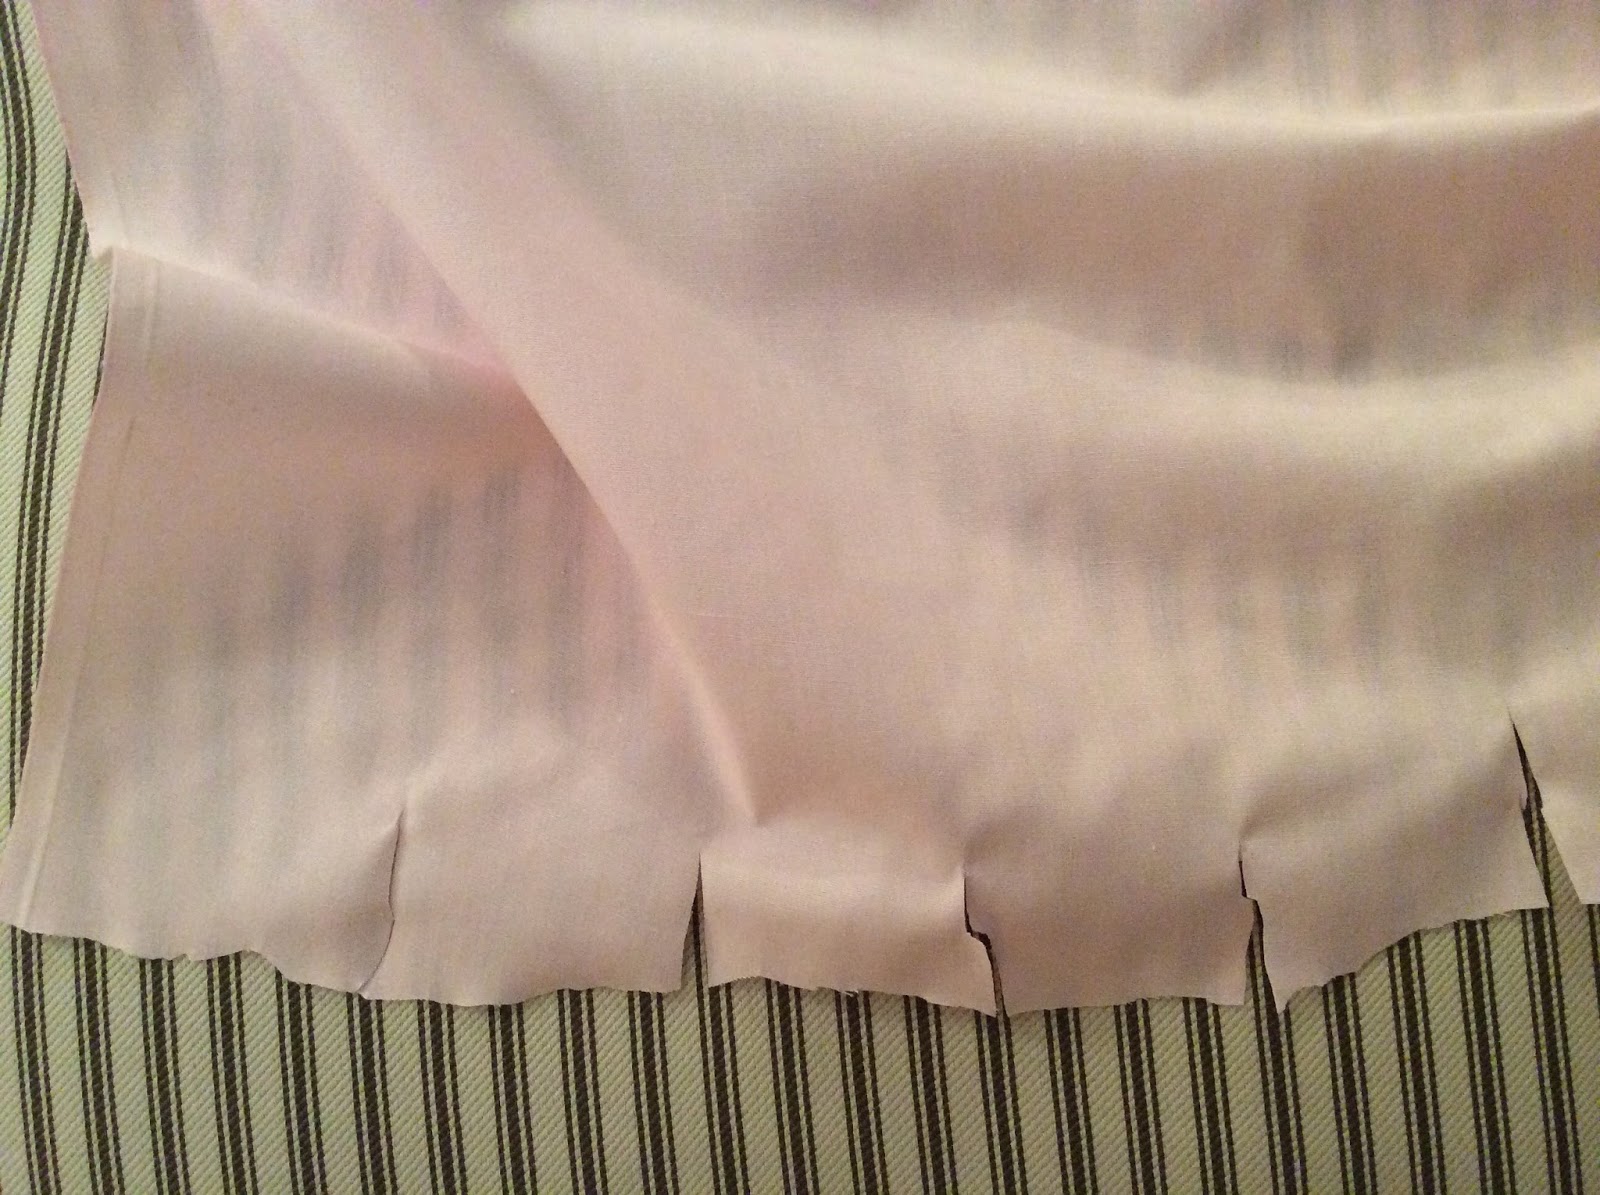
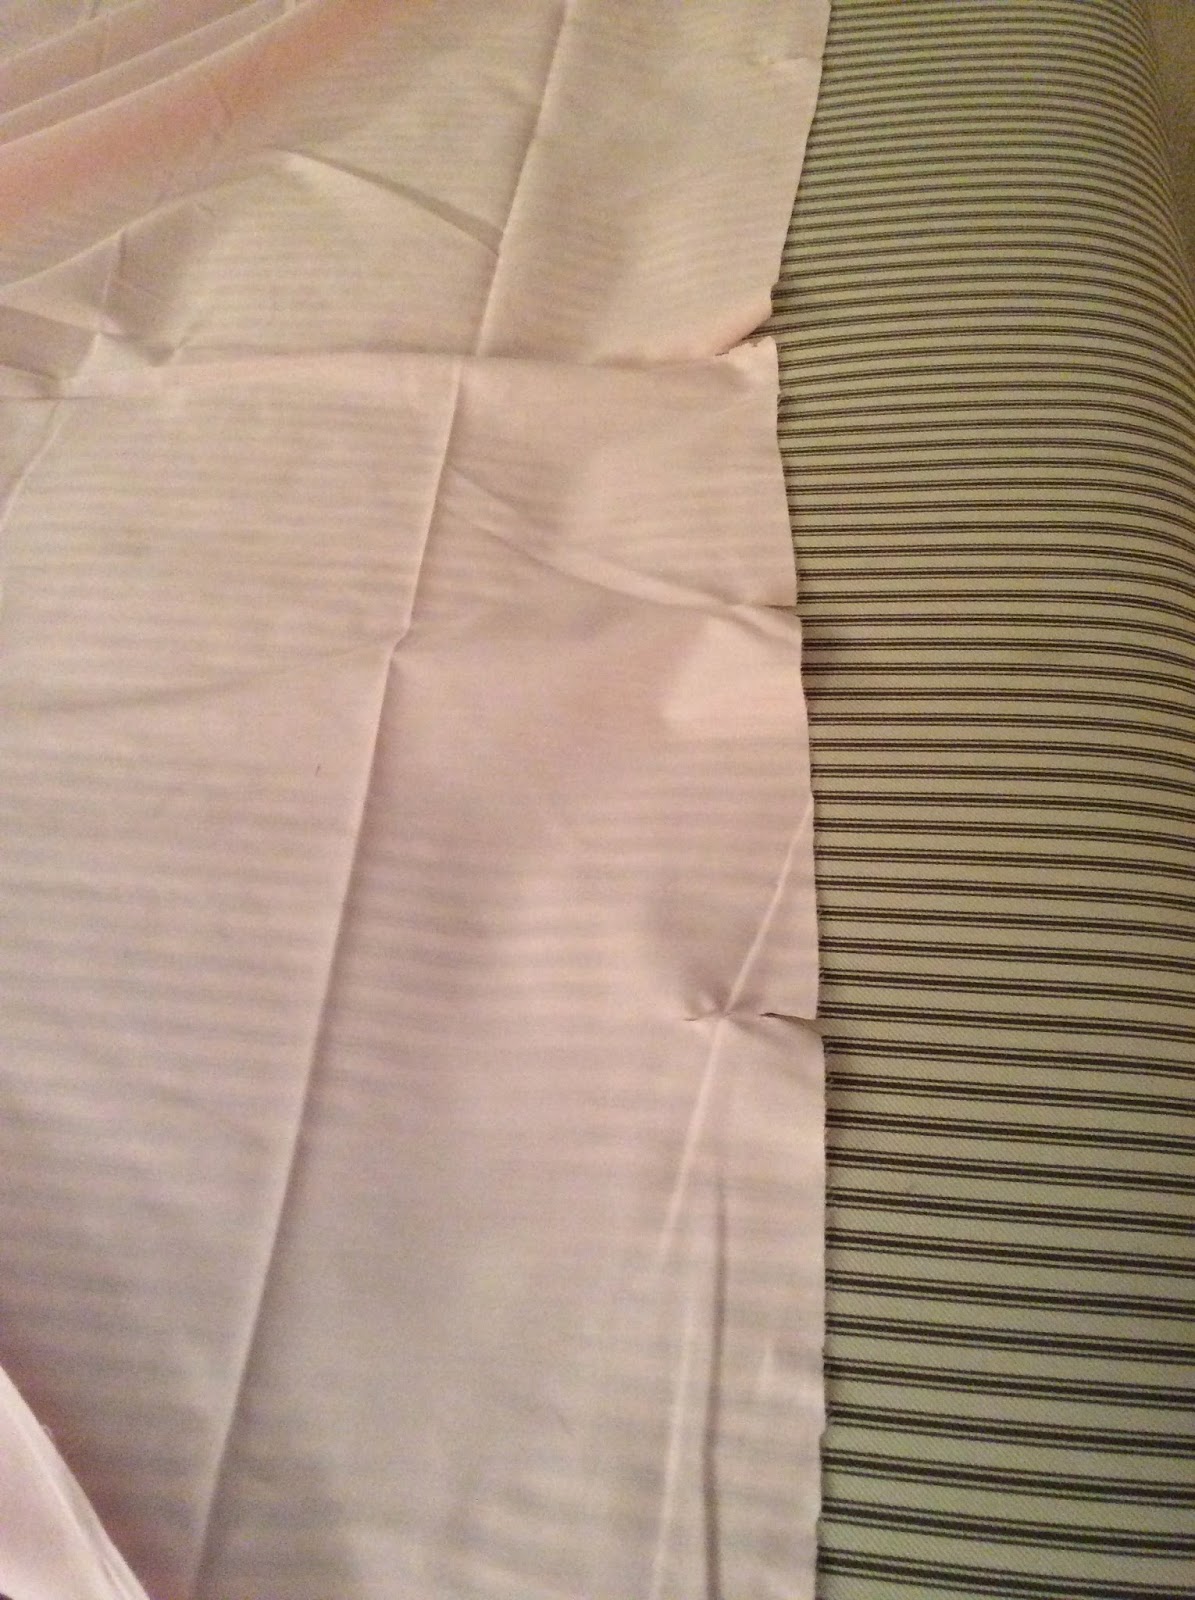
3. use scissors to cut slits about 2" apart across the top of three panels (save the fourth panel for later)
if you imagine your panel as a rectangle, these cuts should be on one of the short sides. try to space them somewhat evenly, but don't worry at all about it being perfect.
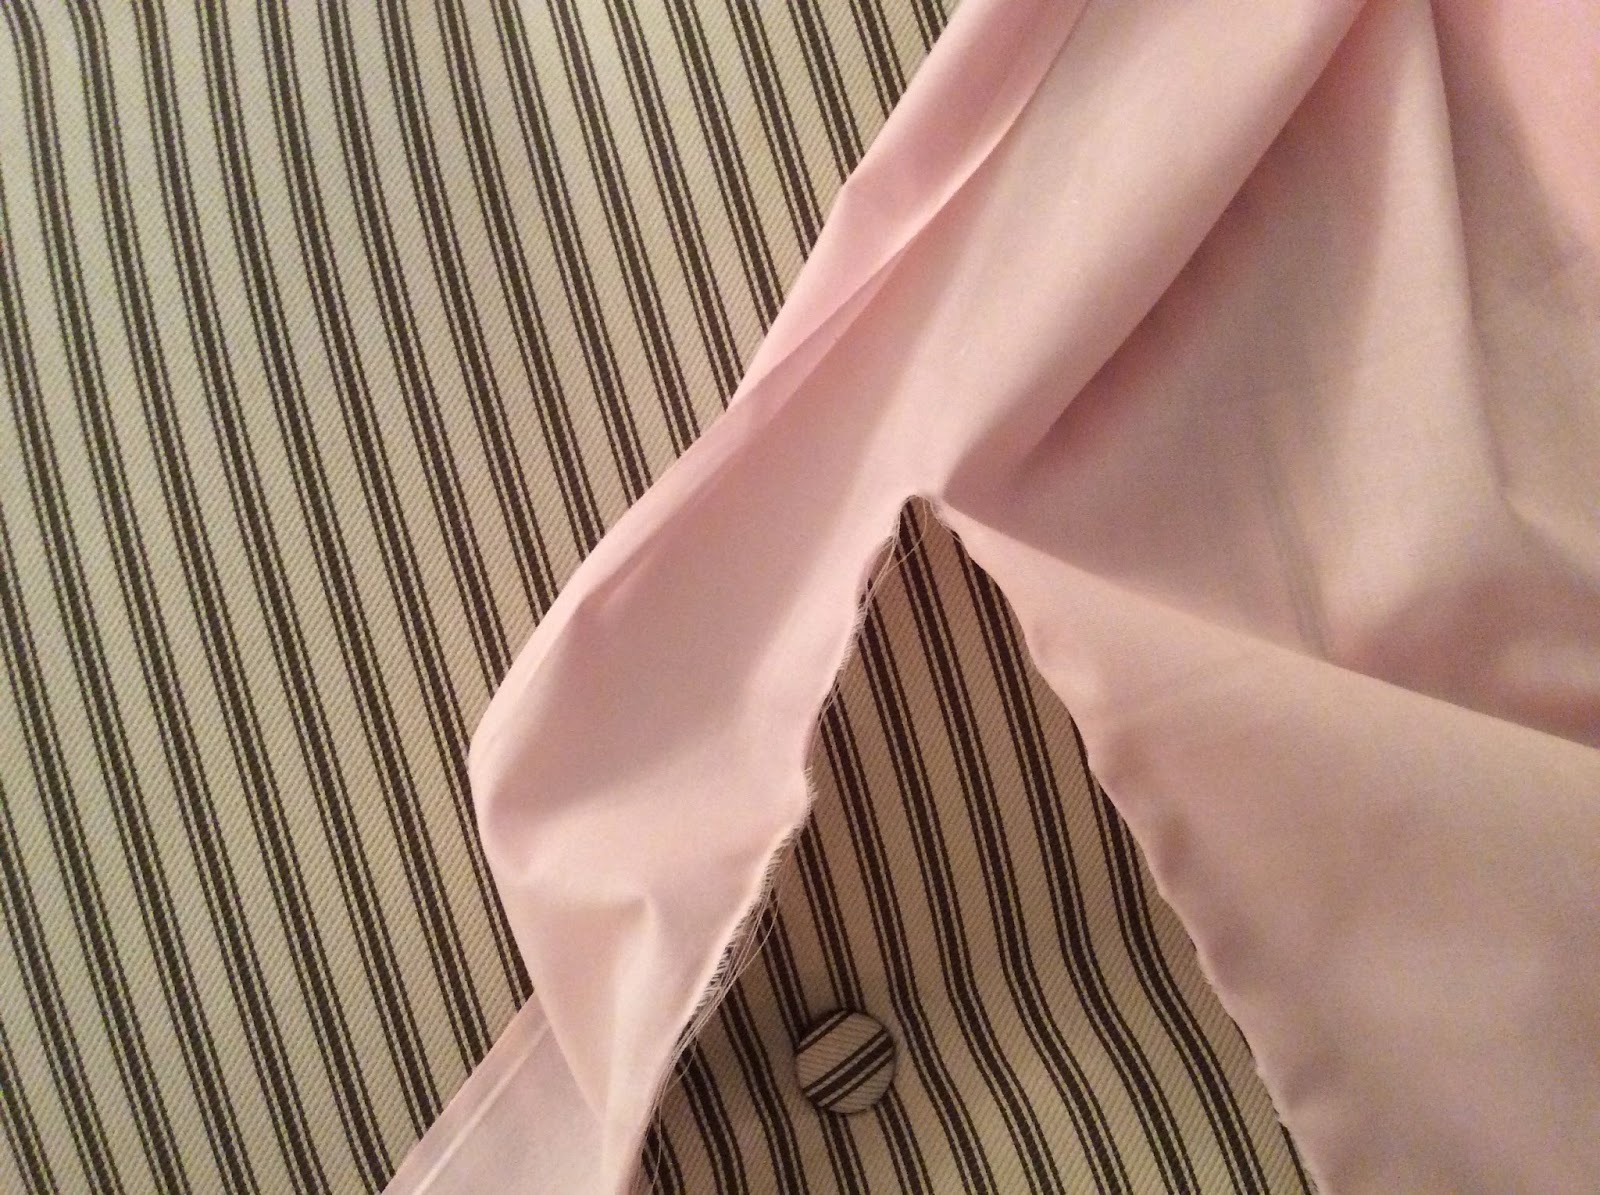
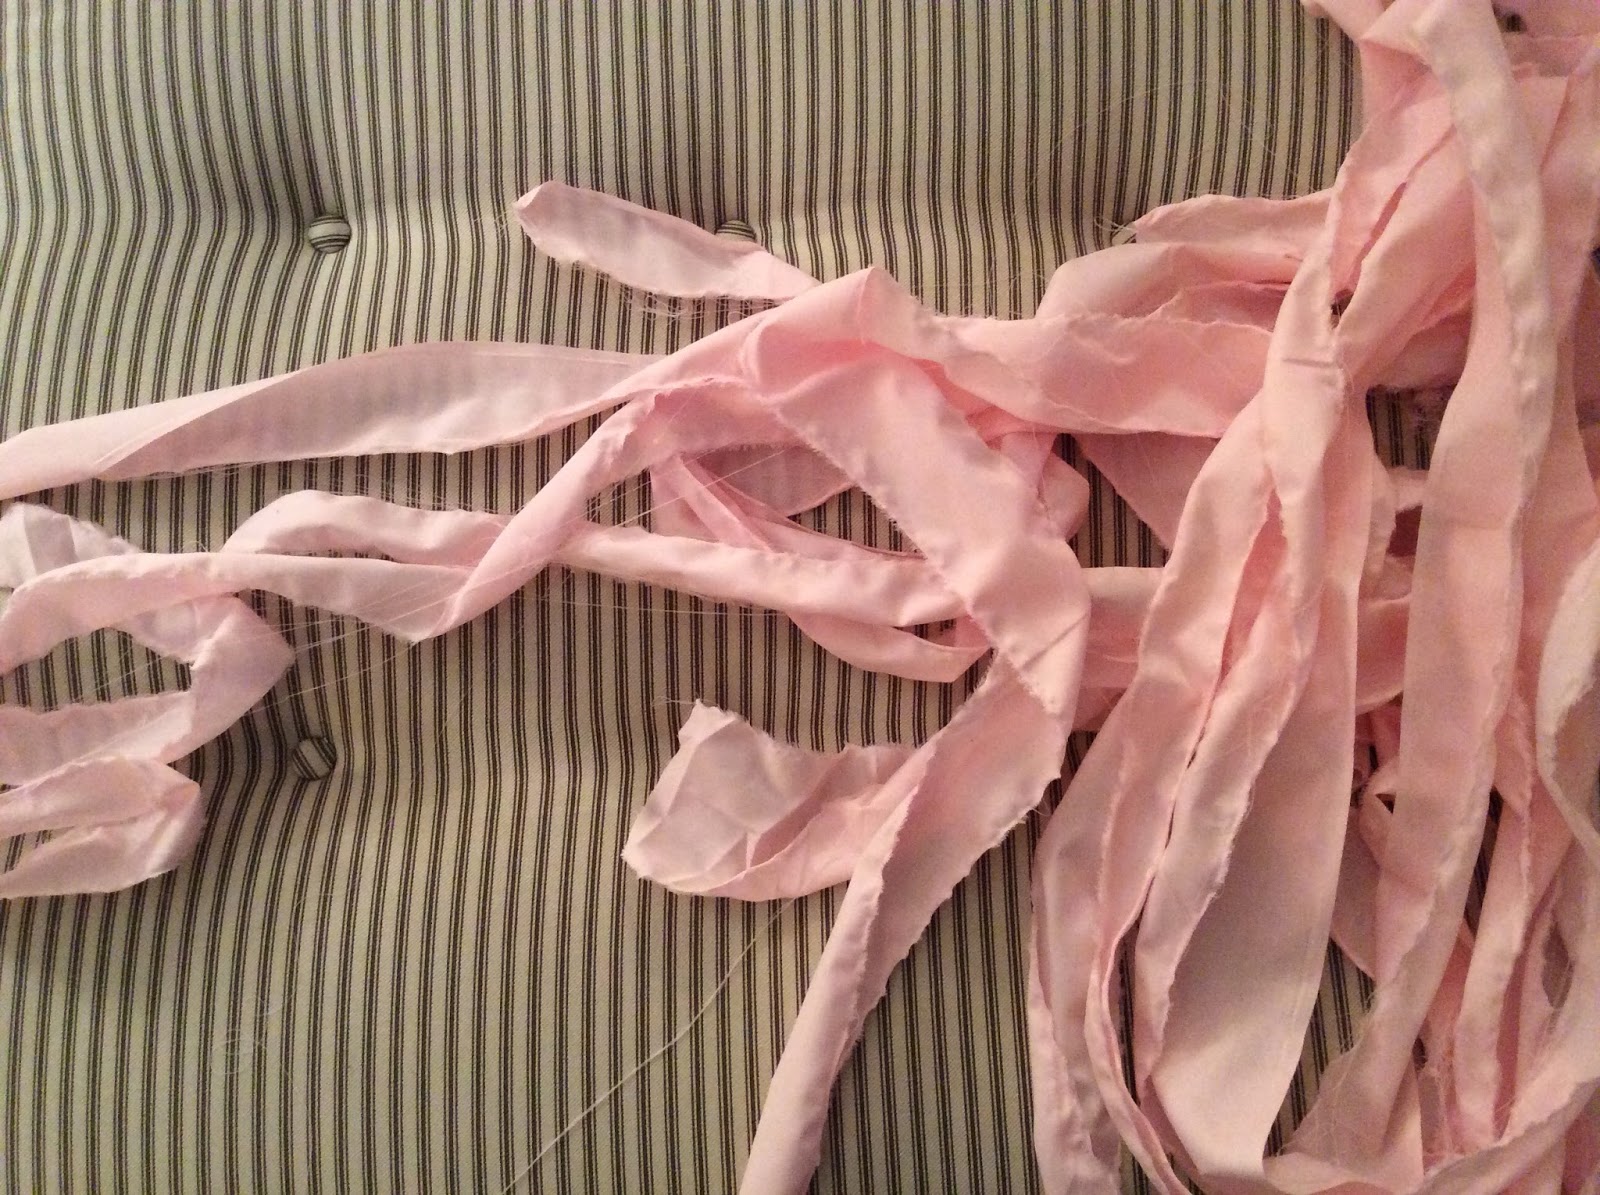
4. tear the fabric into strips down the long length of the panels
use the slits you cut at the top as your starting point. it should rip very easily down the length of the panel. this is where i sweetly asked the hubby for help. it took 10 minutes per panel to rip them into long skinny strands. the edges naturally gain some texture as they fray.
it'll start to look like a party pretty quick! the most annoying thing about this were those little straggly strings that come off of ripped fabric. i should have cut them as i went along, as they led to all my strands getting tangled later. i'll let you make your own decision, but don't say you weren't warned.
5. use scissors to cut slits about 6-10" apart along the top of the fourth panel
you're going to rip this last panel the same way as the first three, only you are making much wider strips this time. you want five strips total from this one, so you can space your scissor cuts however far apart is needed to achieve that.
these wider strips are going to be used to create the fatter more ruffly "fringe" strips you see in the backdrop.
6. rip the fourth panel into five fat strips
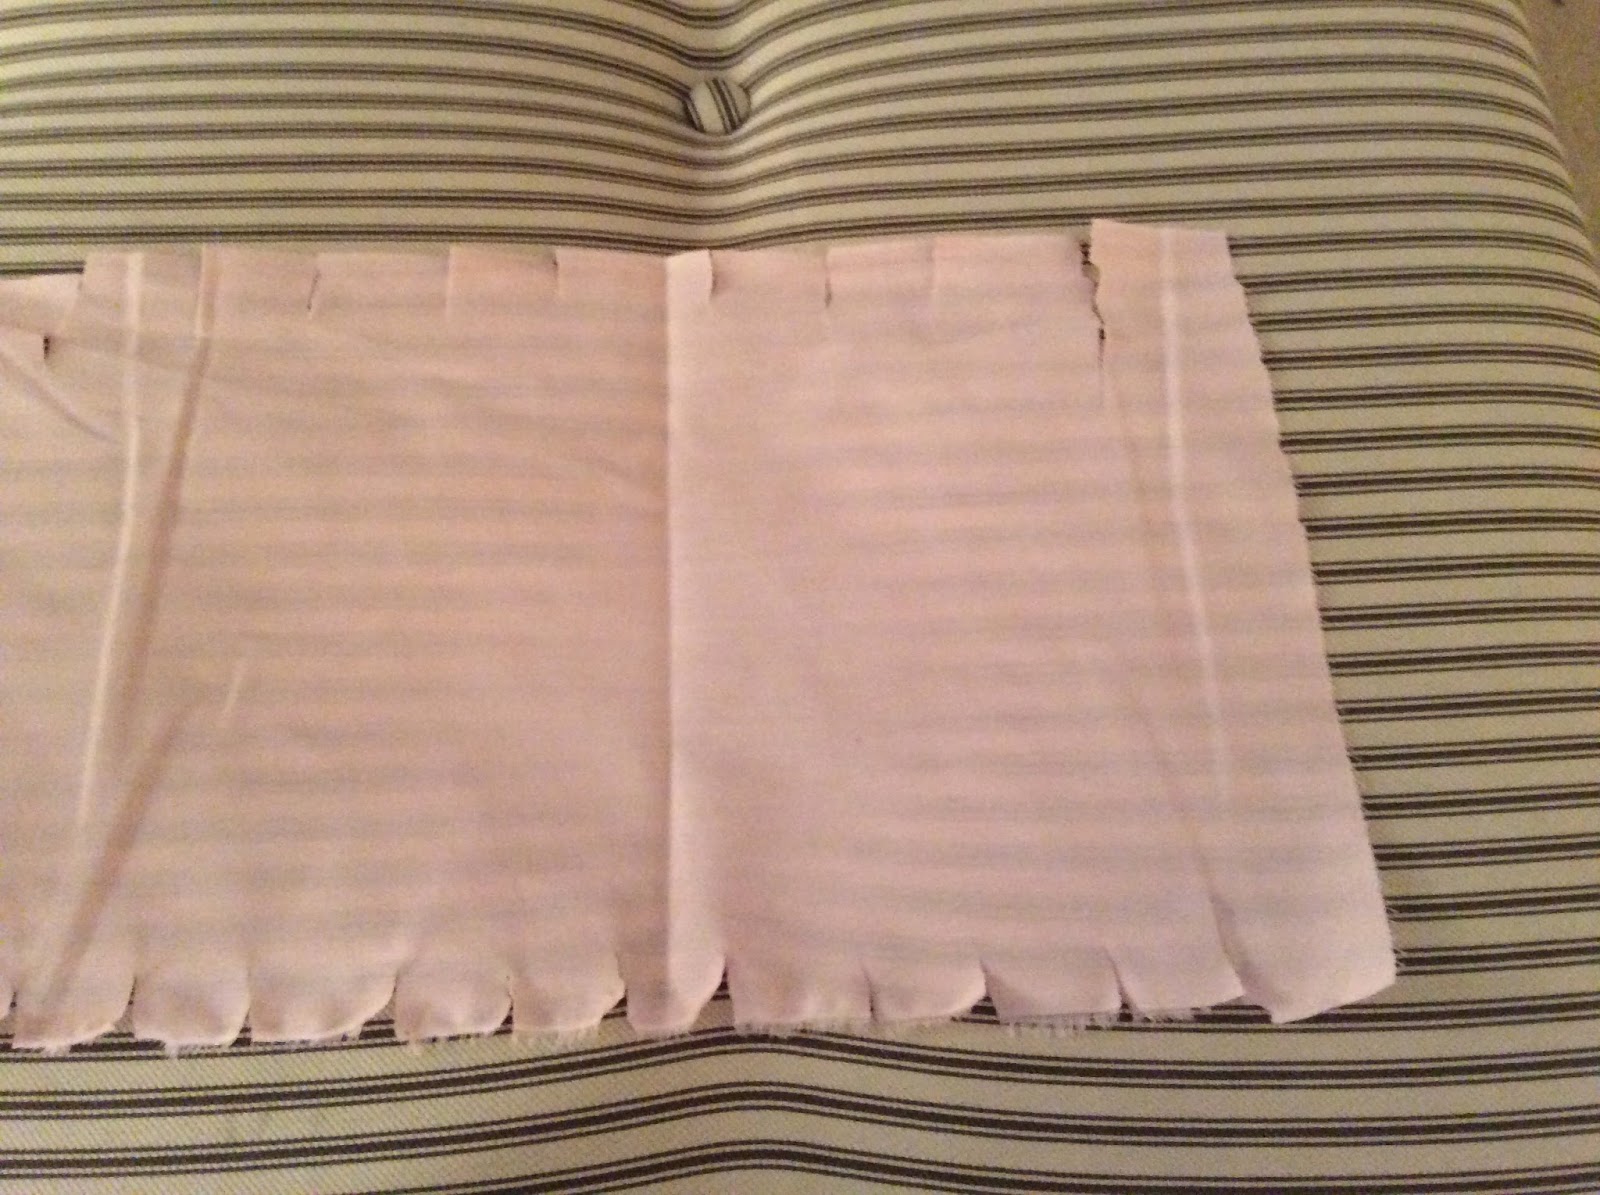
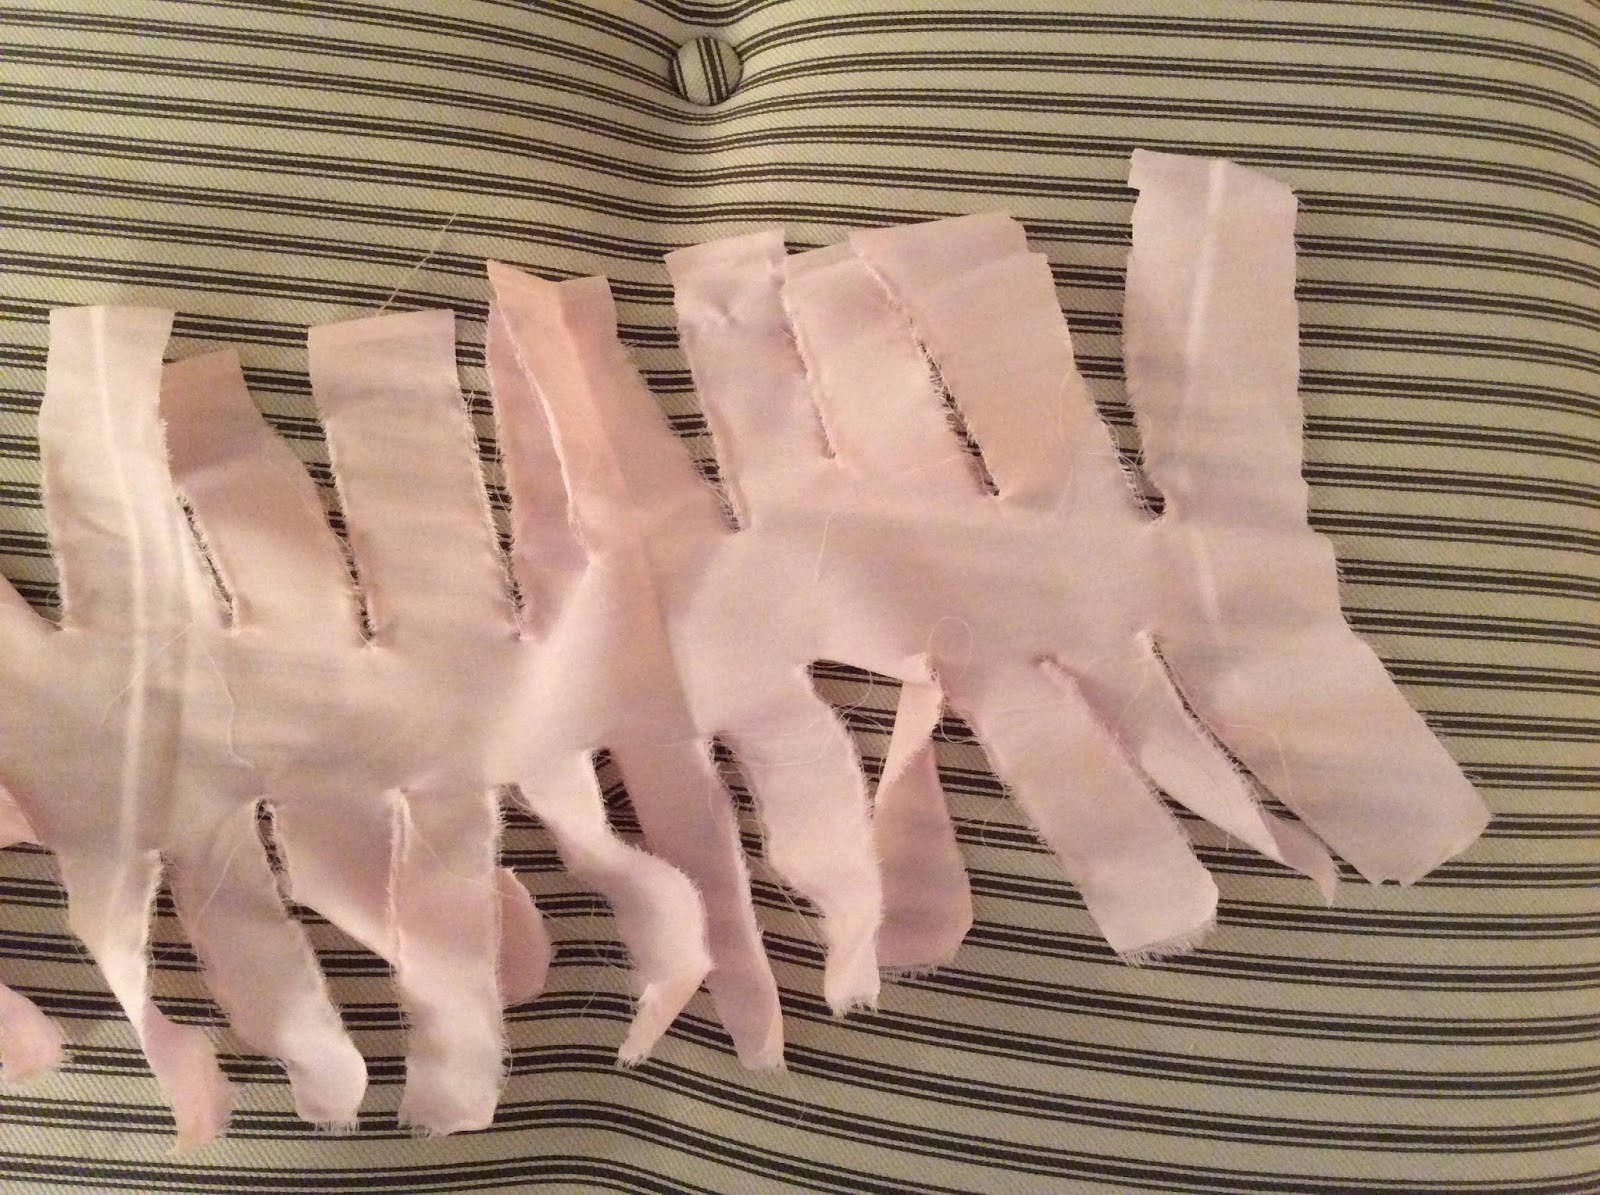
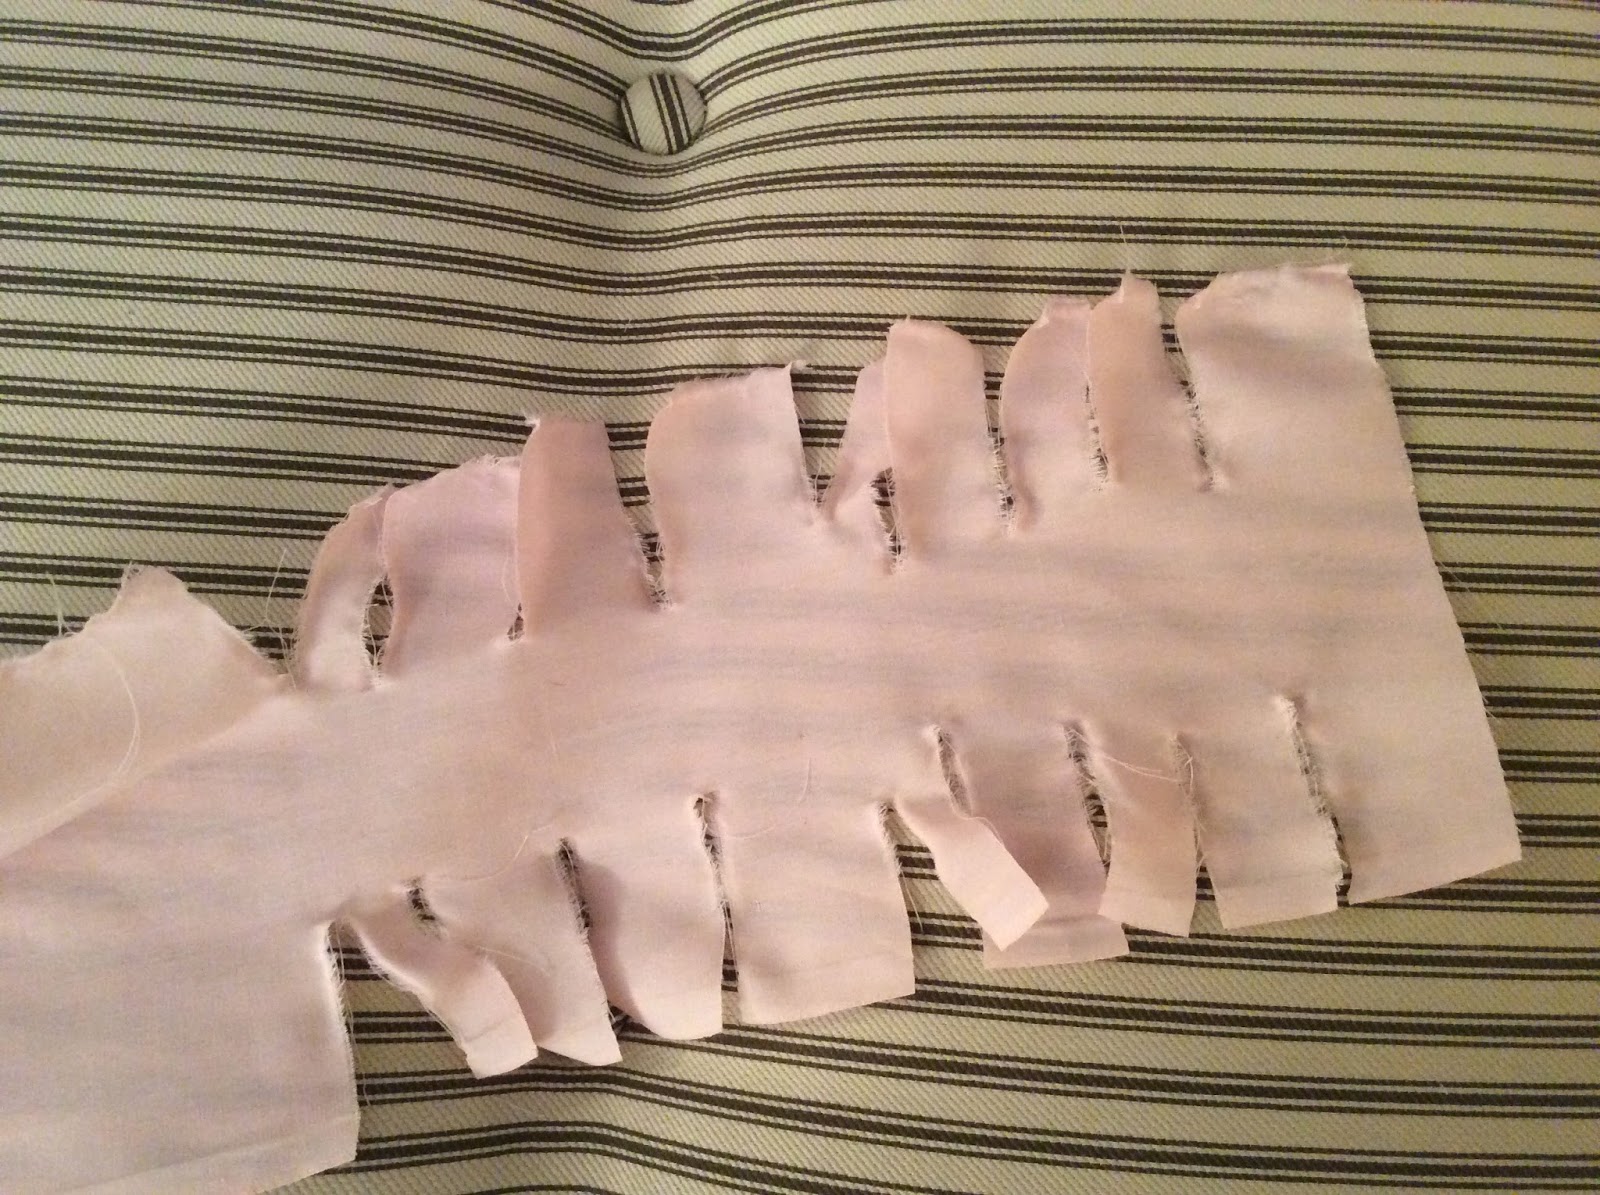
7. use scissors to make slits 1-2" apart along both long sides of each fat strip
again, you are using the scissors to get you started so you can rip the fabric.
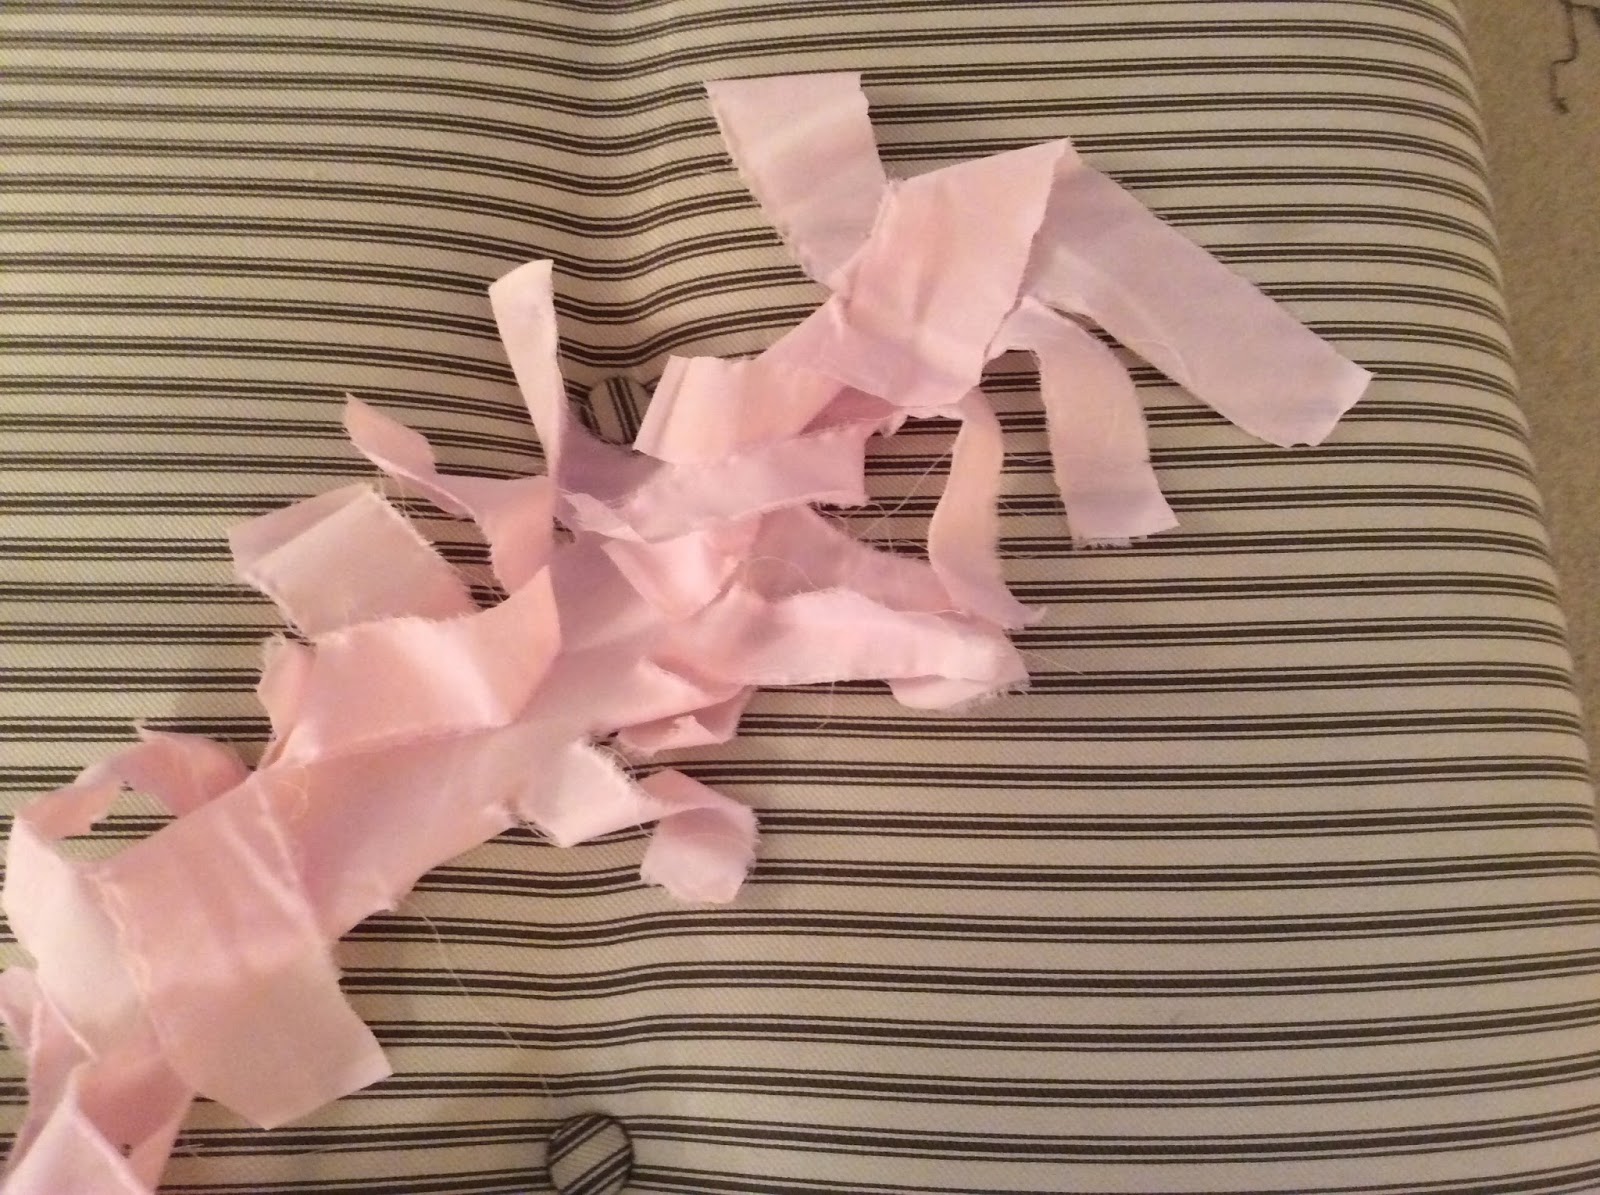
8. pull toward the center and rip fabric to create fringe along the sides
tip: be careful to stop the rip when you get to the center, leaving about an inch between the fringed sides, otherwise you'll tear your piece right in two! (and if that happens, like it did to me, don't panic. tie two fringe strips back together with a knot. it will just add more texture).
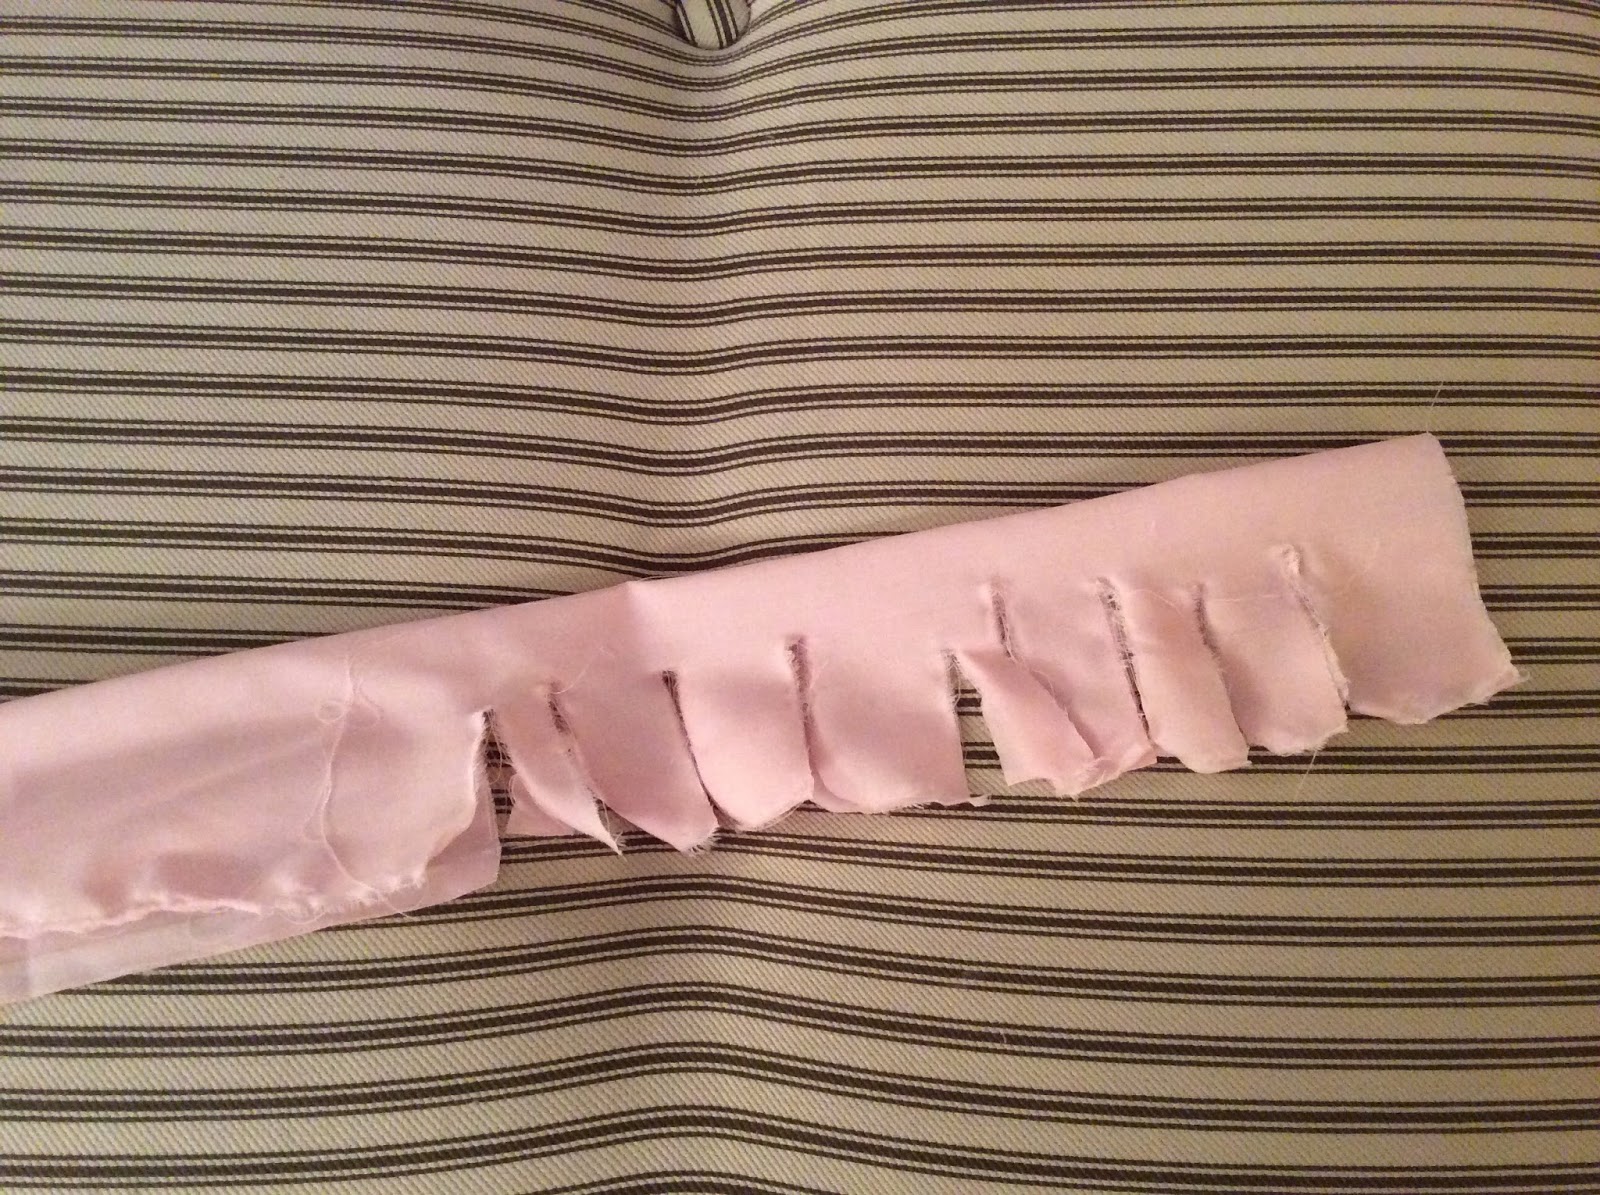
another tip: i realized late in the game you can just fold these length-wise in half to make your cuts & ripping and do it in half the time. duh!
again, it's totally ok if nothing is evenly spaced, some strips are bigger than others, or you have to tie a few knots to keep it together. this project is very forgiving, and actually looks better
without perfect uniformity.
9. cut clothesline to size
i made my length of rope the same as the width of the wall with a few inches left on either side to tie knots on for hanging.
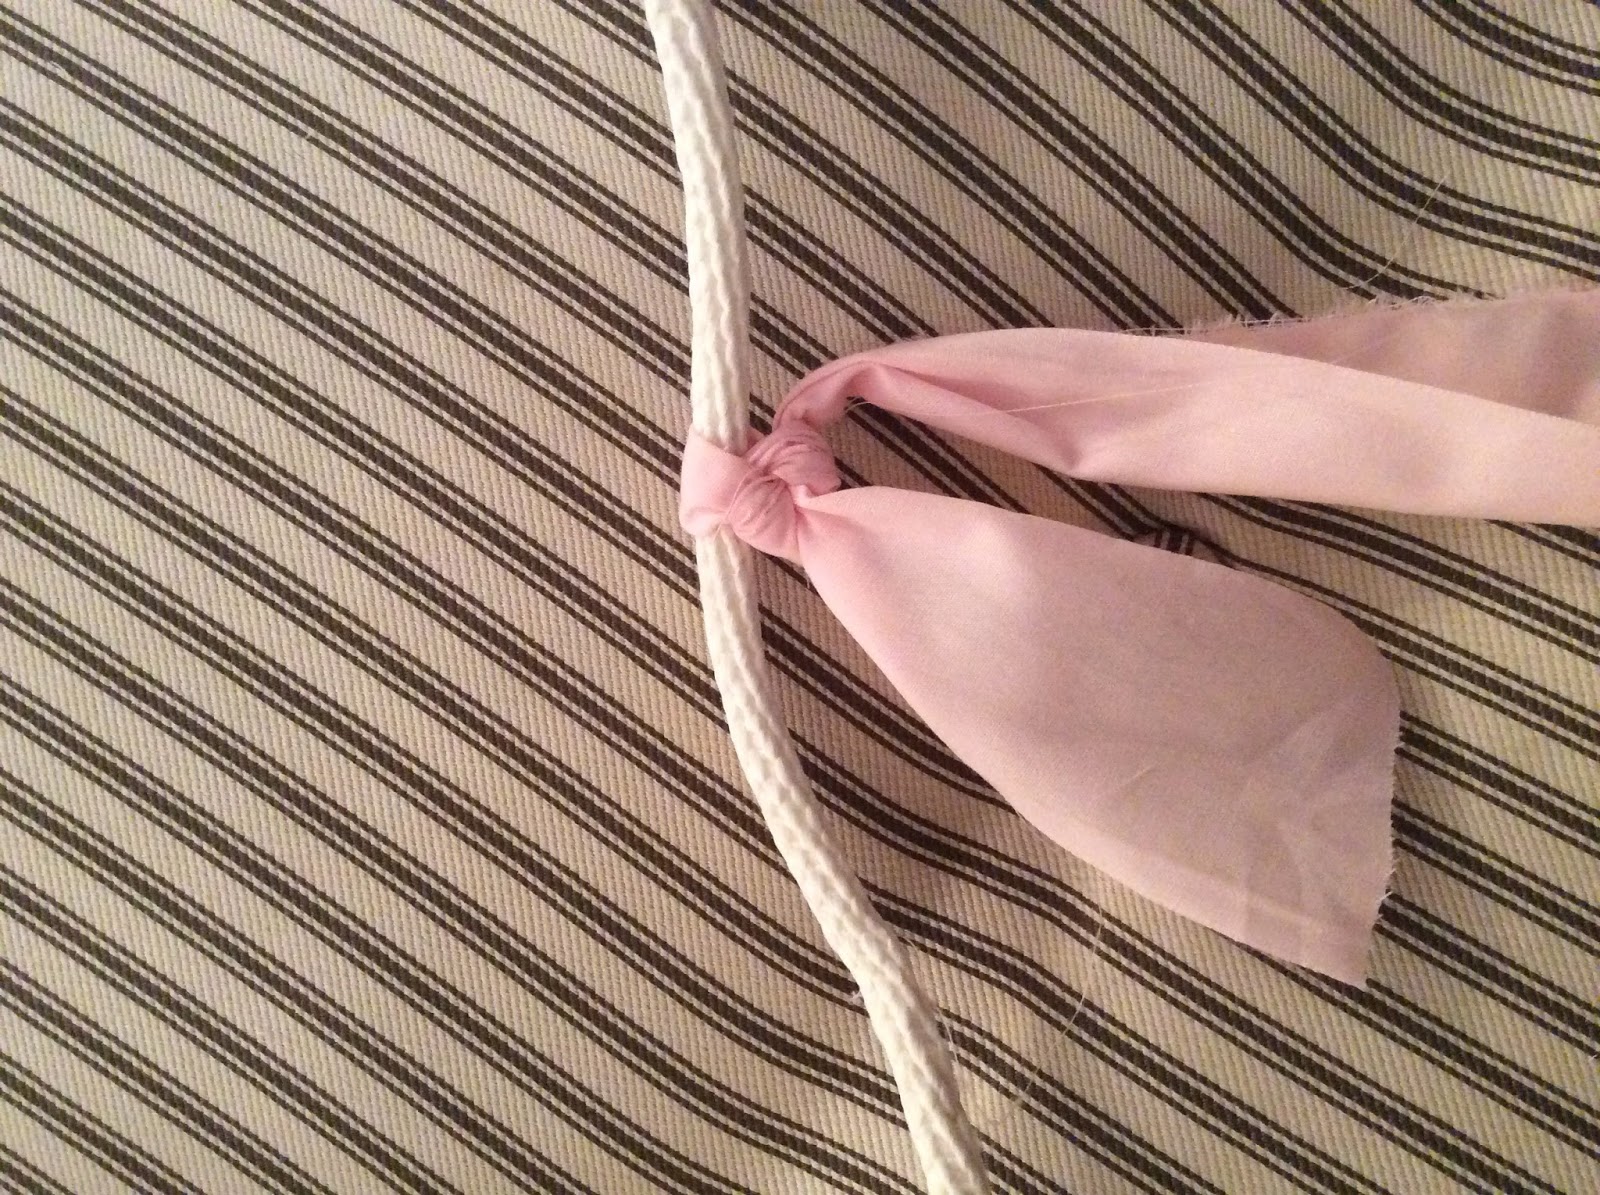
10. tie fabric strips onto clothesline
i used a double knot to tie each skinny strip to the rope. (save the fringe strips for later). do not worry about making them all exactly the same length. eyeball it.
this should have been the easy part. but remember how i said those pesky little string stragglers would trip you up? it was quite the task to untangle the pile i had been offhandedly tossing all my fabric in. i don't know exactly how you can avoid that, but i'm going for full disclosure here.
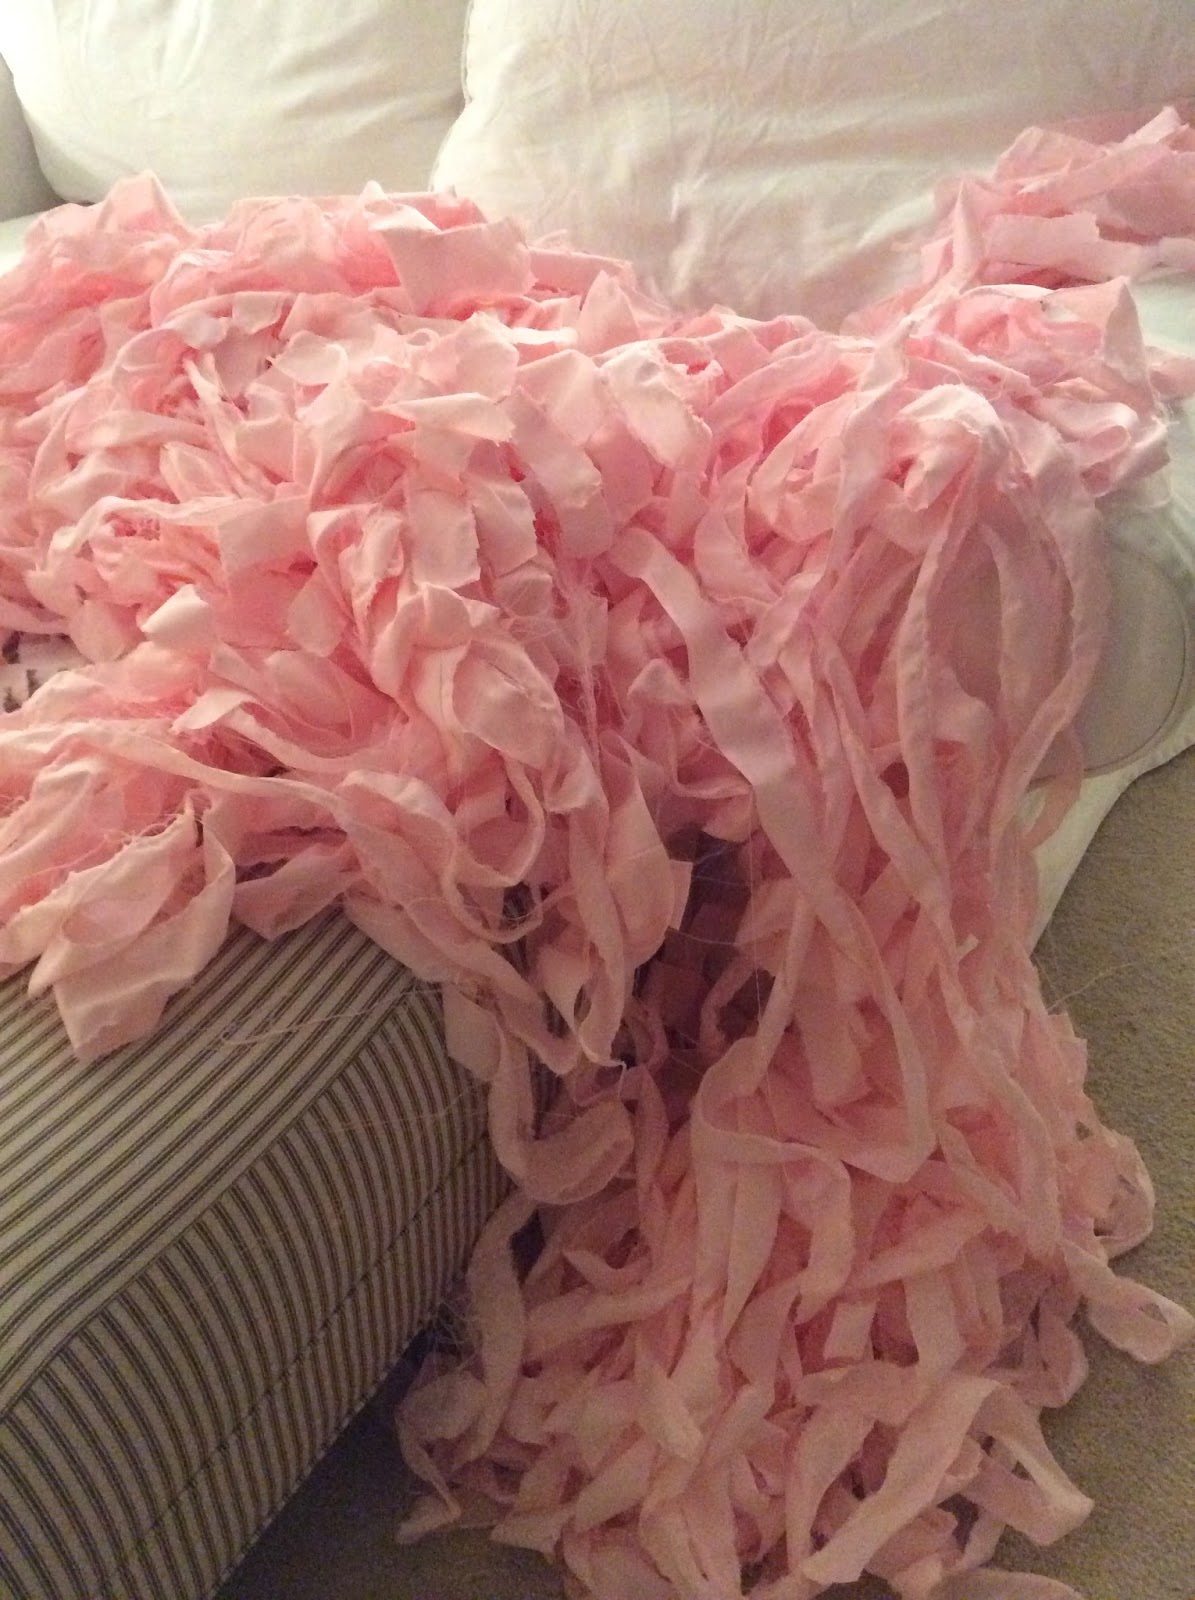
you will eventually have something that looks like this:
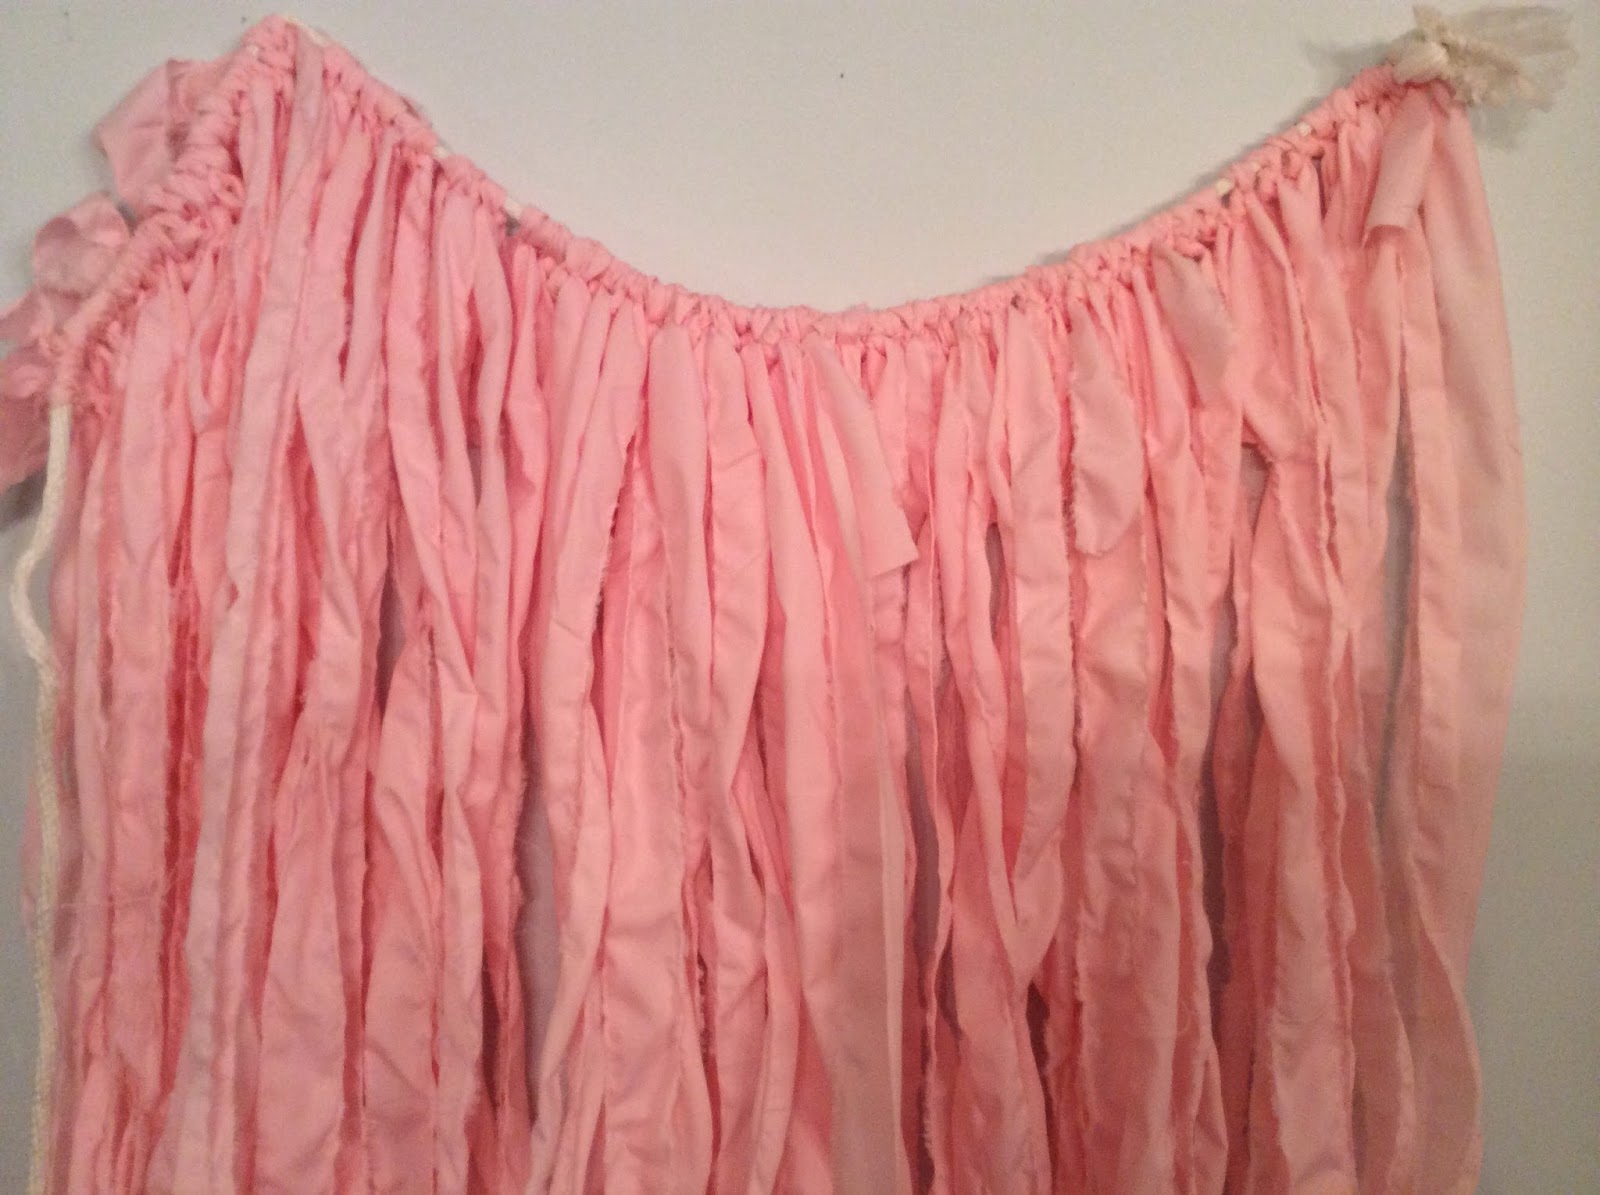
as you tie the strings on, you can slide them together on the rope. the picture above shows what they looked like pushed together once they were all on. much to my dismay, they only filled about two feet of space rather than six.
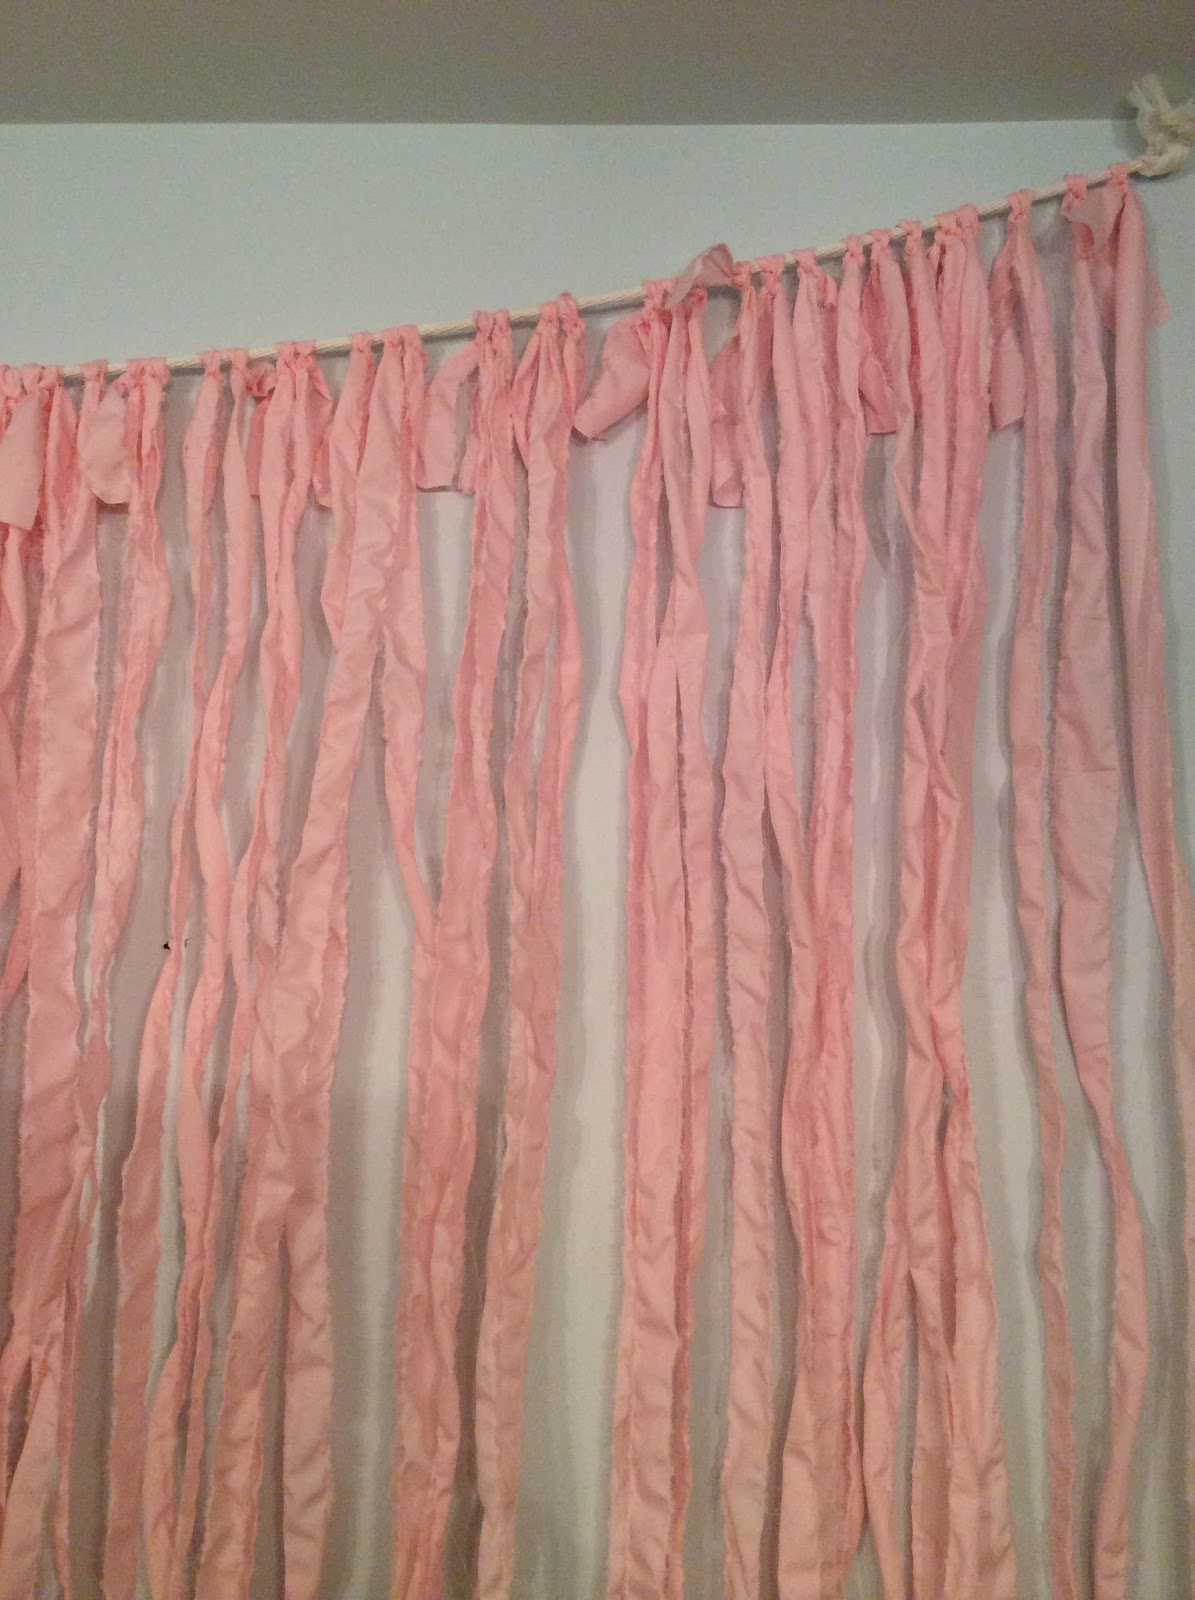
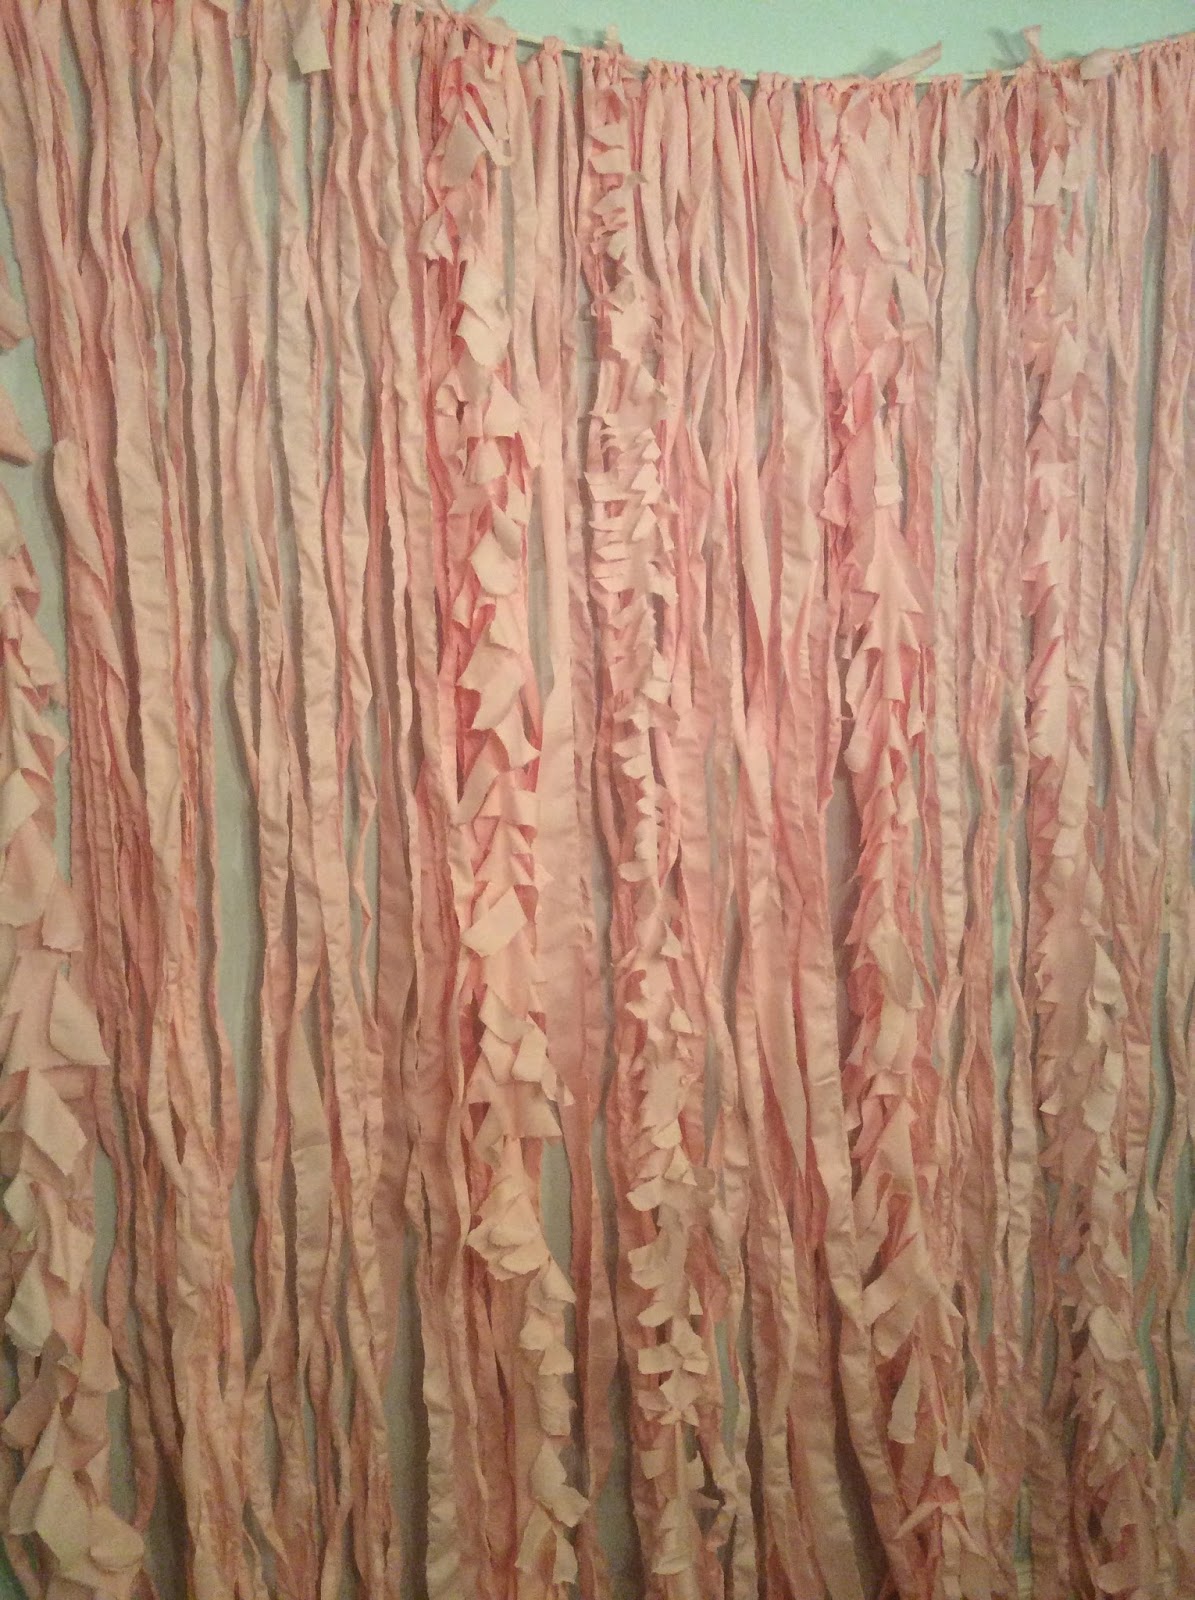
this picture shows what it looked like when i spread them all evenly across the length of the rope, to fill the six foot wall. there is a lot of wall showing through. so, again, if you need this backdrop to be fuller, you'll need more fabric.
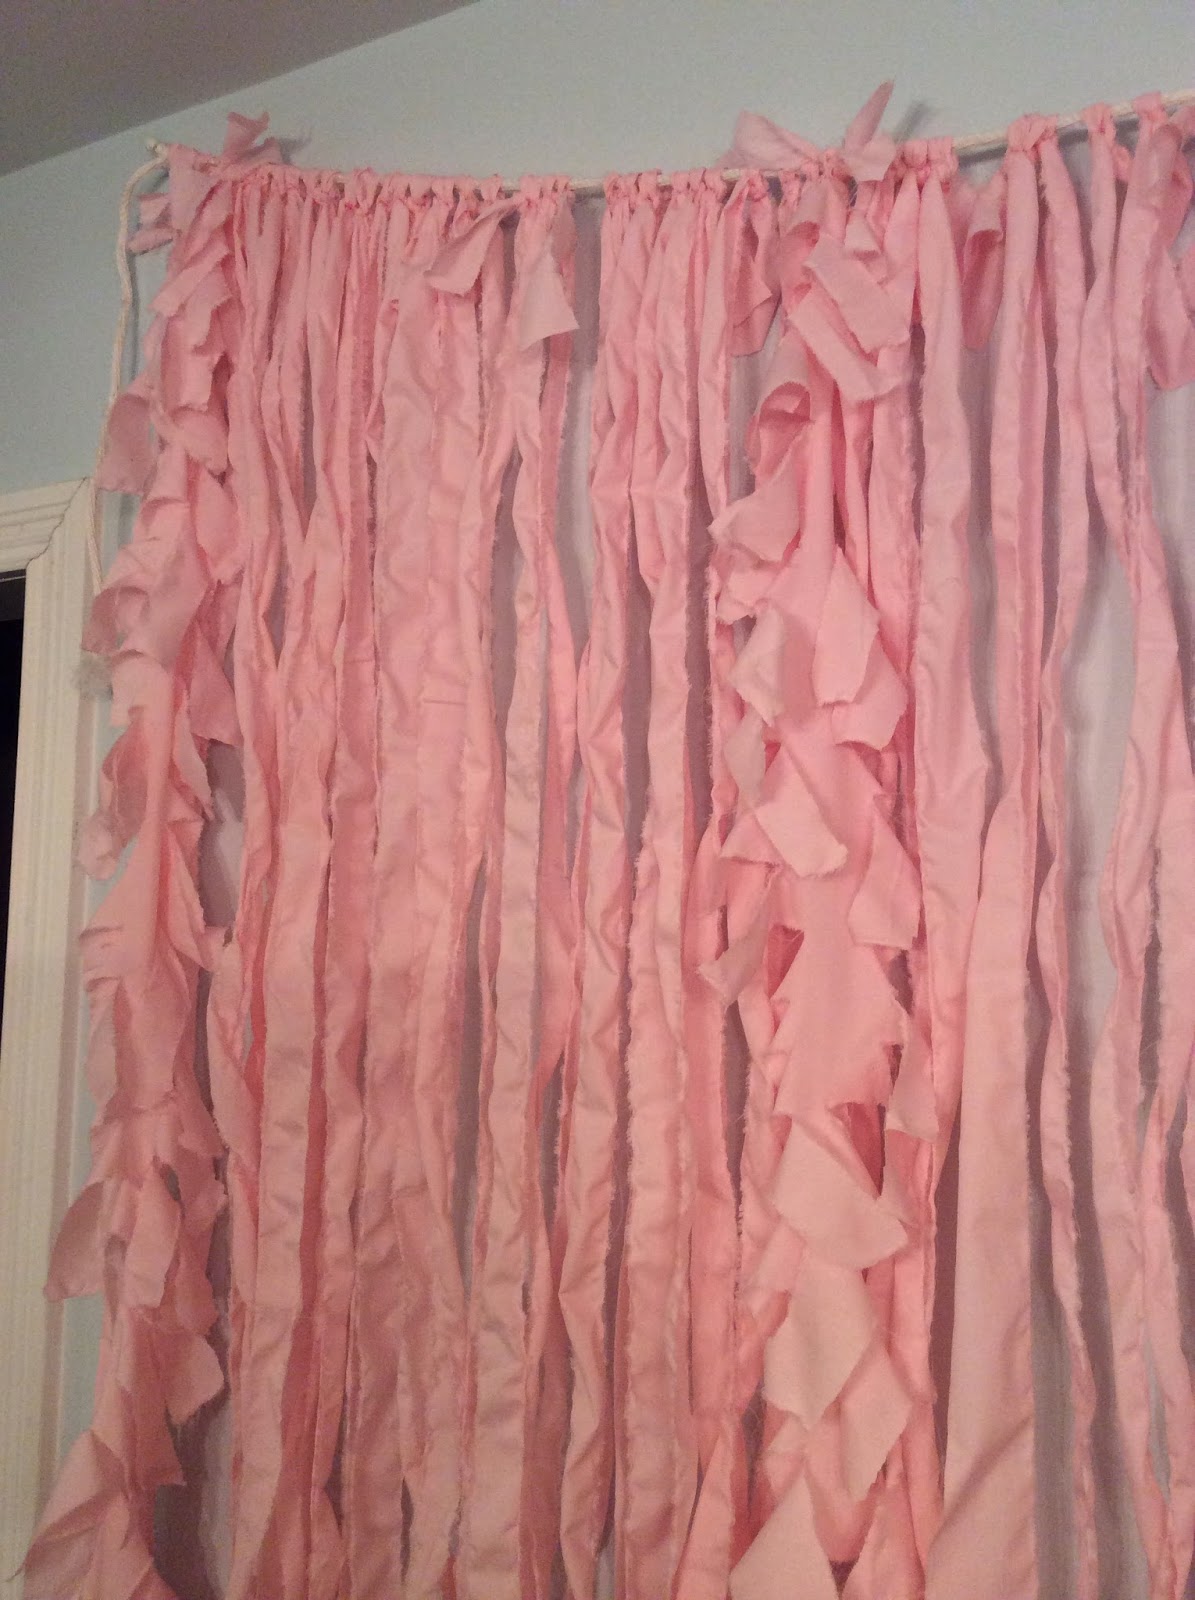
12. tie on the fringe pieces.
space these across the rope in a bit of a random pattern. mine went like this:
| | | | |
(in other words, not perfectly even in spacing).
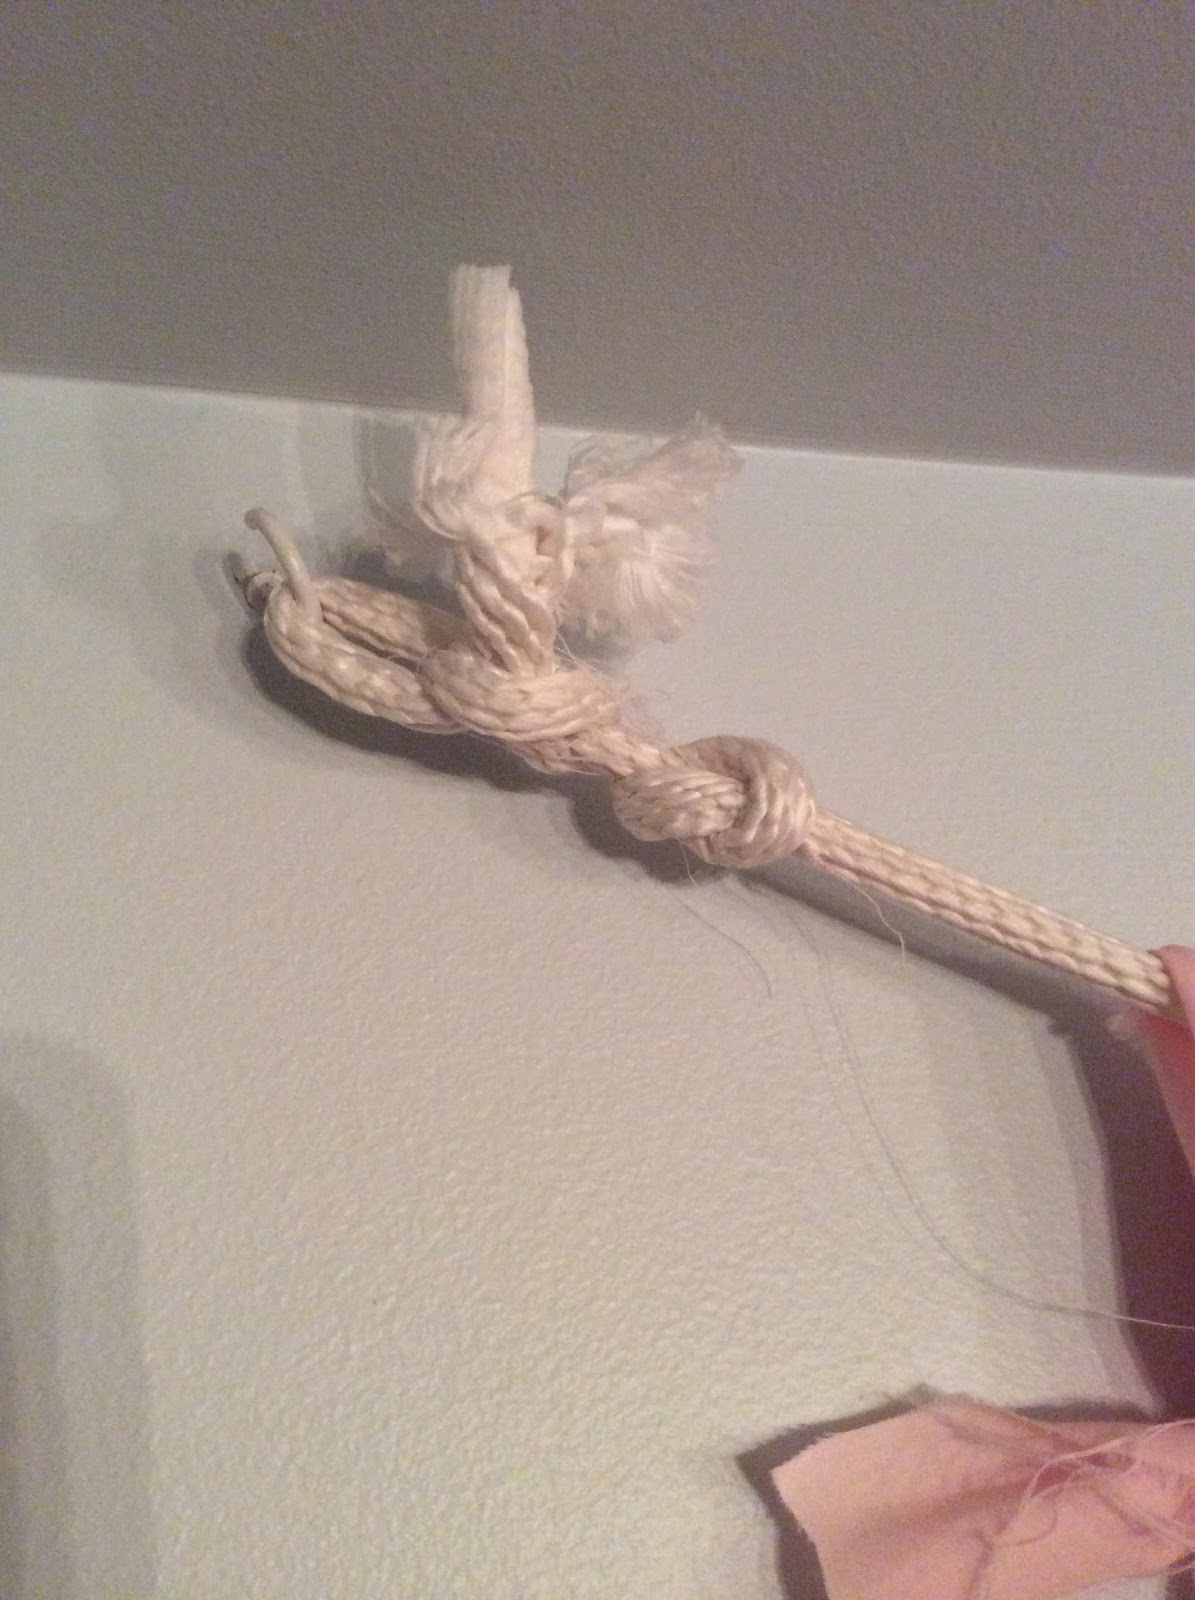
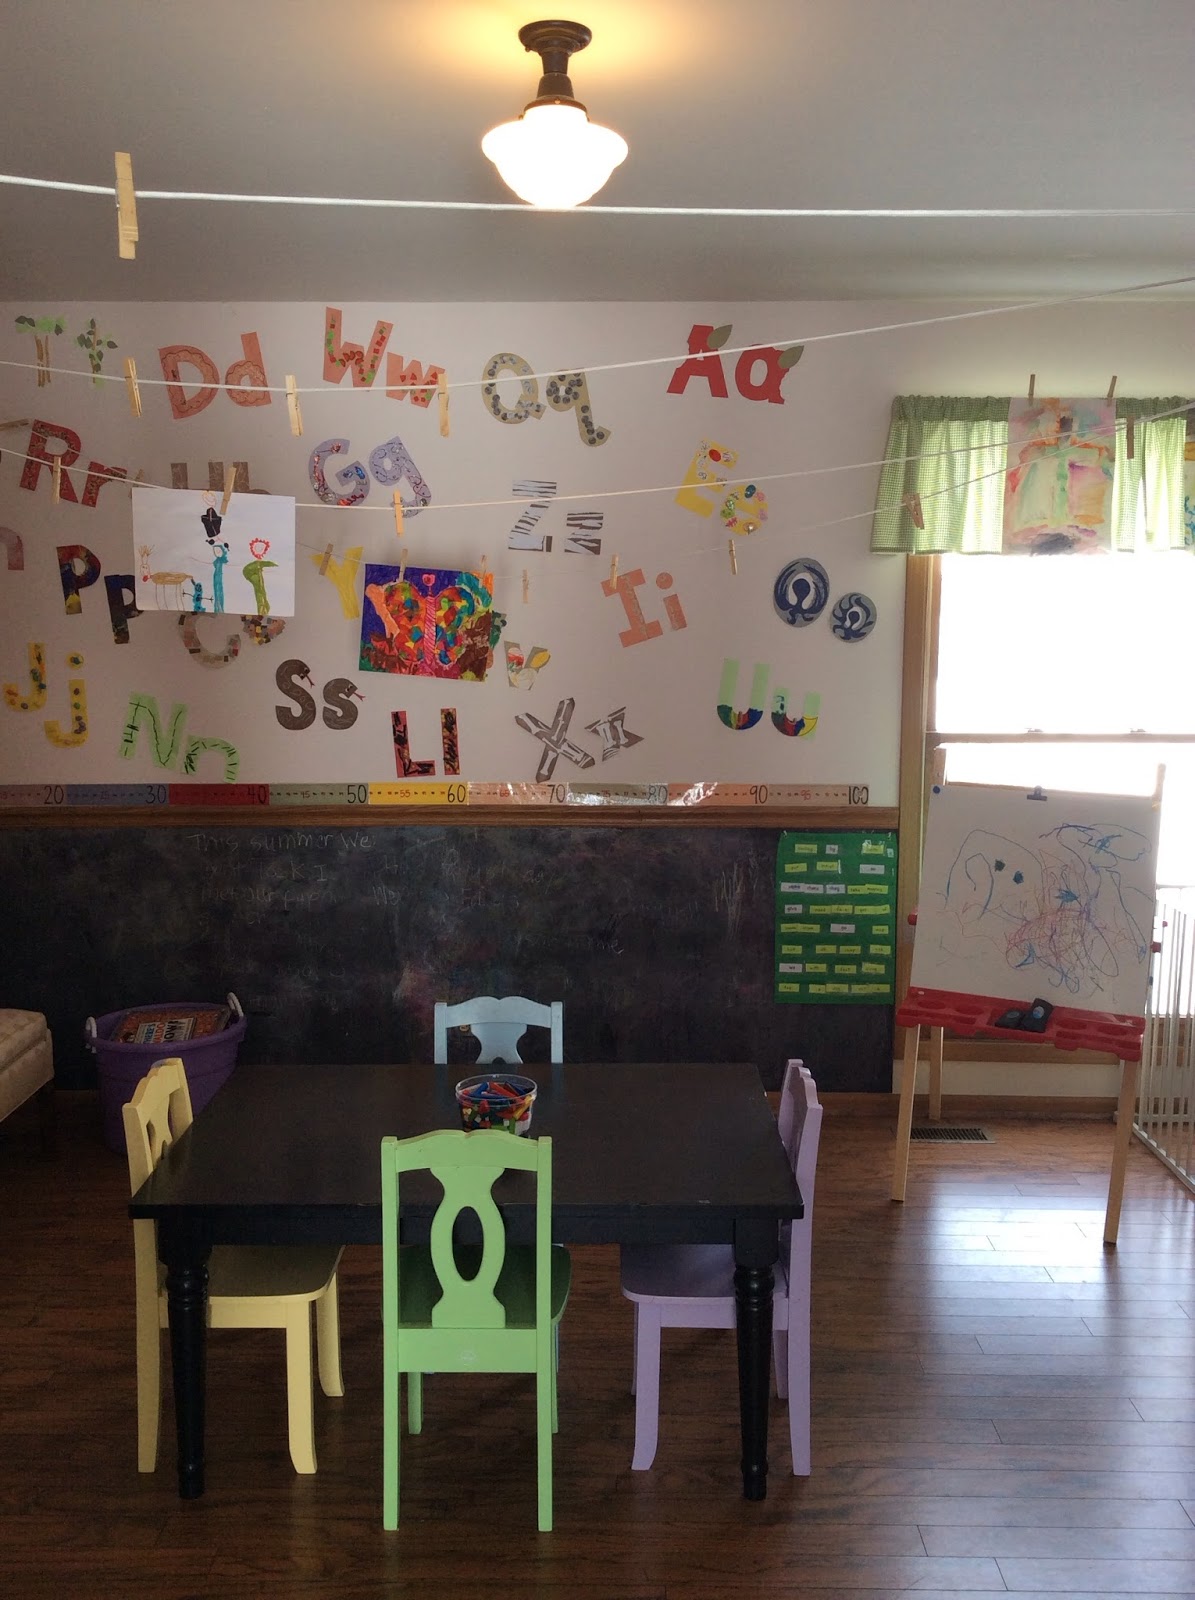
12. hang your rope using cuphooks.
screw your cuphook into the wall, then tie a knot at one end of the rope. loop the knot over the hook.
put another cuphook on the other side of the wall (at the same height). grab the opposite end of the rope and pull it taught. you'll have to really pull as the weight of the fabric makes the rope sag quite a bit. you don't want it to be perfectly straight across the top; just a gentle slope.
knot the second rope-end around the hook and you're
done. stand back and admire, then turn off the coffee pot and go to bed. or stay up even later snapping photos of your finished product for instagram.
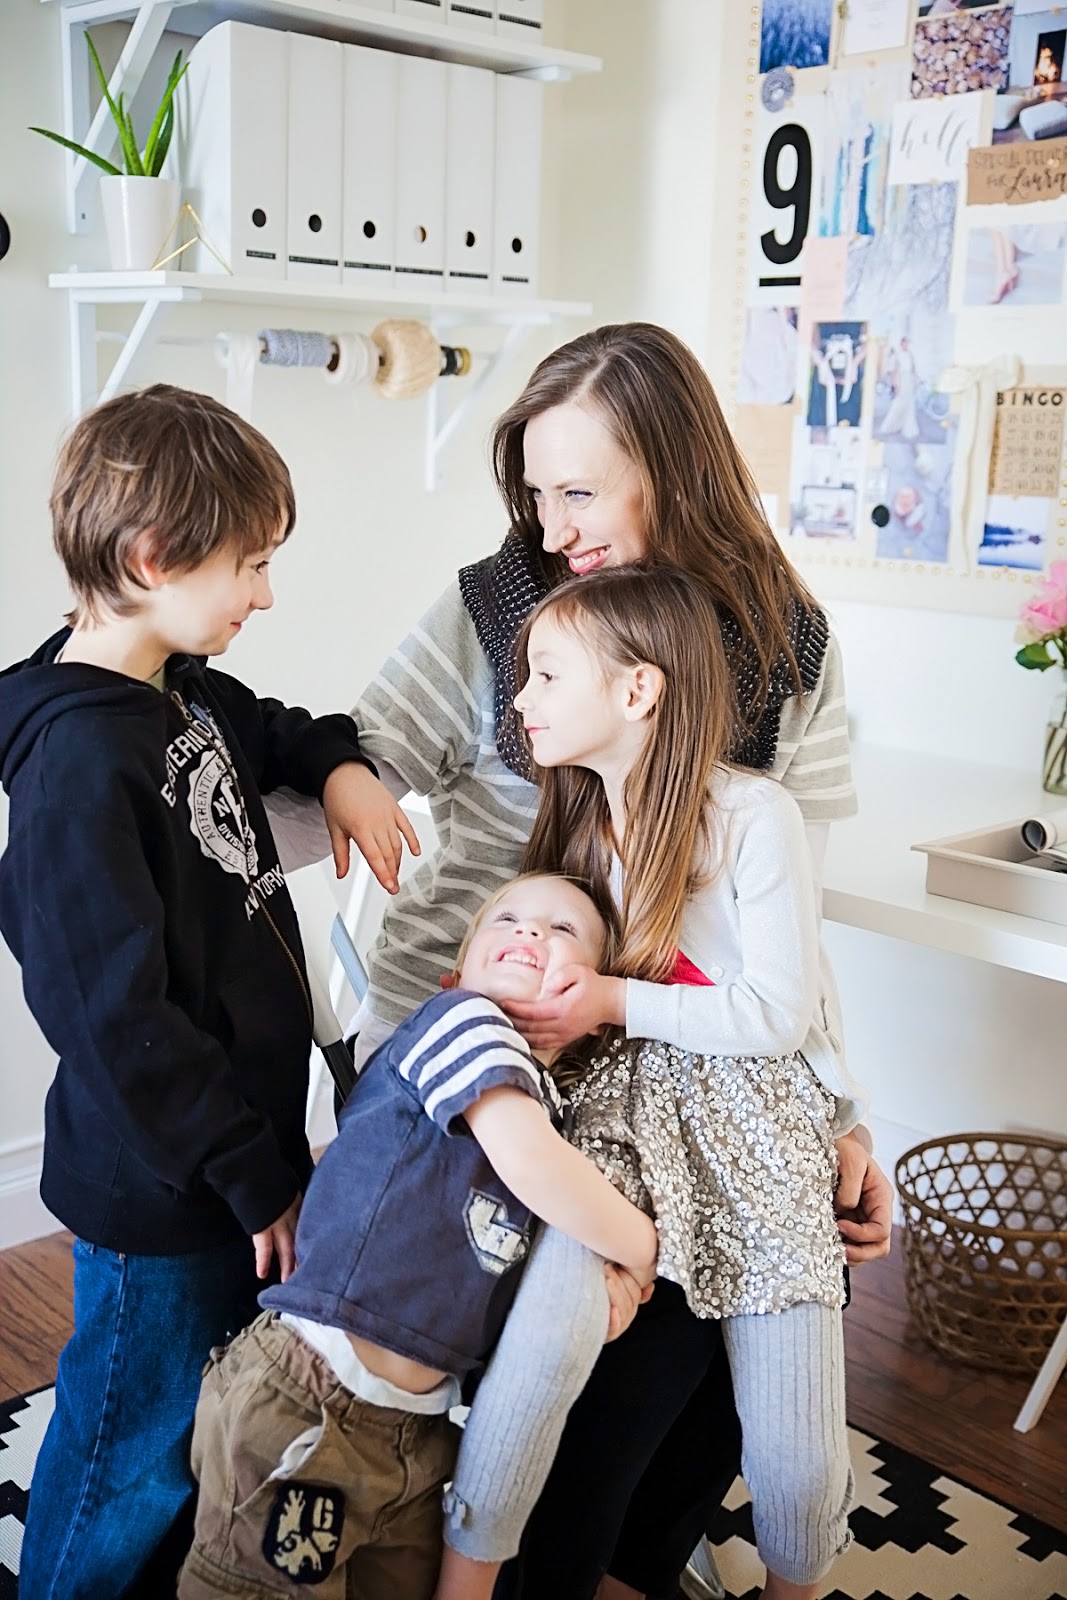
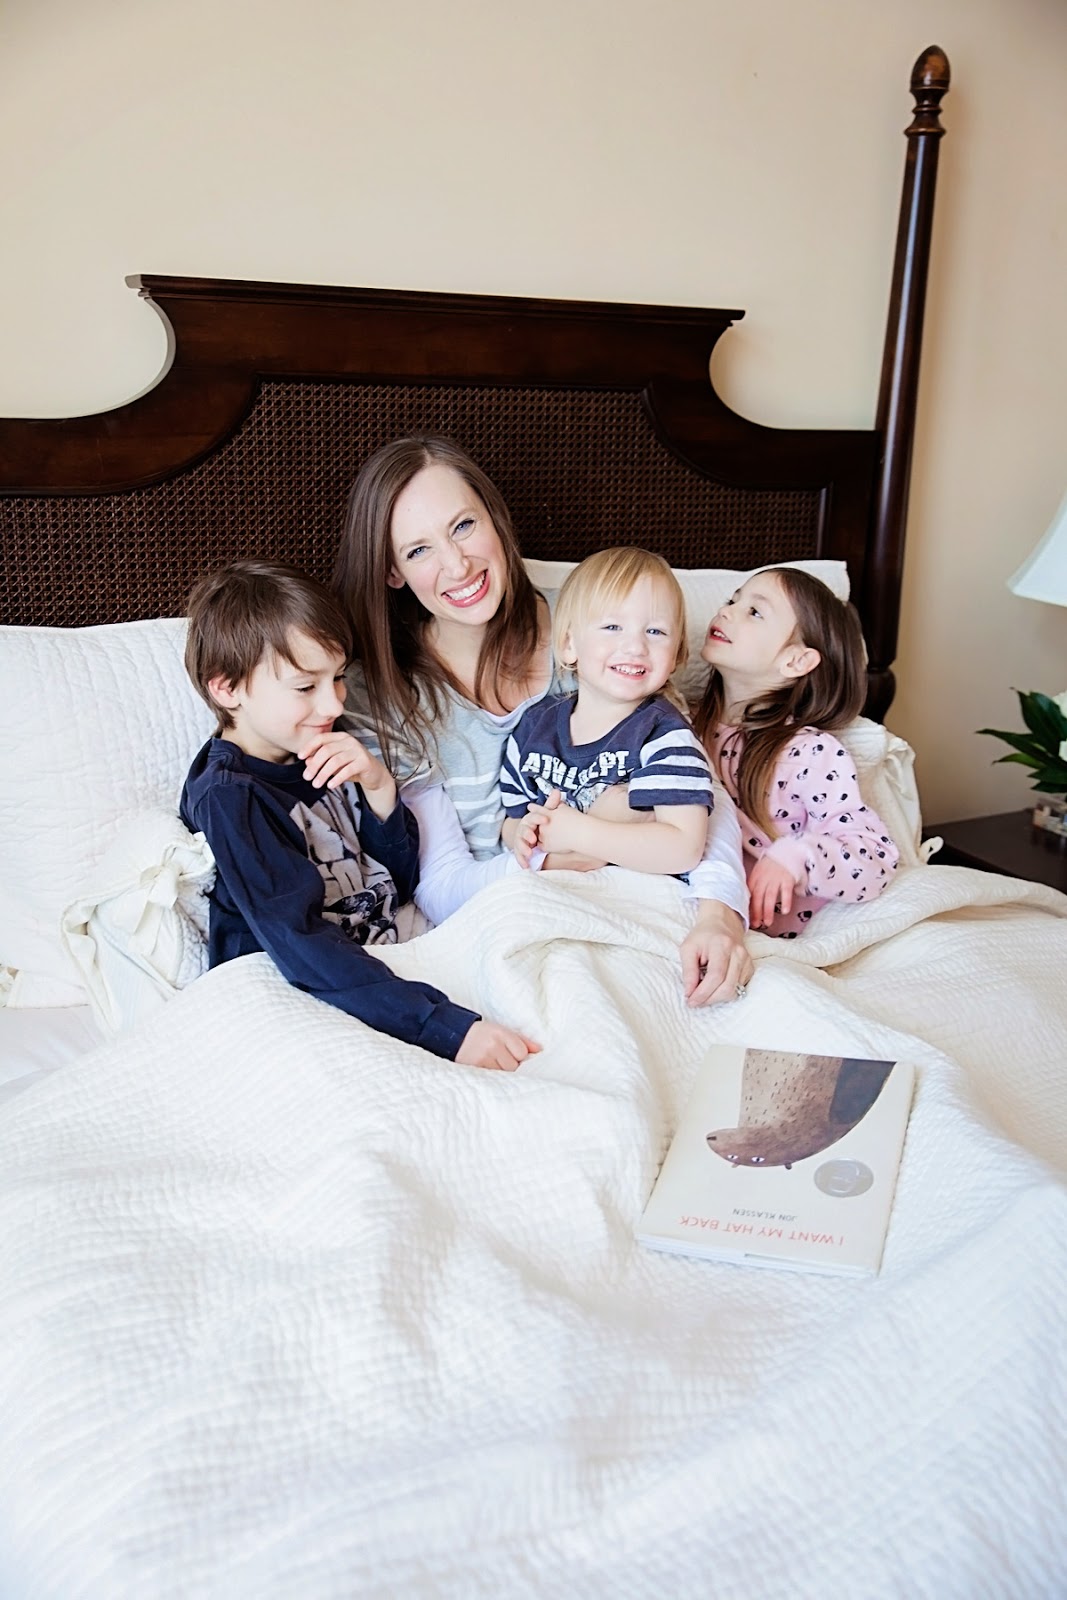
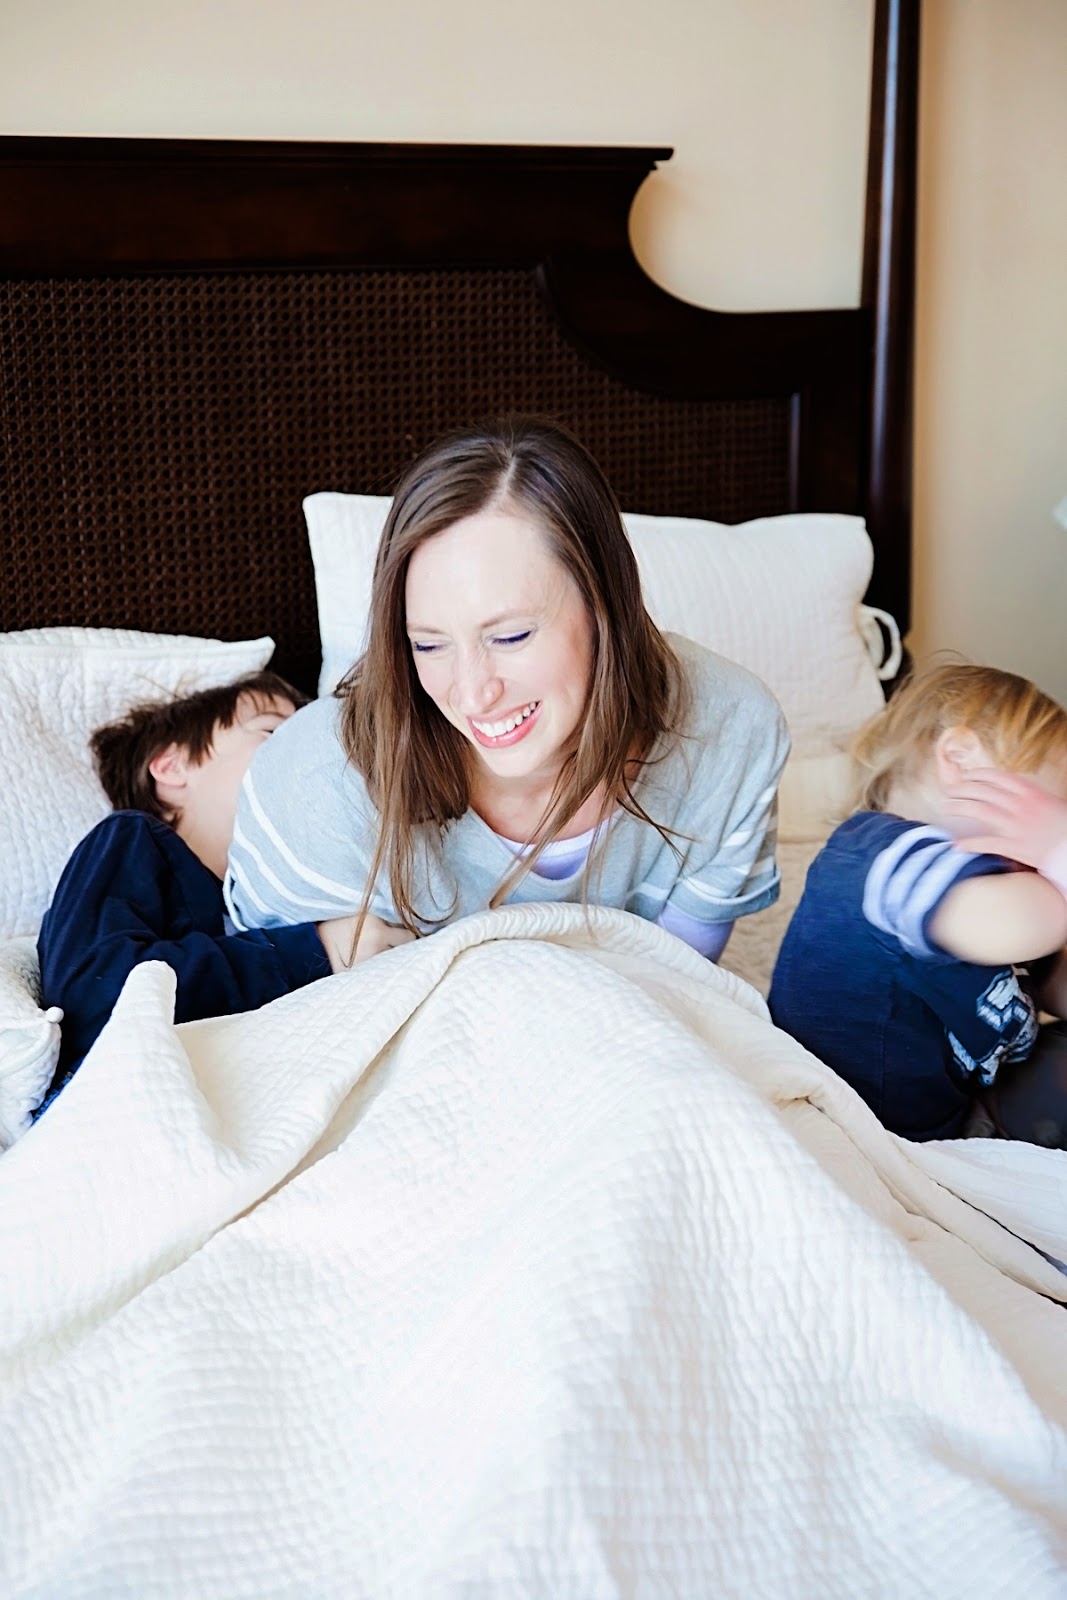
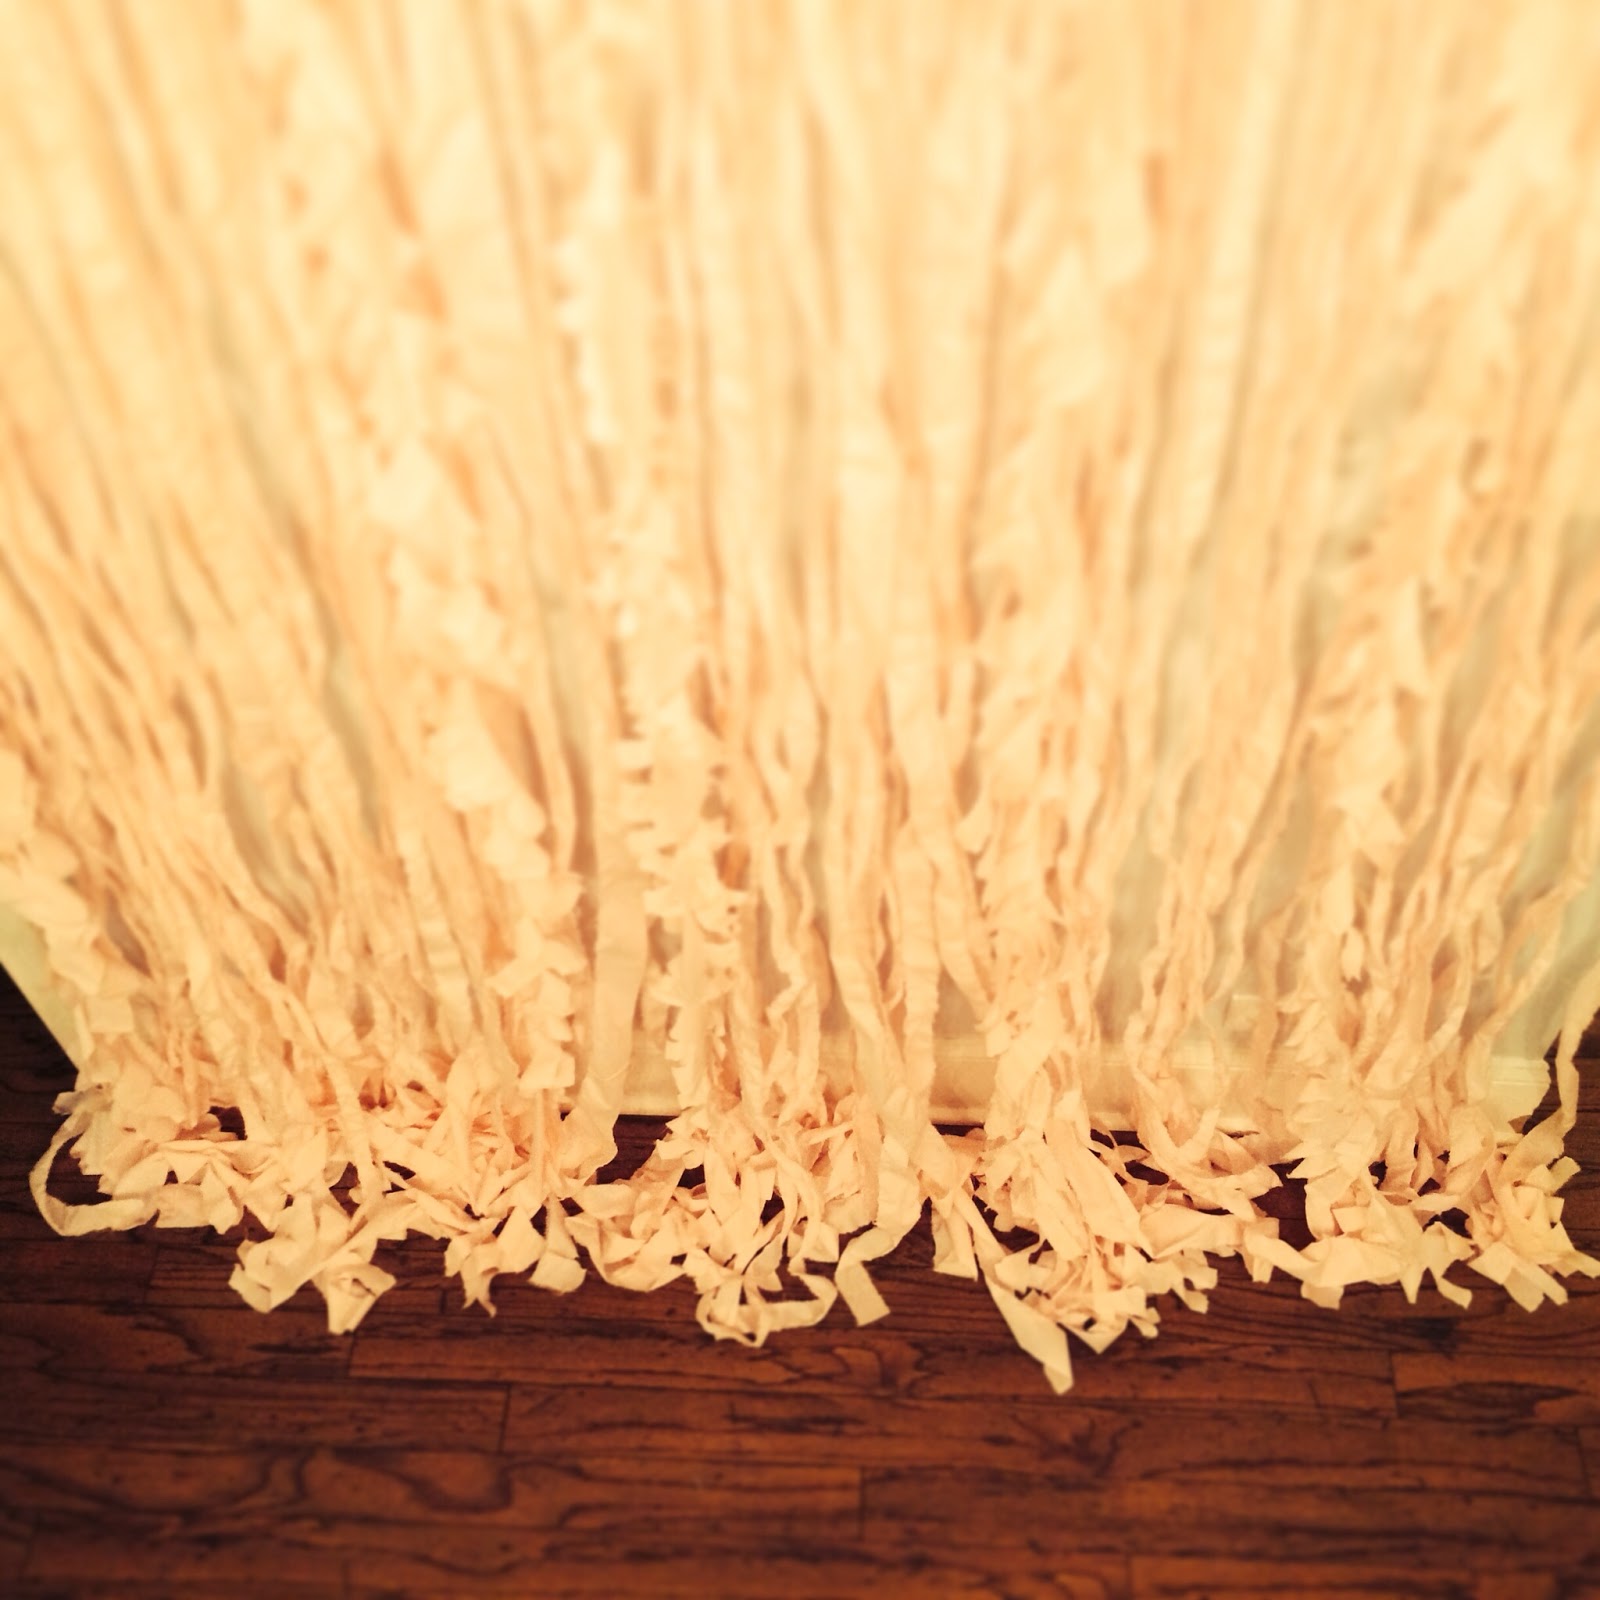
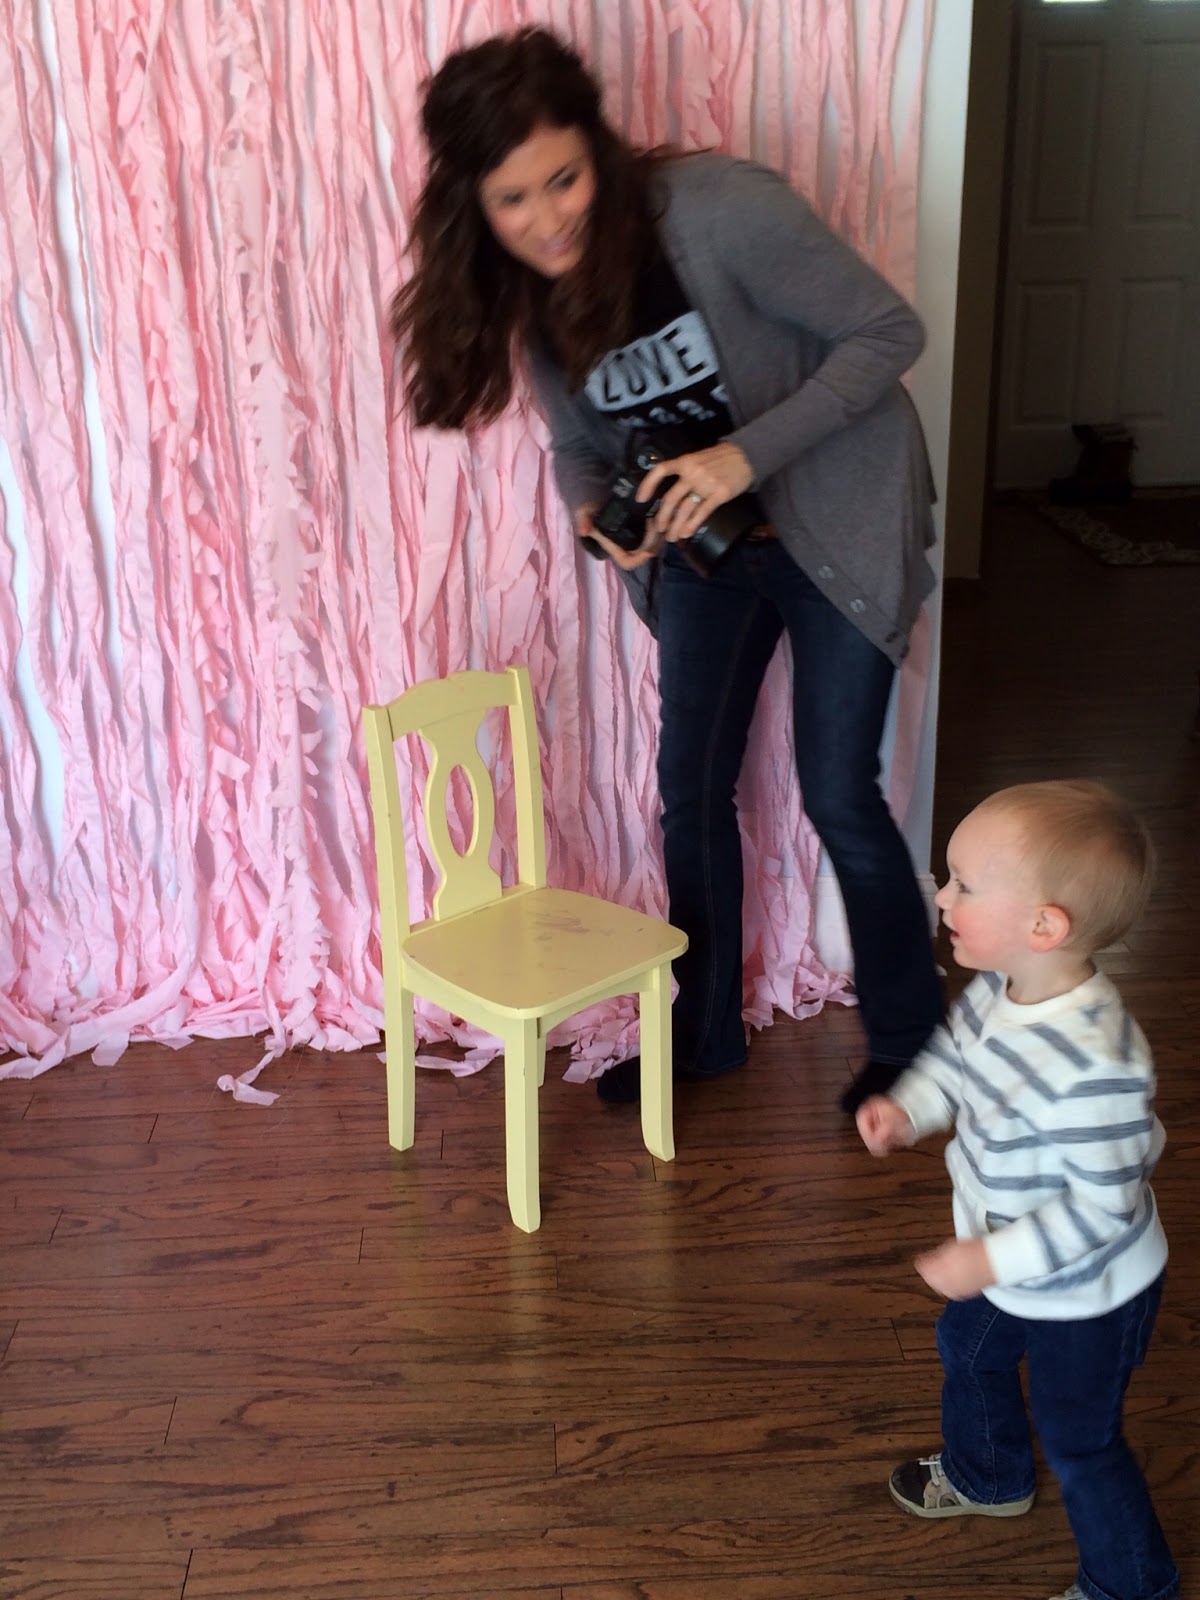
this last picture (above) was taken by my darling dear photographer ellen swalley of red sweater photography, before she shot our family pictures.
i'm so glad i made this backdrop and thrilled with how it turned out. if only the kids had stayed in one place for more than a second, i'm pretty sure our family picture would have been epic.
{update: we actually got a few of the kids sitting still! i'll refrain from posting them here...but if you want to see our shaggy dog and where not to put a mustache, feel free to stop over at ellen's!}

.jpg)
.jpg)


.JPG)


.JPG)