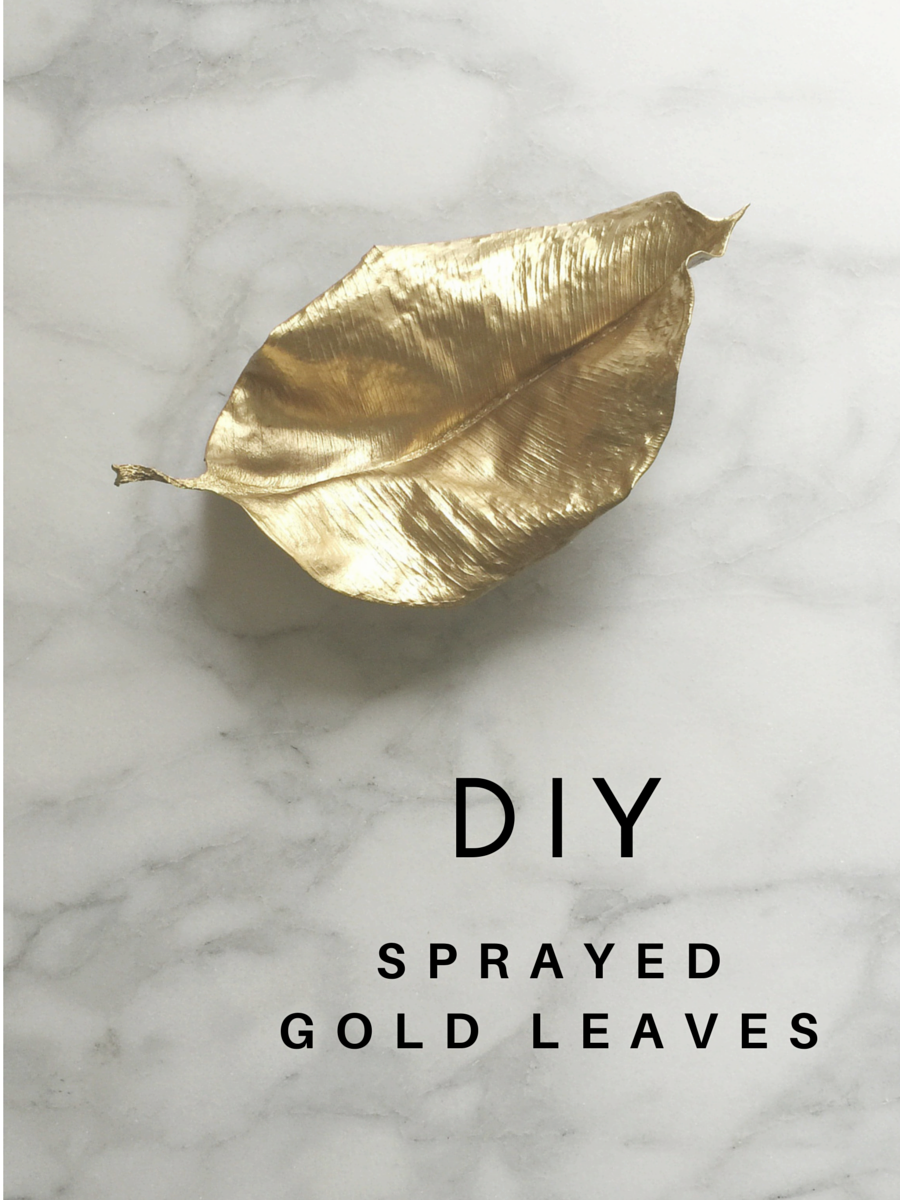
Merry Christmas! I was busy over the weekend putting the finishing touches on our decorations. Even though it feels like I put up less and less each year, I still somehow end up bombing our entire house with boxes, wrapping, general Christmas messes of all kinds, and leaves. So many leaves.
The good news is, we have almost completely dug ourselves out from under it (though my office may need to be declared a national disaster area), and I have a super sweet and easy little DIY to share.
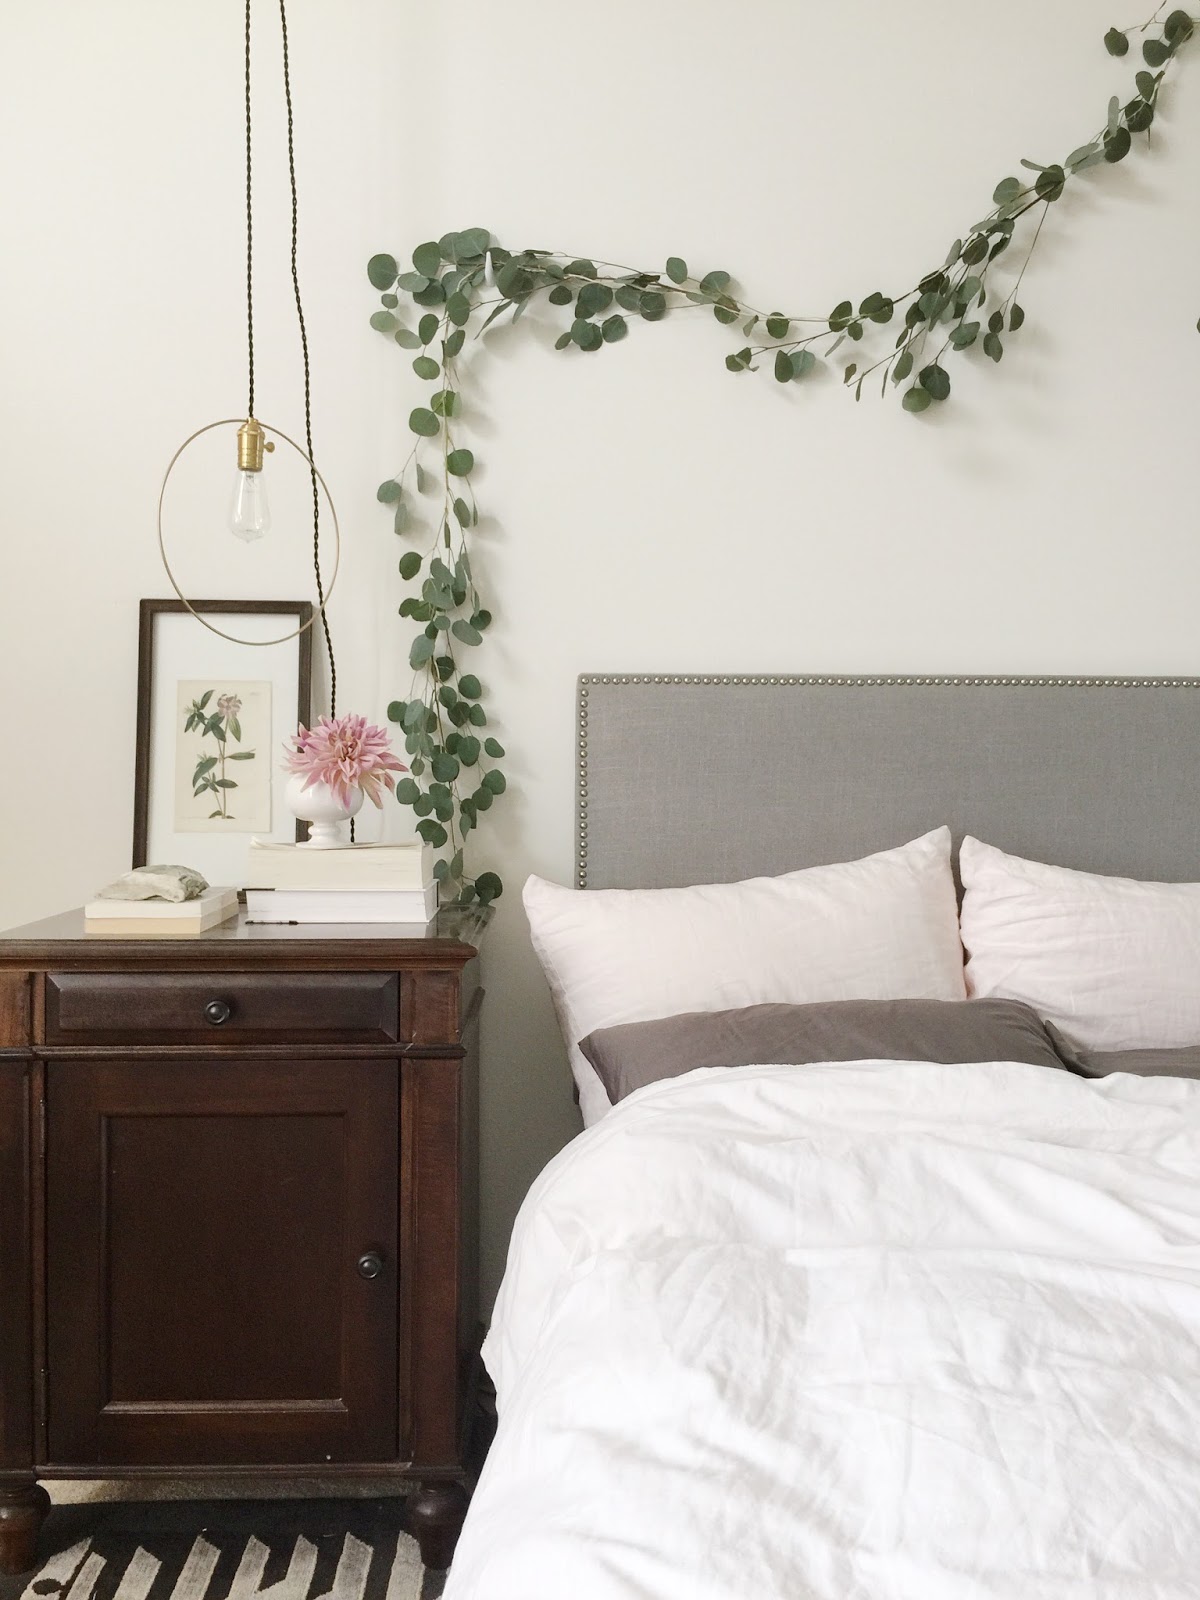
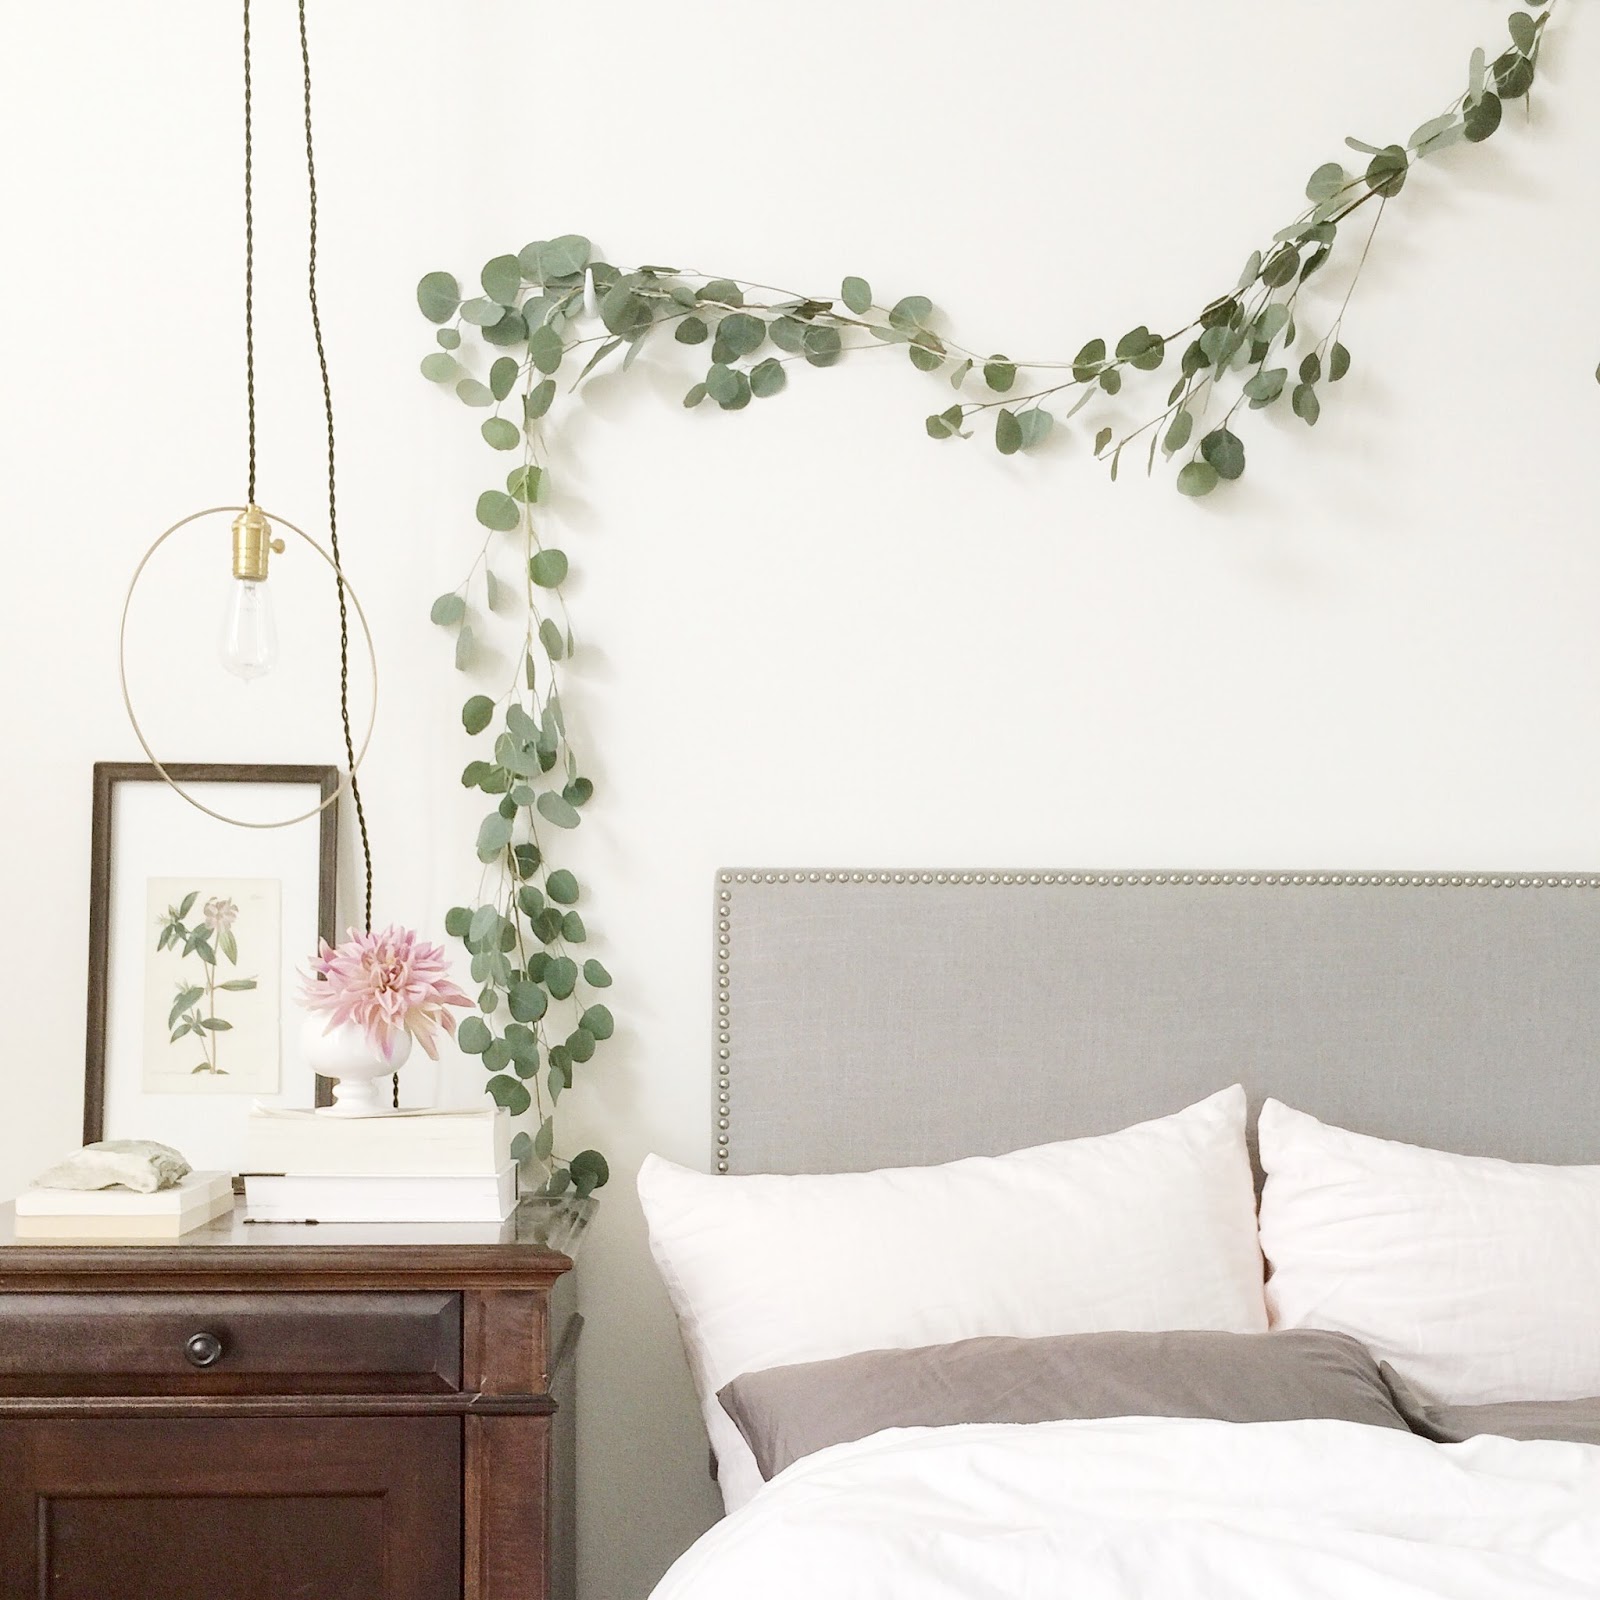
DIY Eucalyptus Garland
Time: 45 Minutes
Cost: $12
Skill Level: Intermediate
Patience Level: Beach Read
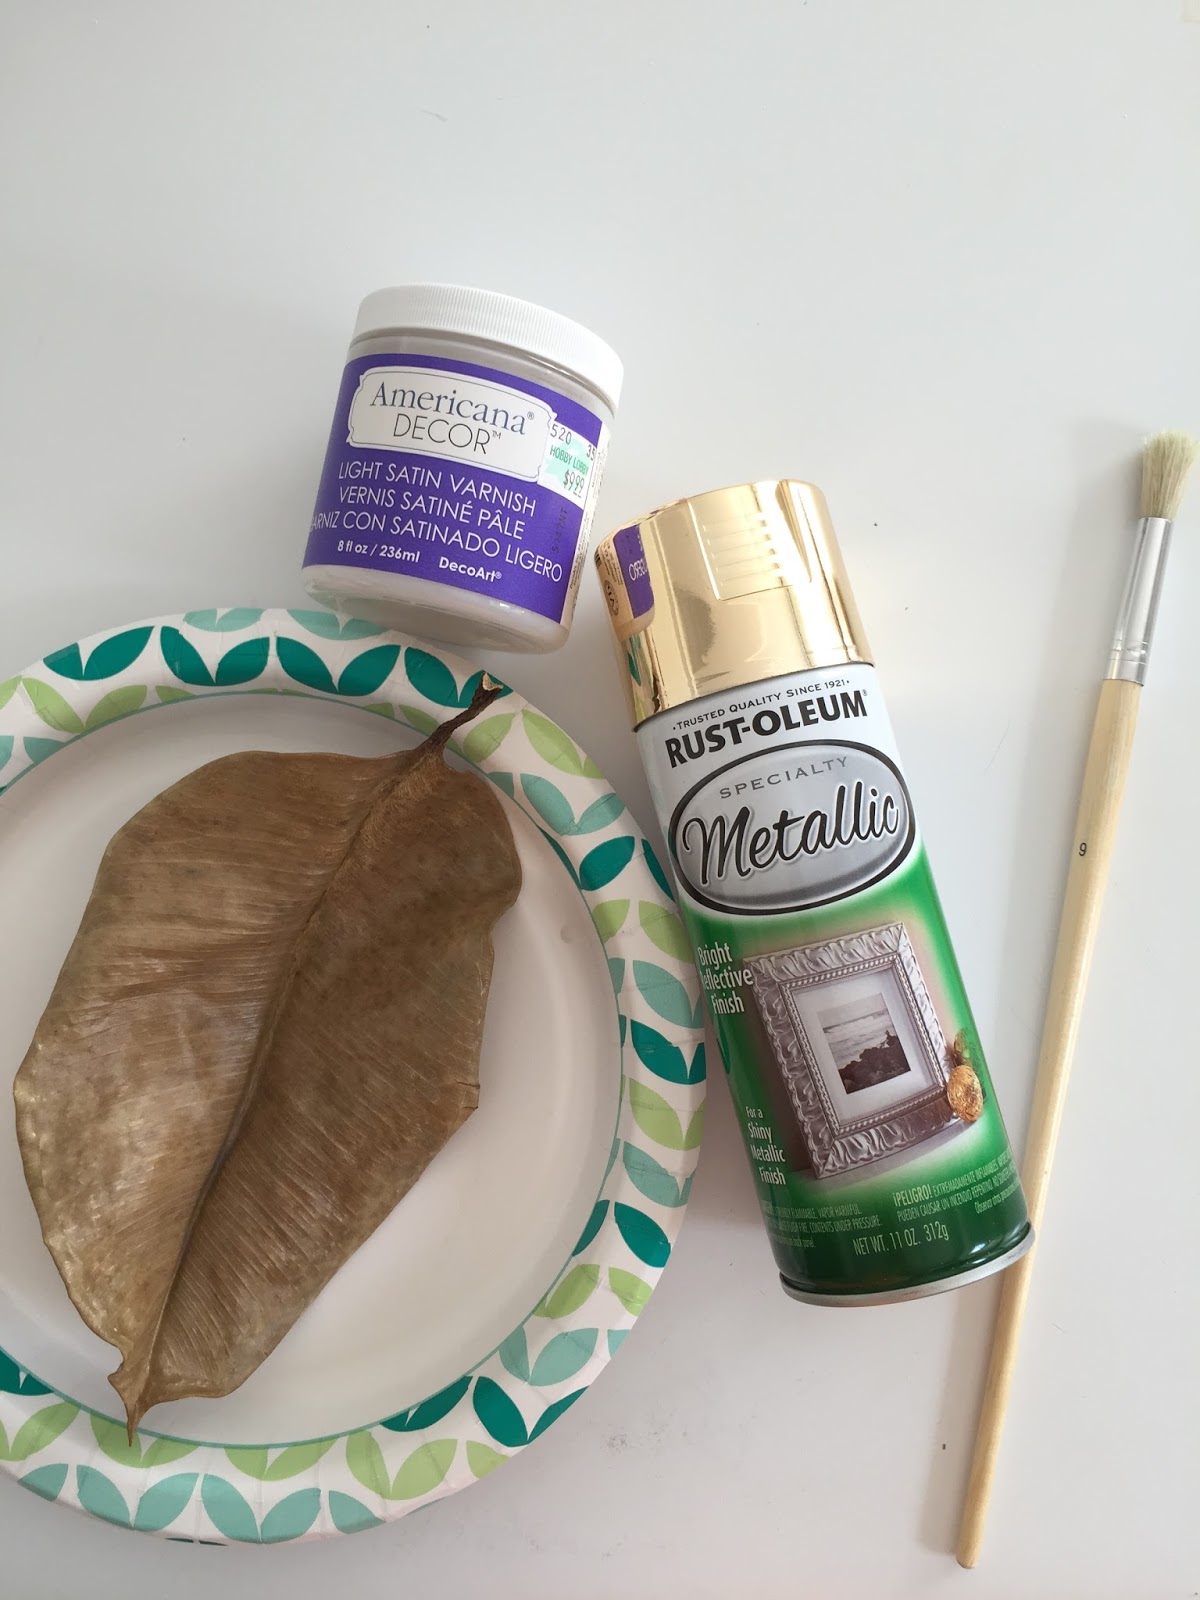
Supplies:
Lightweight Fresh Greenery
Twine
Scissors
Hot Glue Gun & Glue Sticks
Wall Hooks
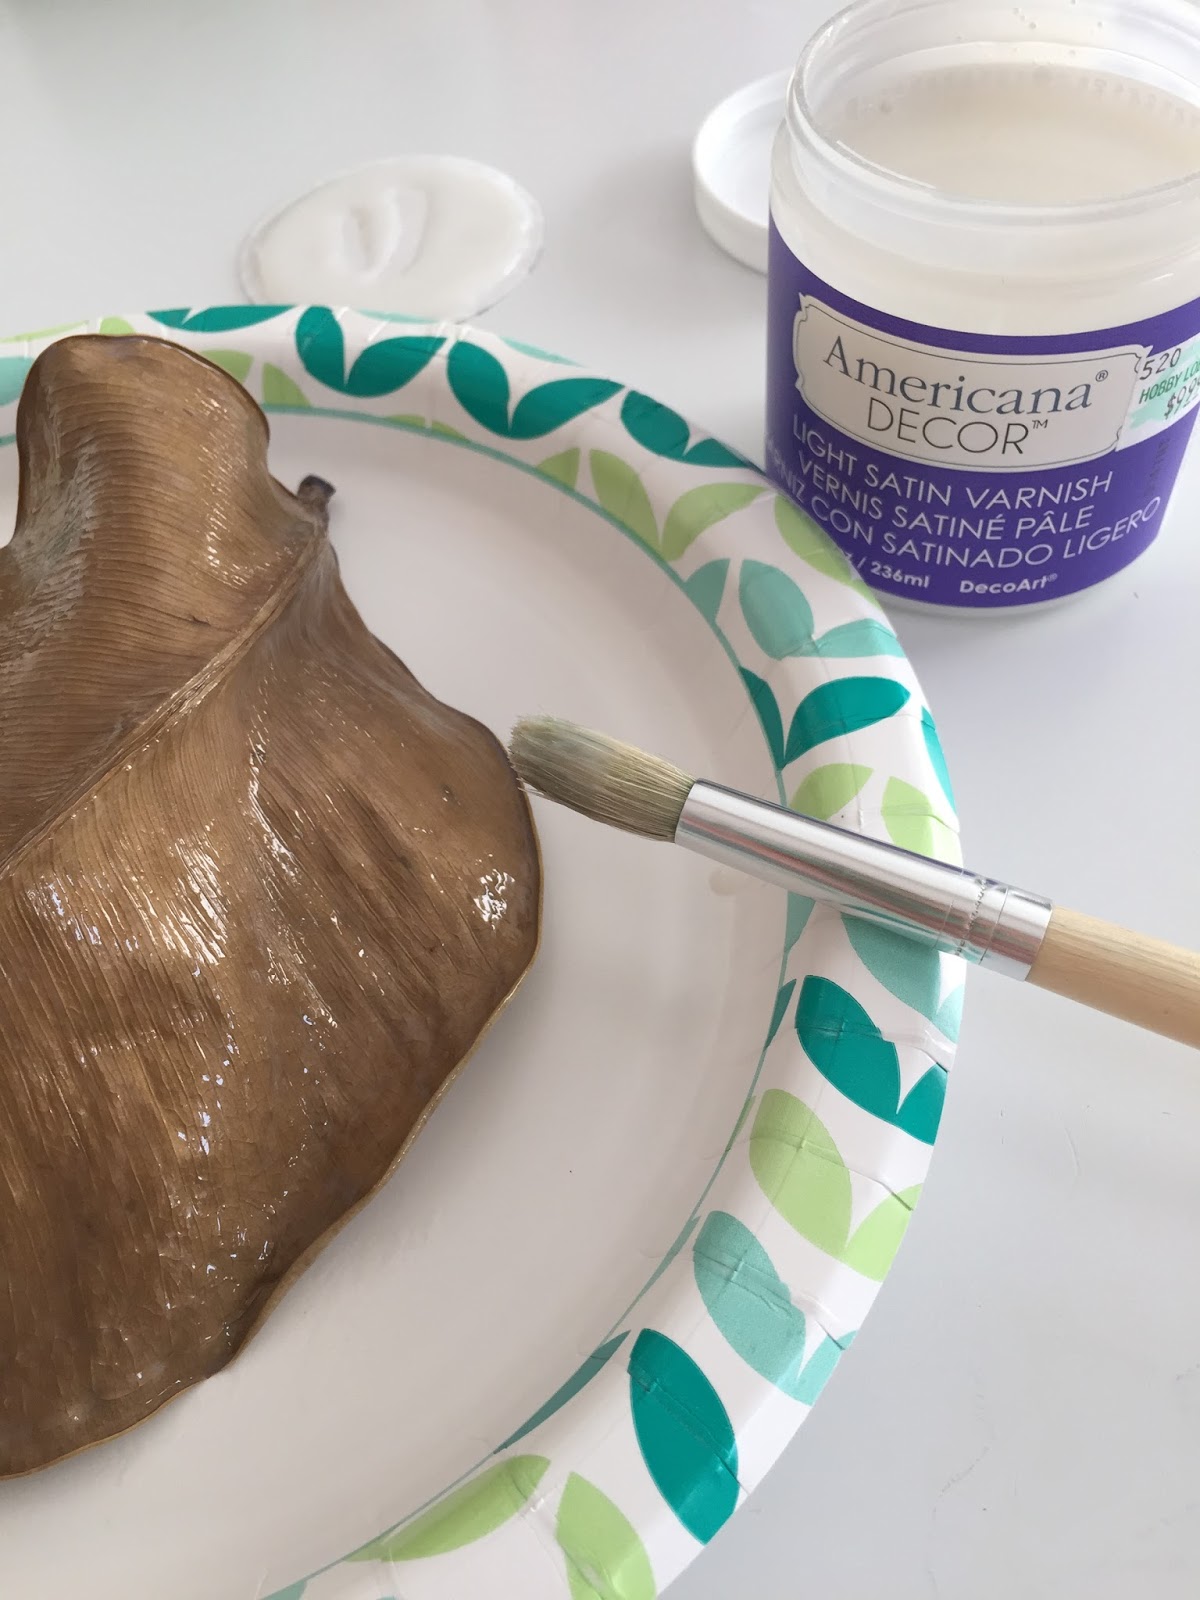
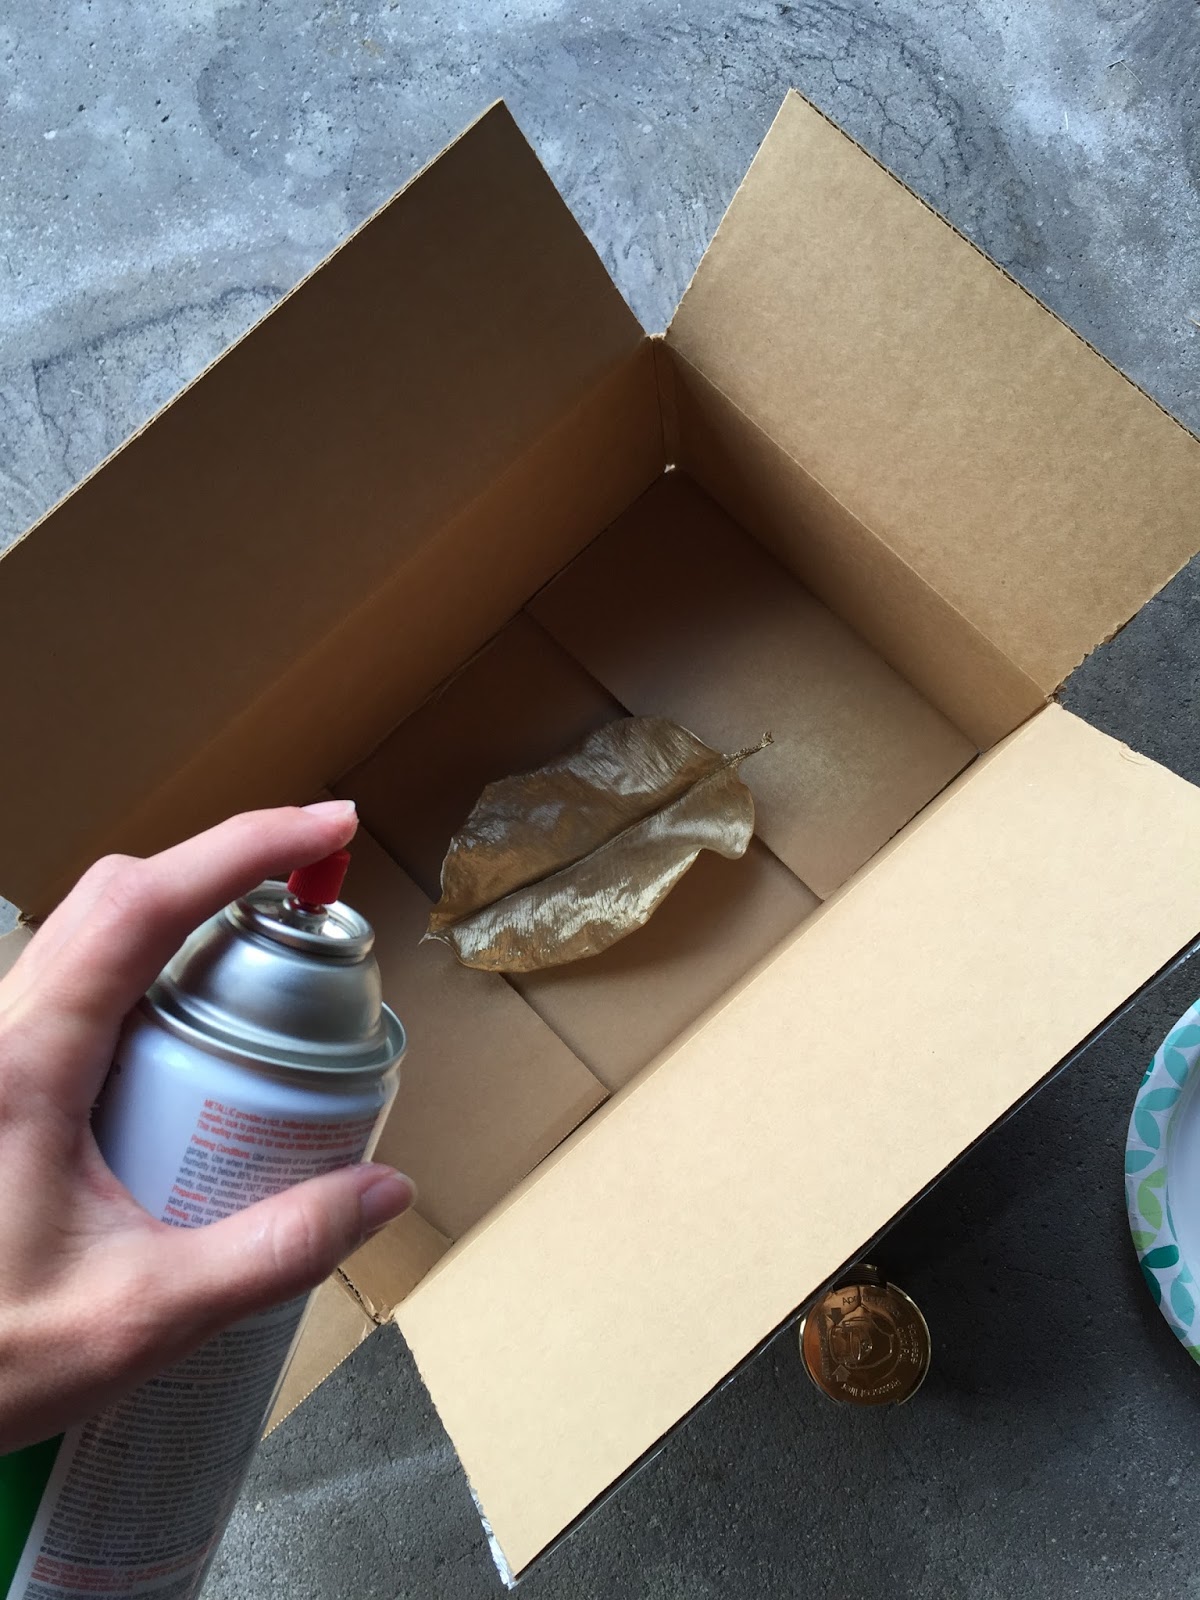
Instructions:
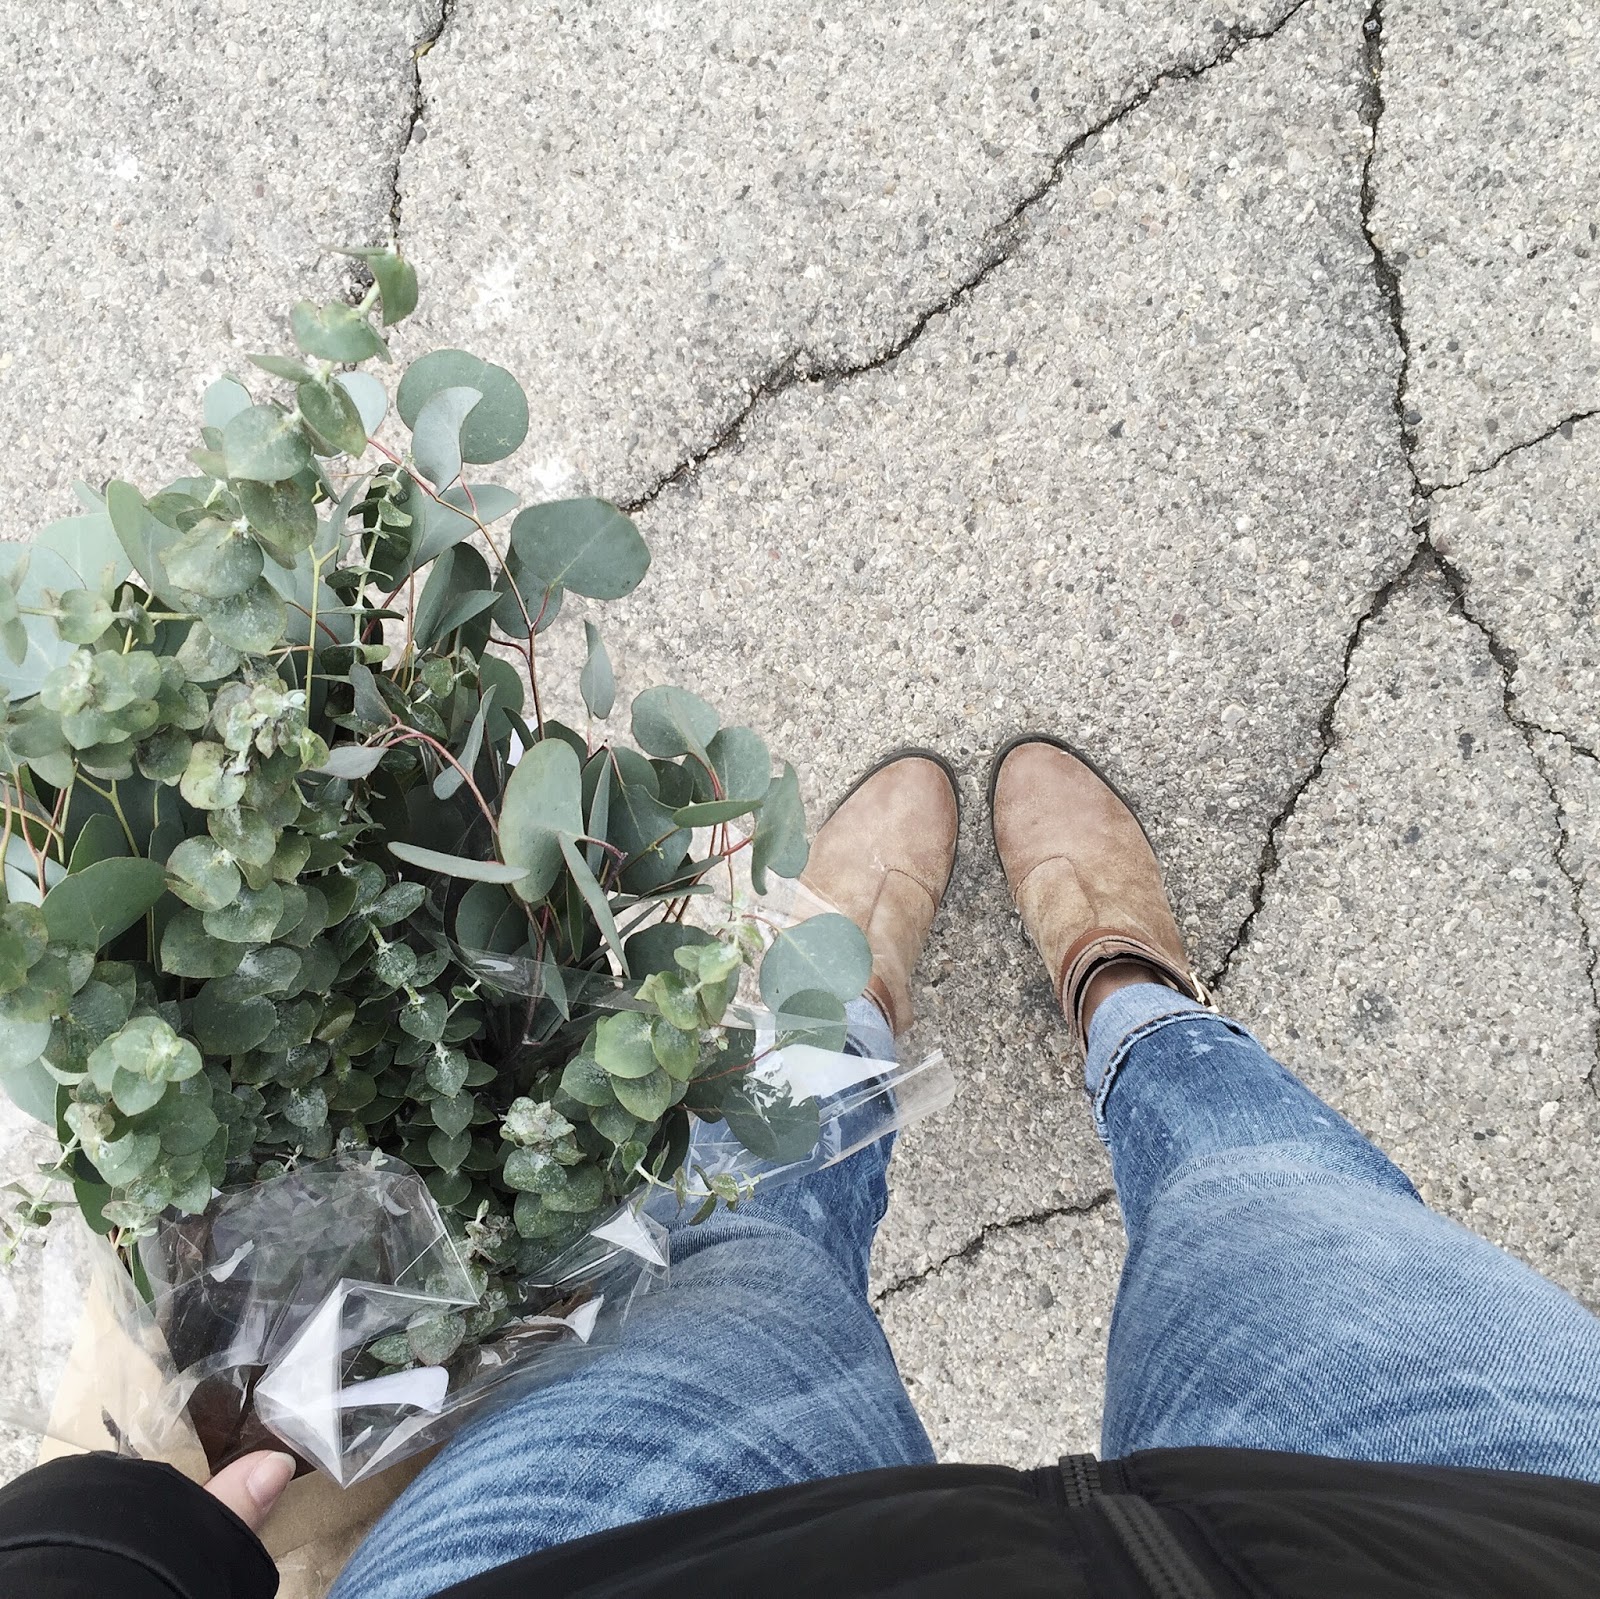
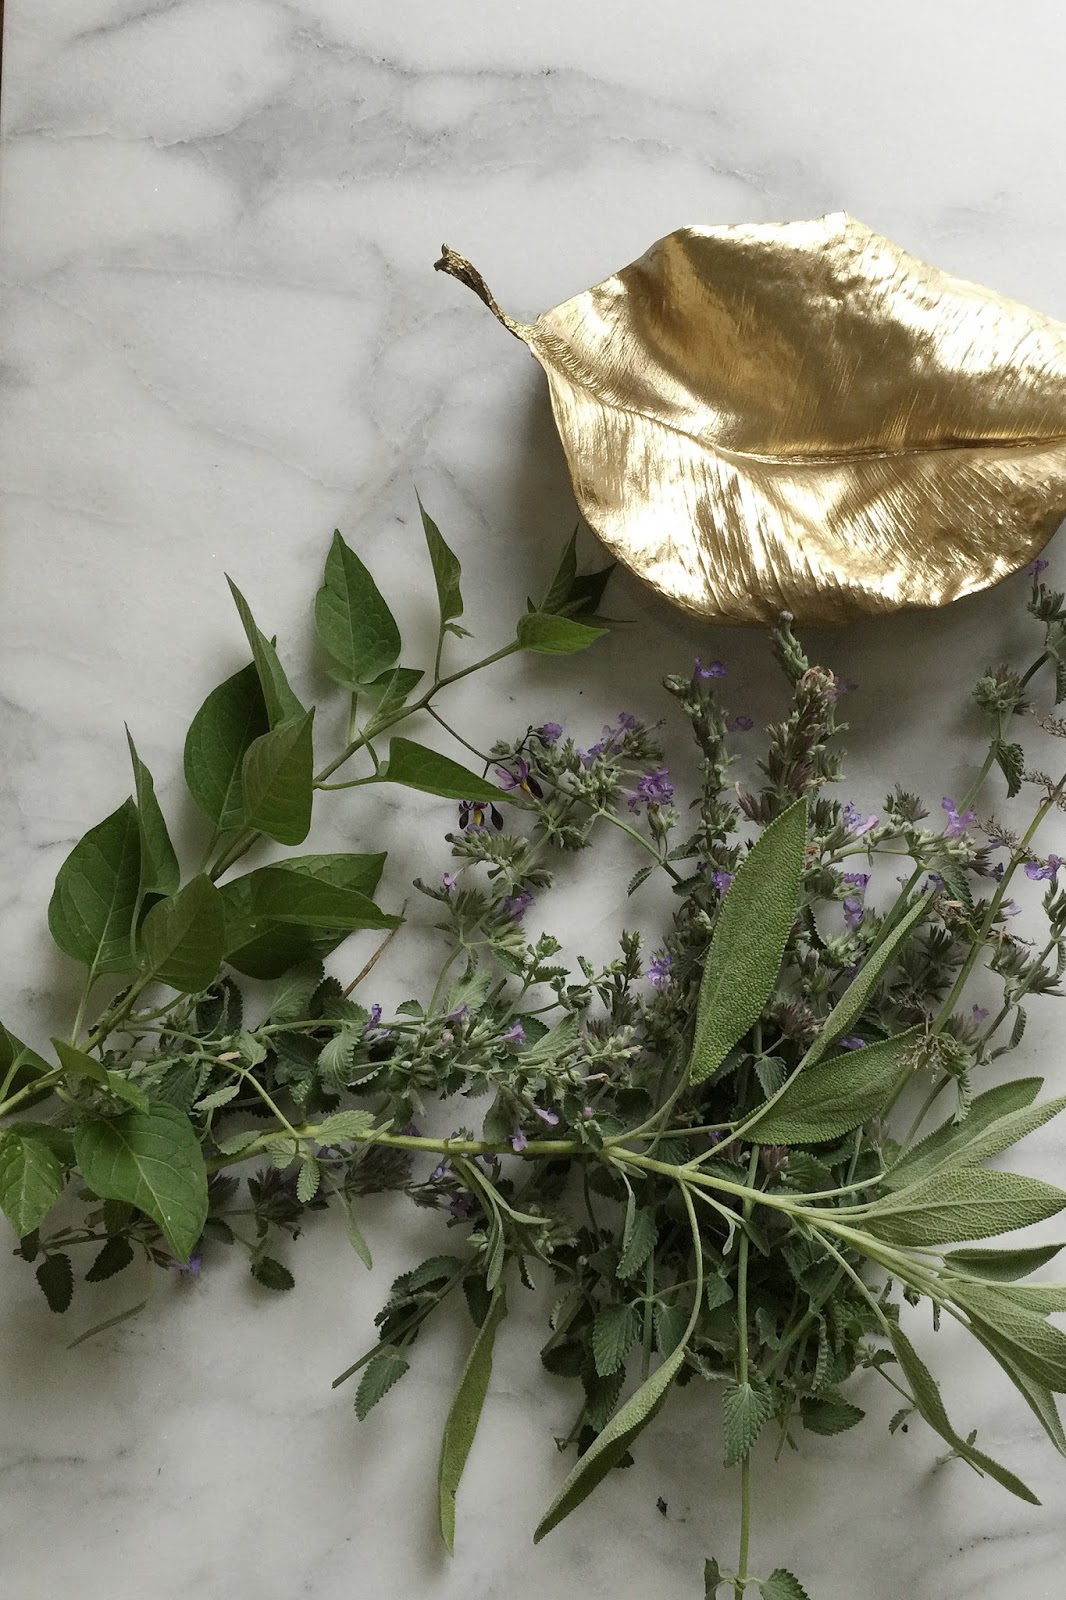
The greenery I used for this garland is called Silver Dollar Eucalyptus. The only place I've ever seen it (without a yucky sprayed on blue-ish color coating) is at Trader Joe's. They also usually have Seeded Eucalyptus this time of year, which would be a lovely substitute or in combination. For my garland, I used TWO $2.99 bunches.
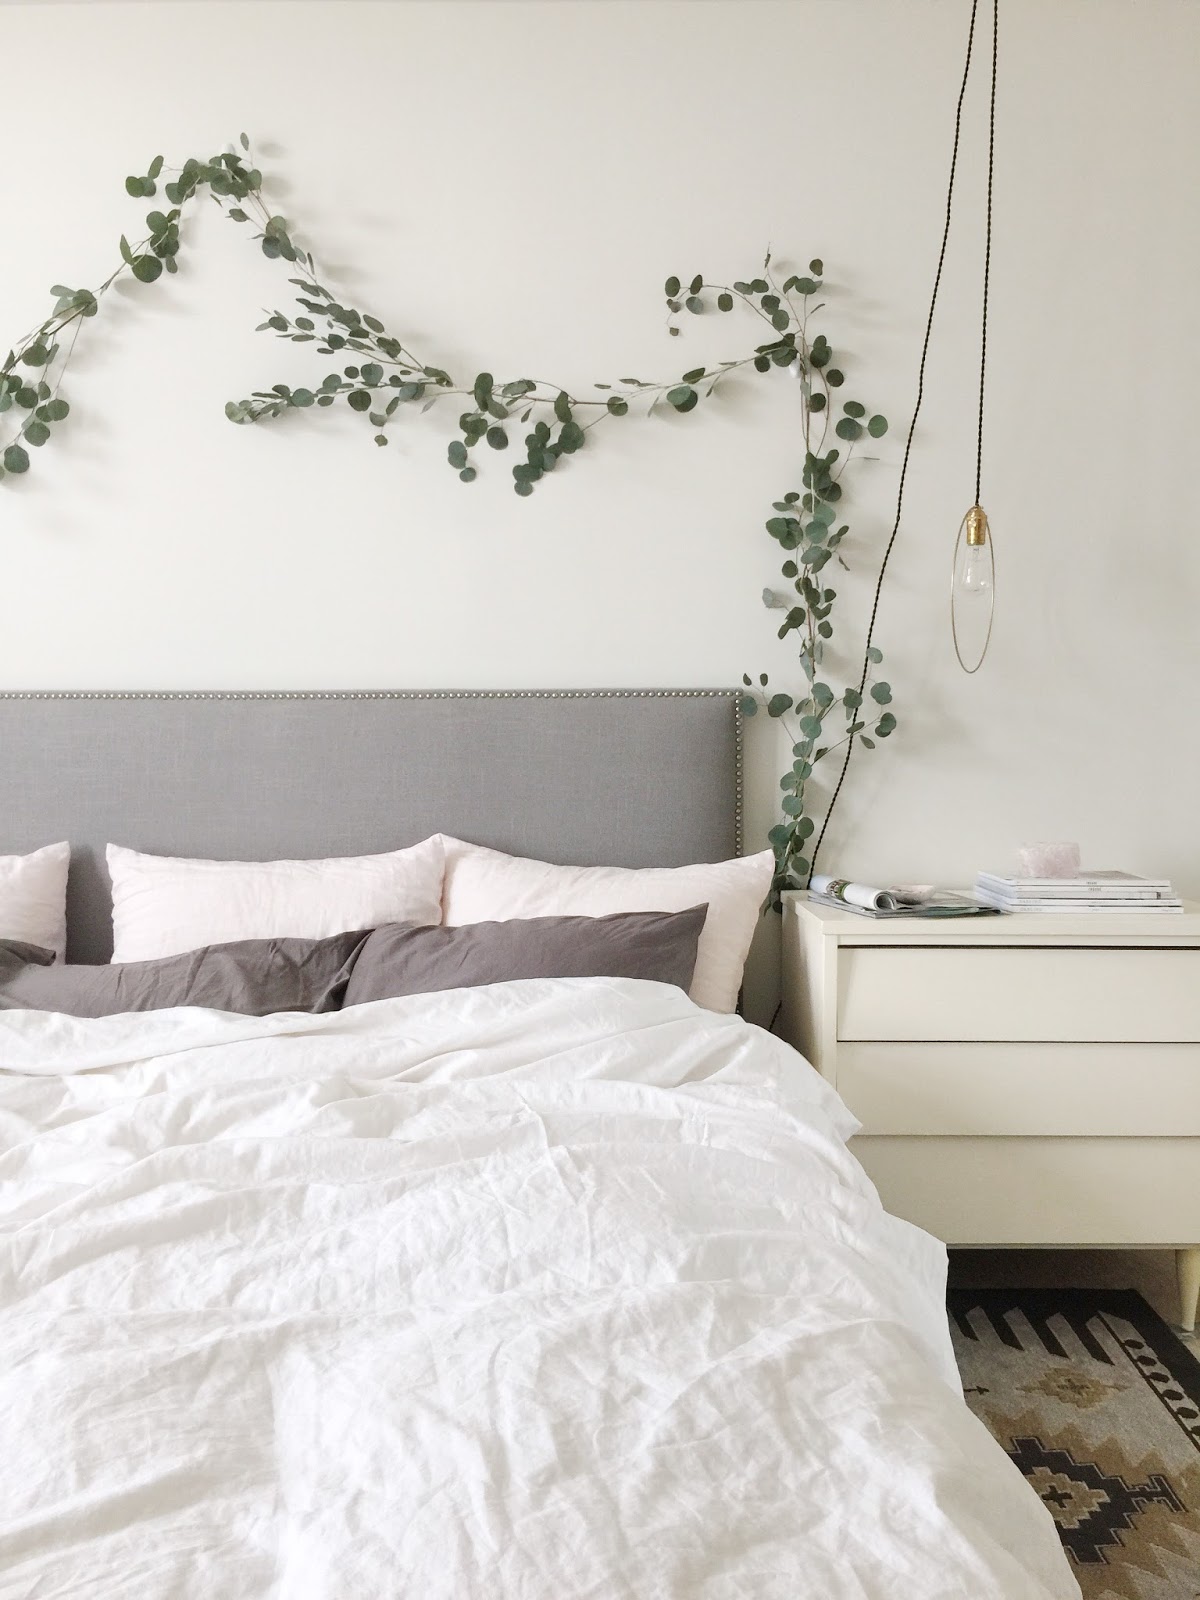
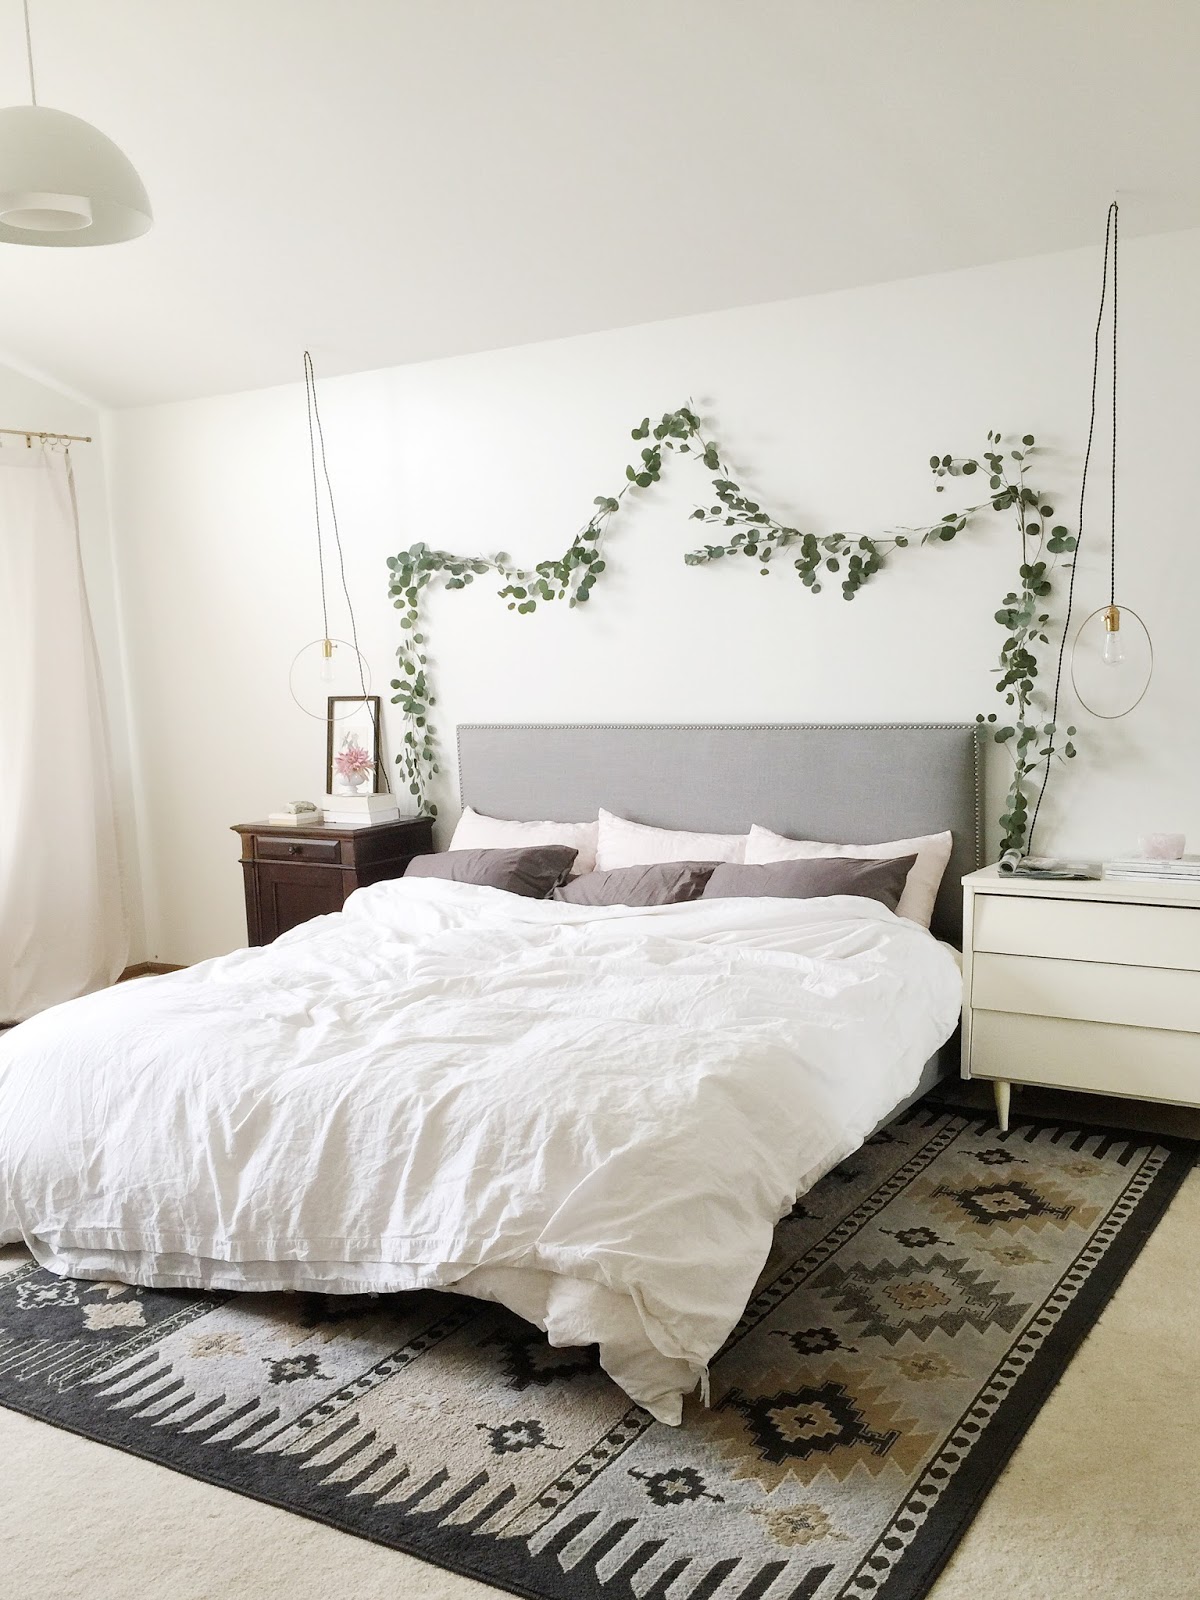
- Begin by deciding where you are going to hang it and cut a length of twine to fit your space. I knew I wanted to drape this garland over the bed in a bit of a "tent" pattern, so I made sure to allow enough twine for the swags.
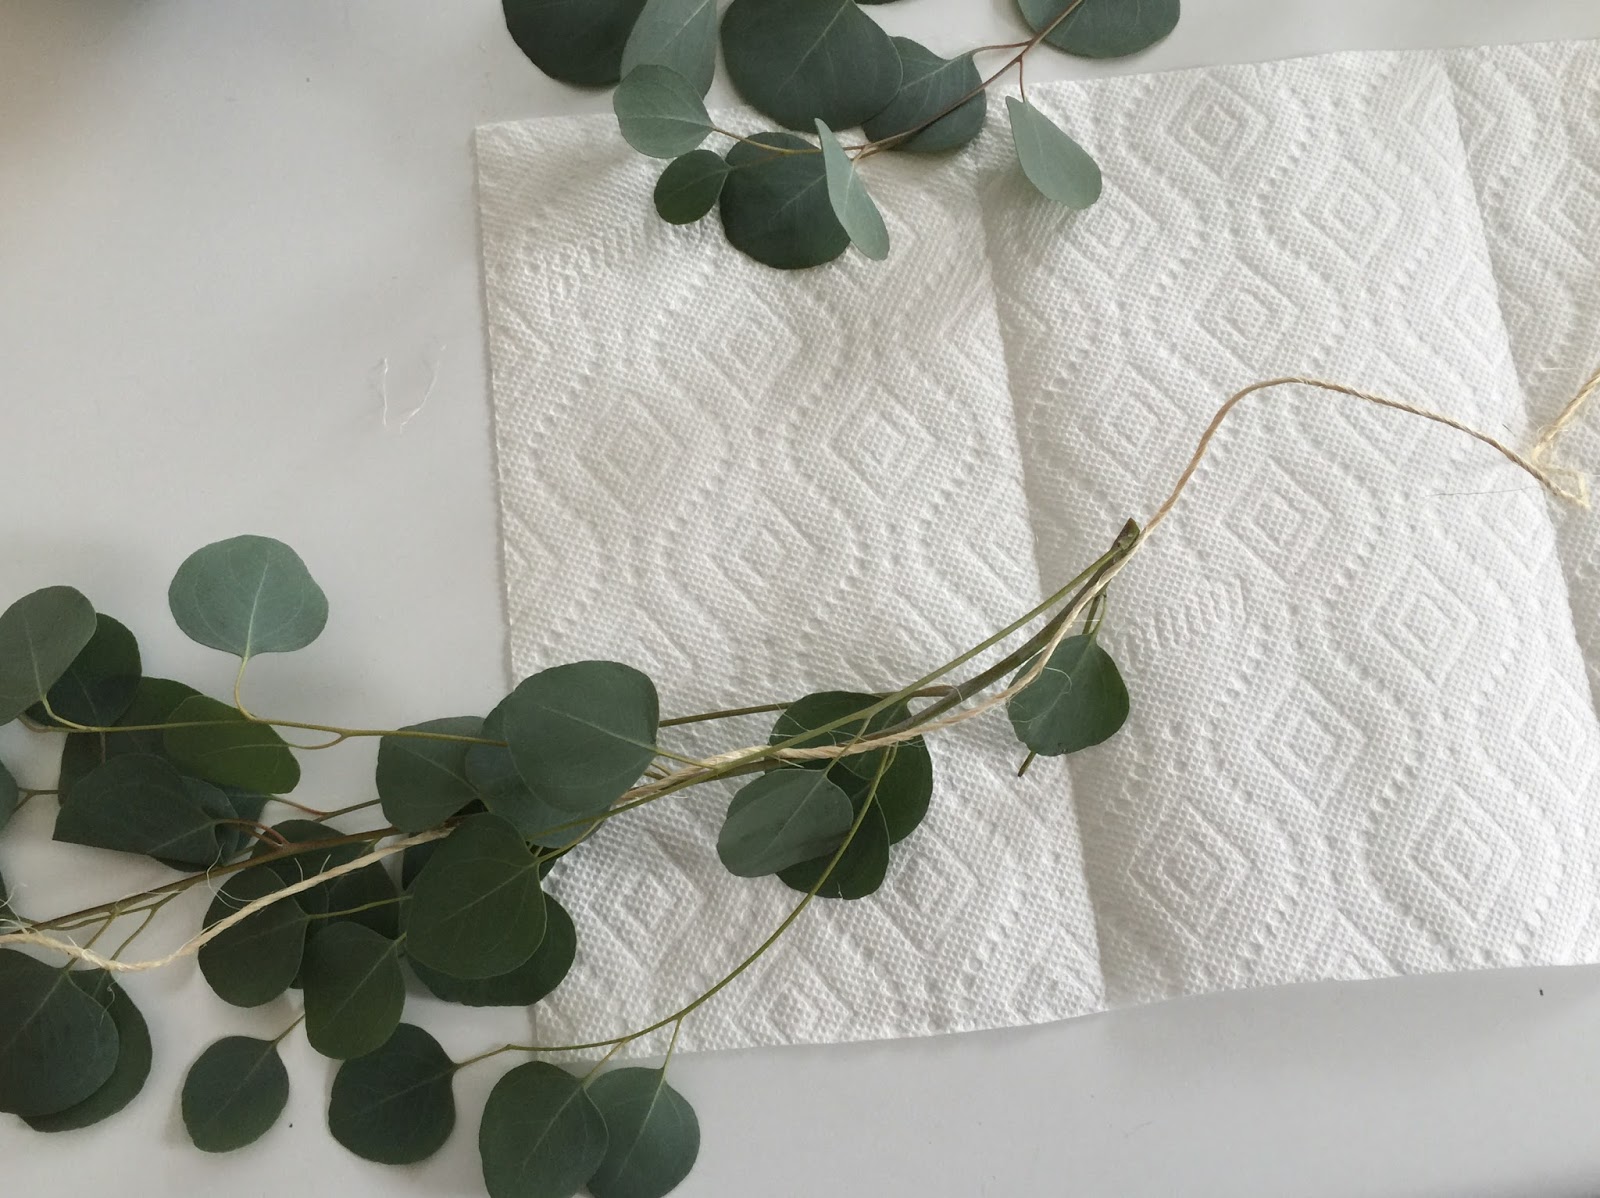
- Next, cut the bottom of the stems off each spring of eucalyptus, so that each piece has leaves all the way to the end of it.

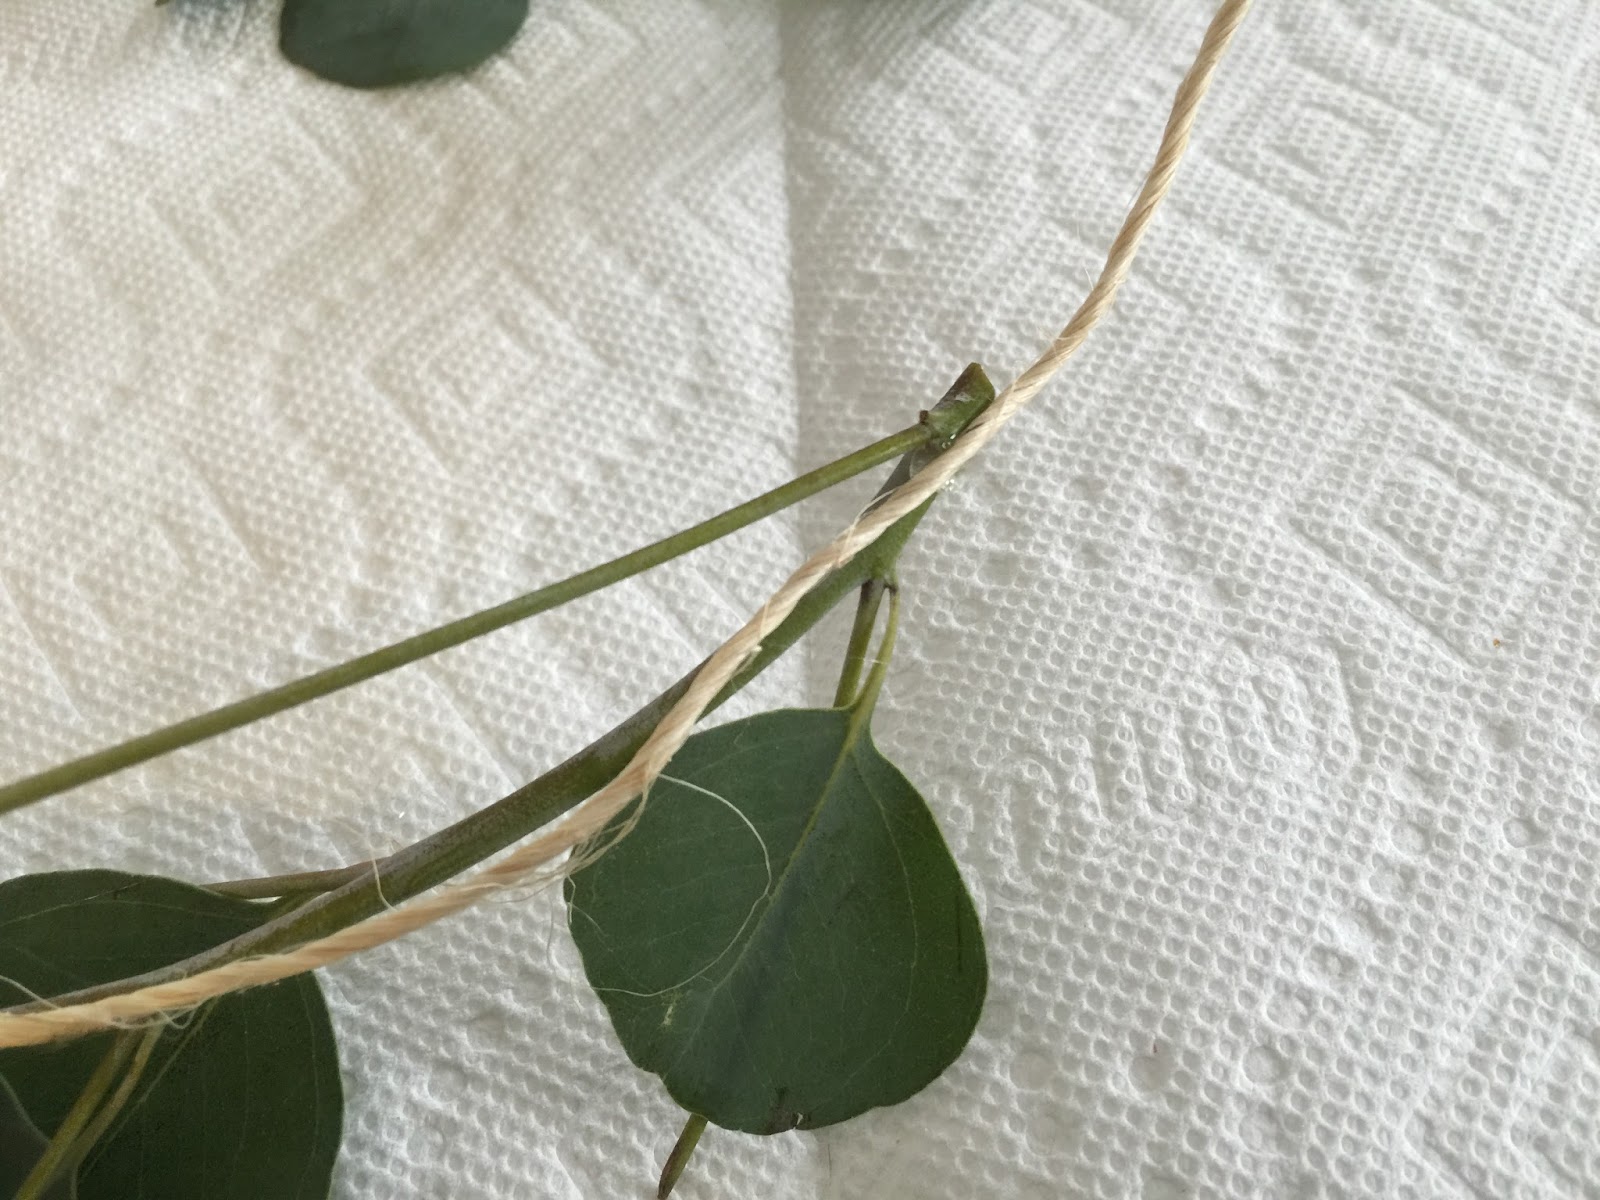
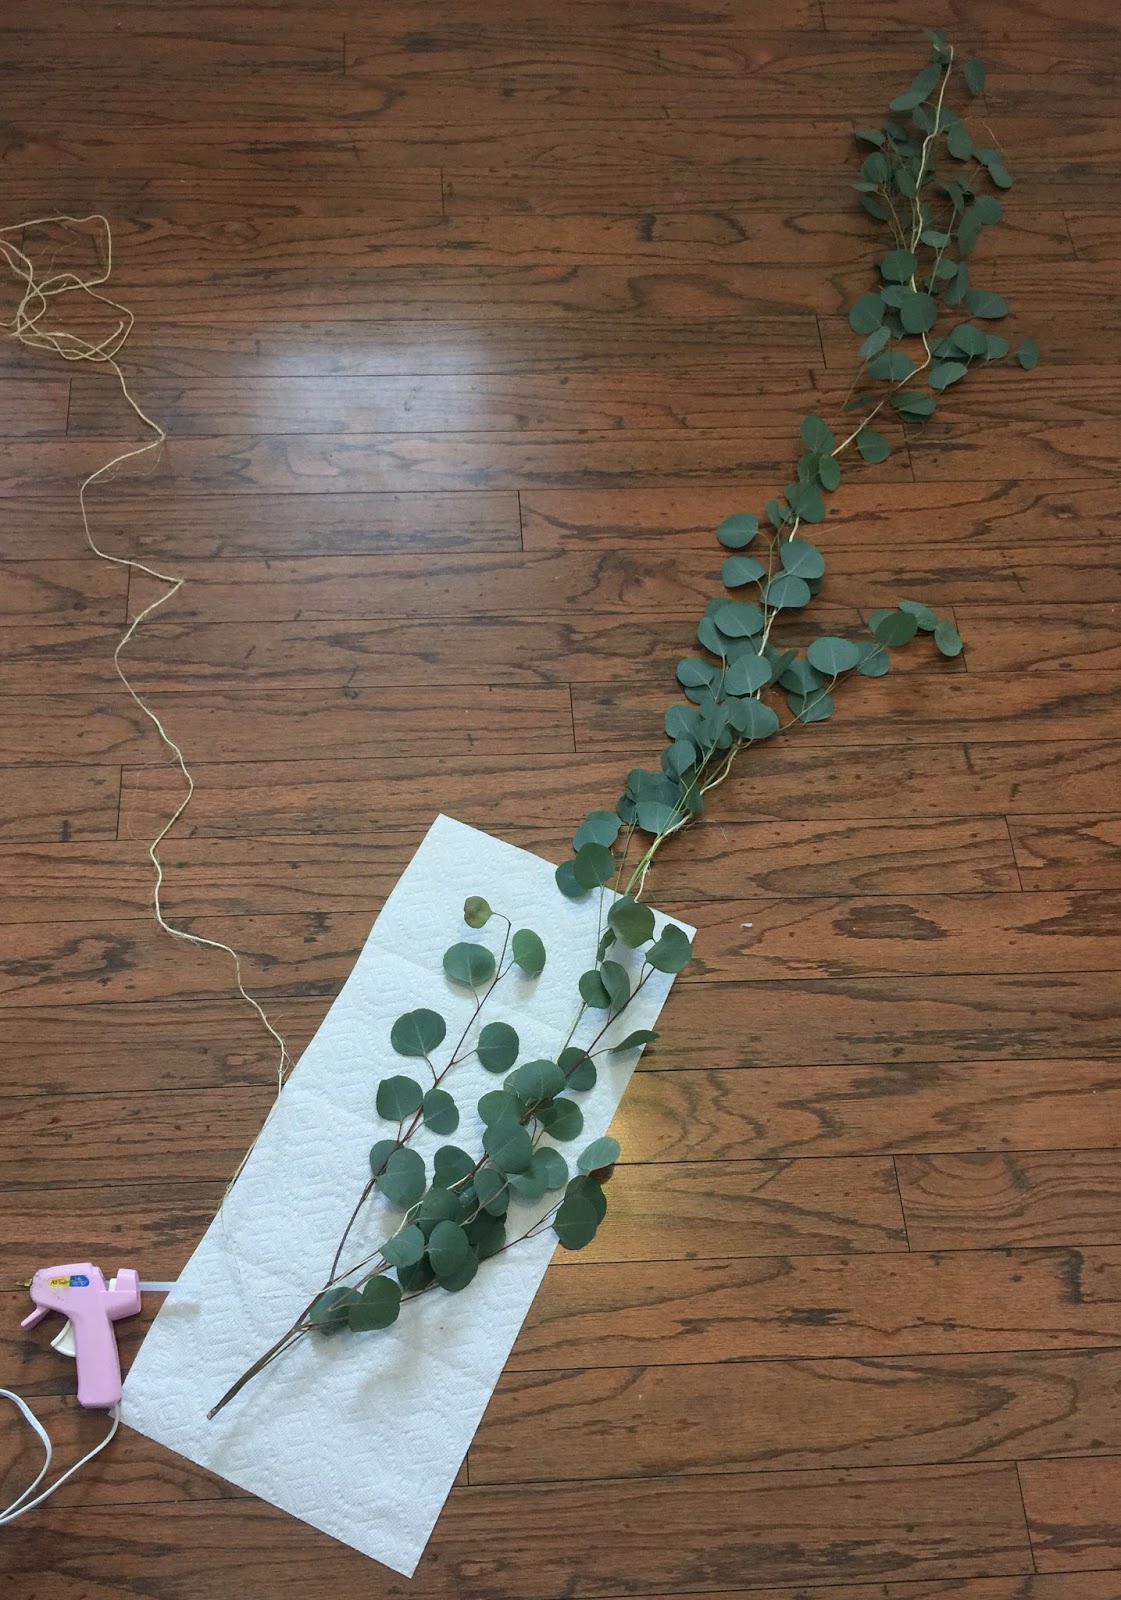
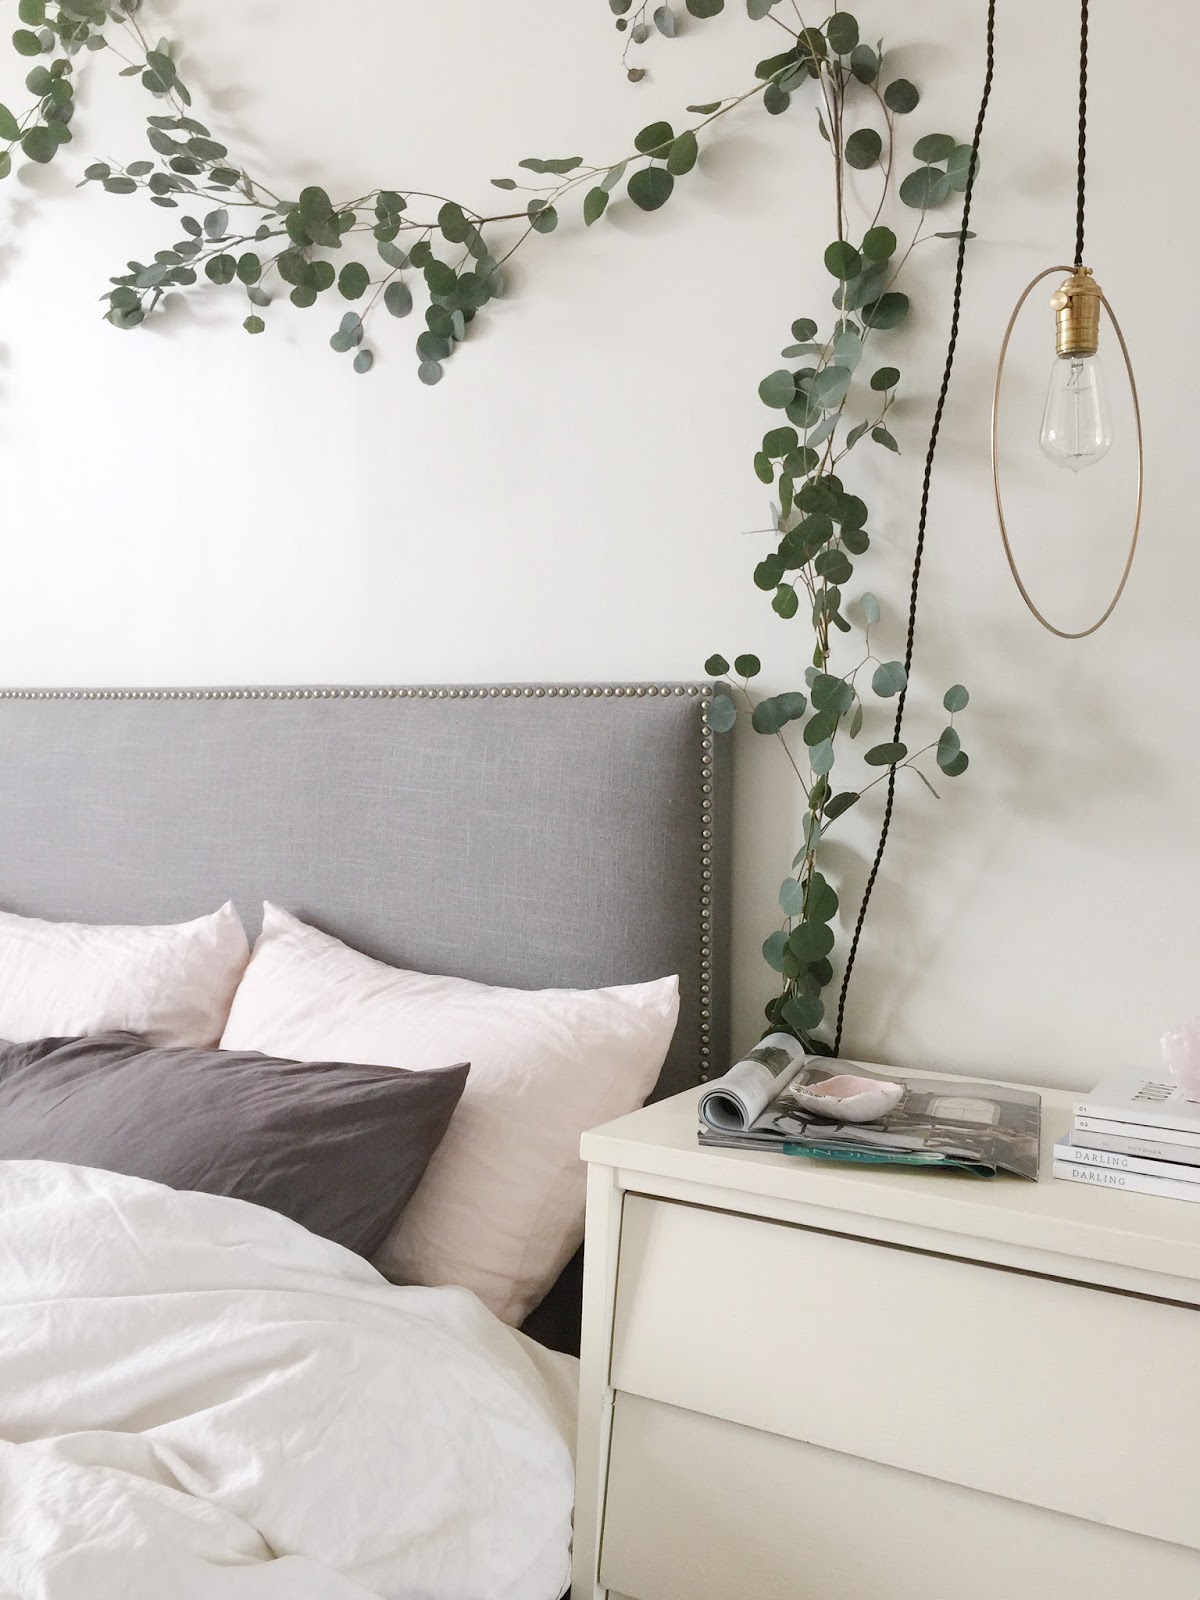
- You're going to glue the stems end-to-end along the twine. Start at one end of the twine and work your way to the other, keeping the stems going in the same direction. To hide the end of the twine, glue it to a leaf. As you work your way along, wind the twine through and around the leaves for an organic, casual feel. Dot the glue every 4 or so inches along each branch and try to place it in the more substantial parts of the branch, like where the leaves shoot off.
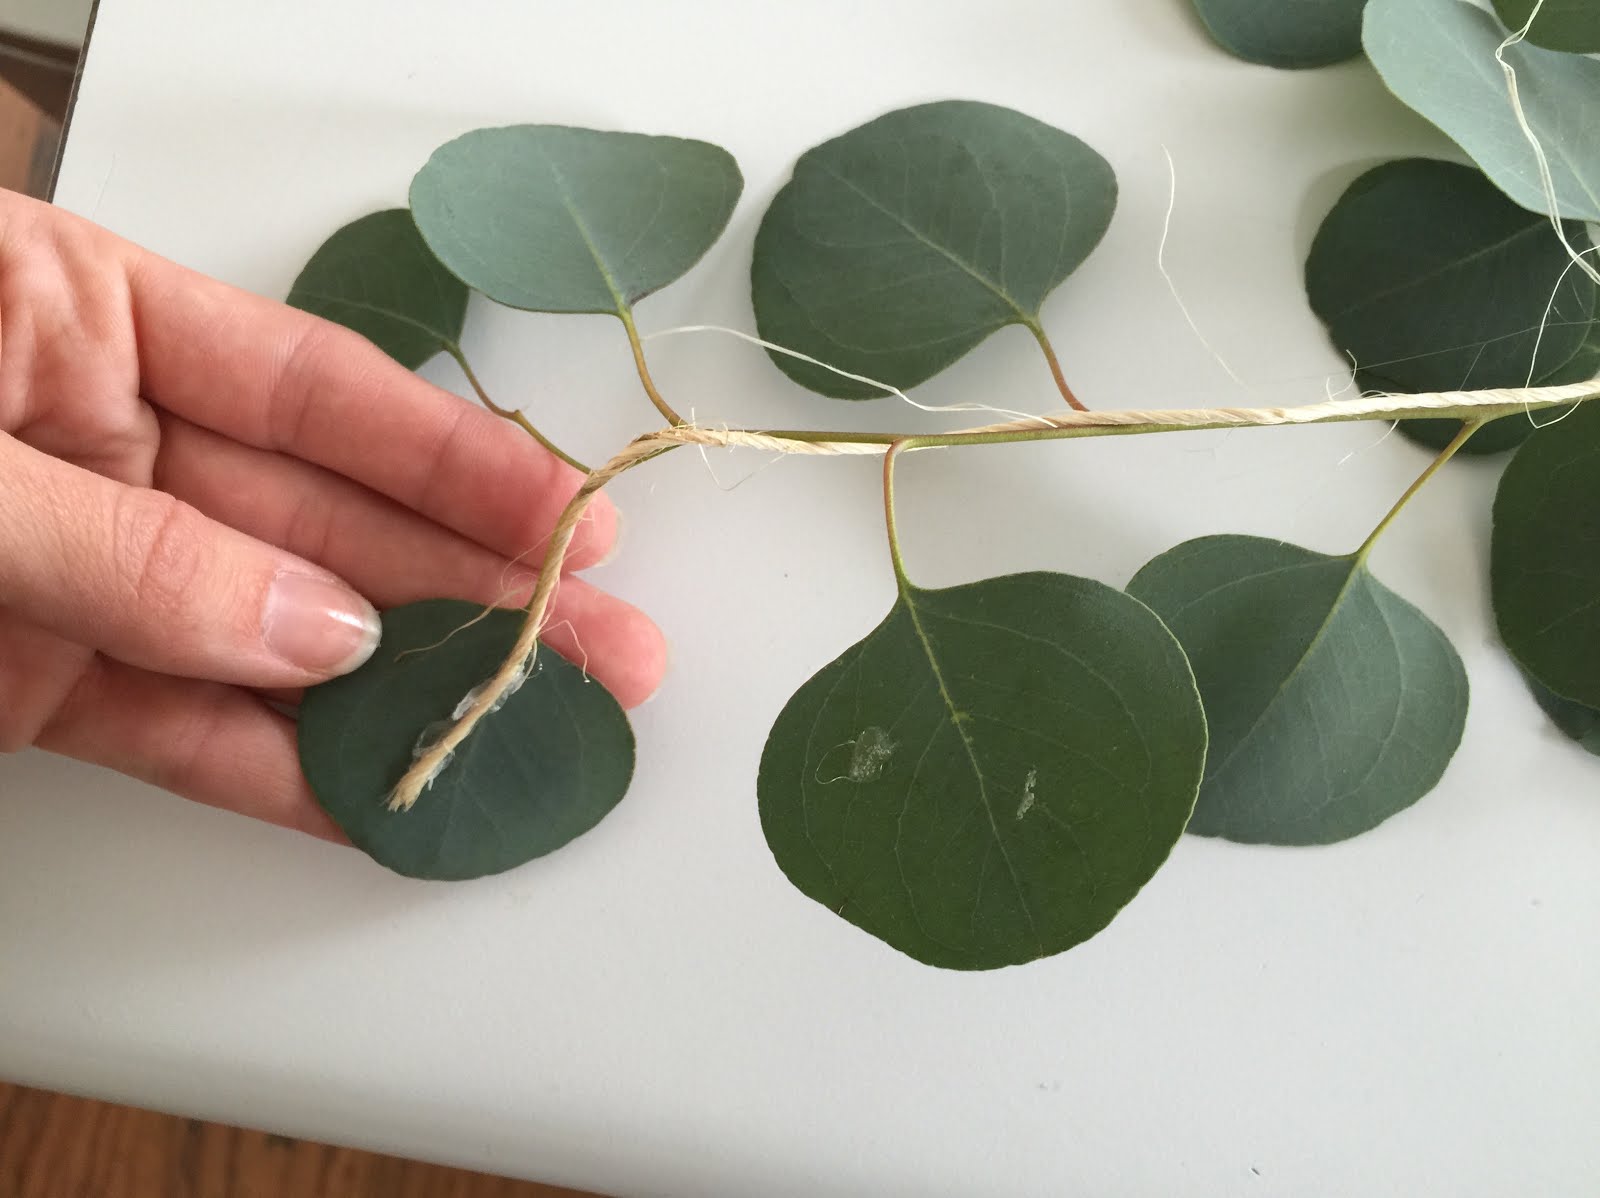
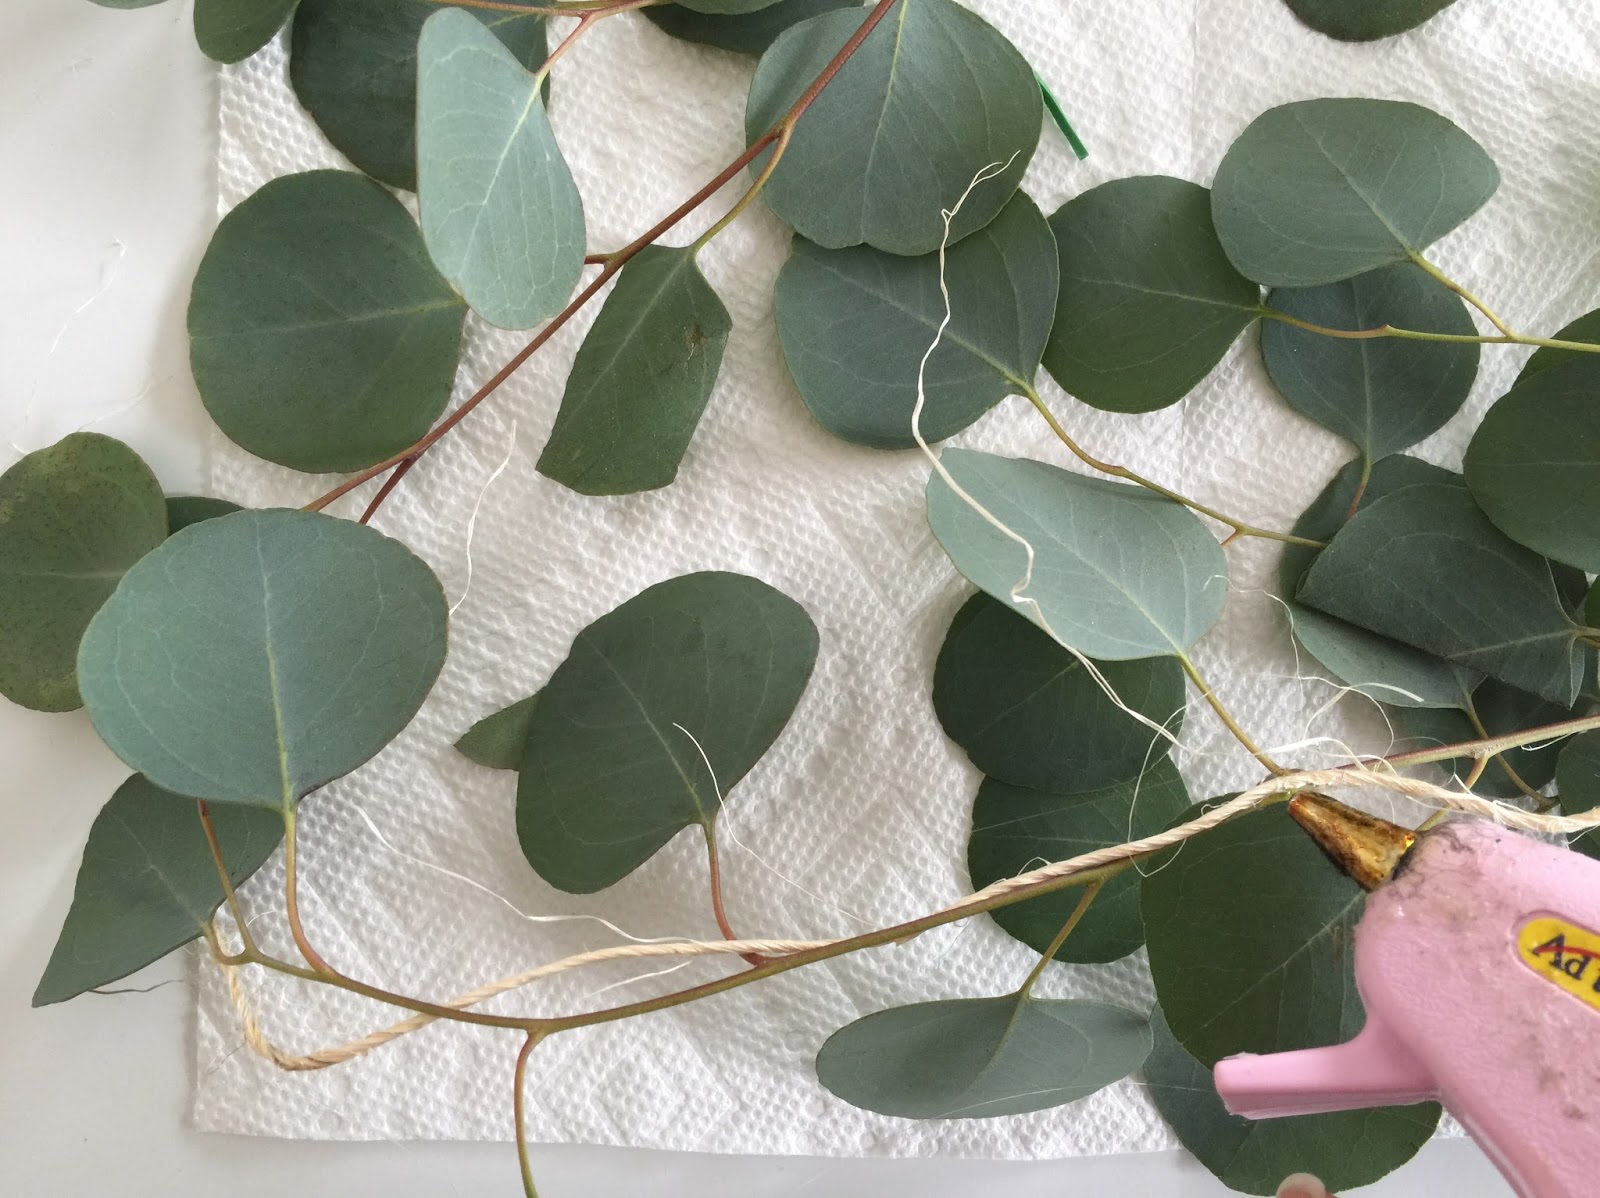
- Overlap the branches just slightly so that leaves cover the ends of the stems.
- Once it starts getting long, you can lay it out along the floor to keep from getting tangled.
- You can change the direction of the last branch or two so that the open end of the twine can again be covered with a leaf, and you don't have a bare stem ending the garland.
- For hanging, I used 3M Command Hooks to create a pattern on the wall. I half-heartedly used a tape measure and mostly eyeballed it since the branches aren't perfectly straight anyway.
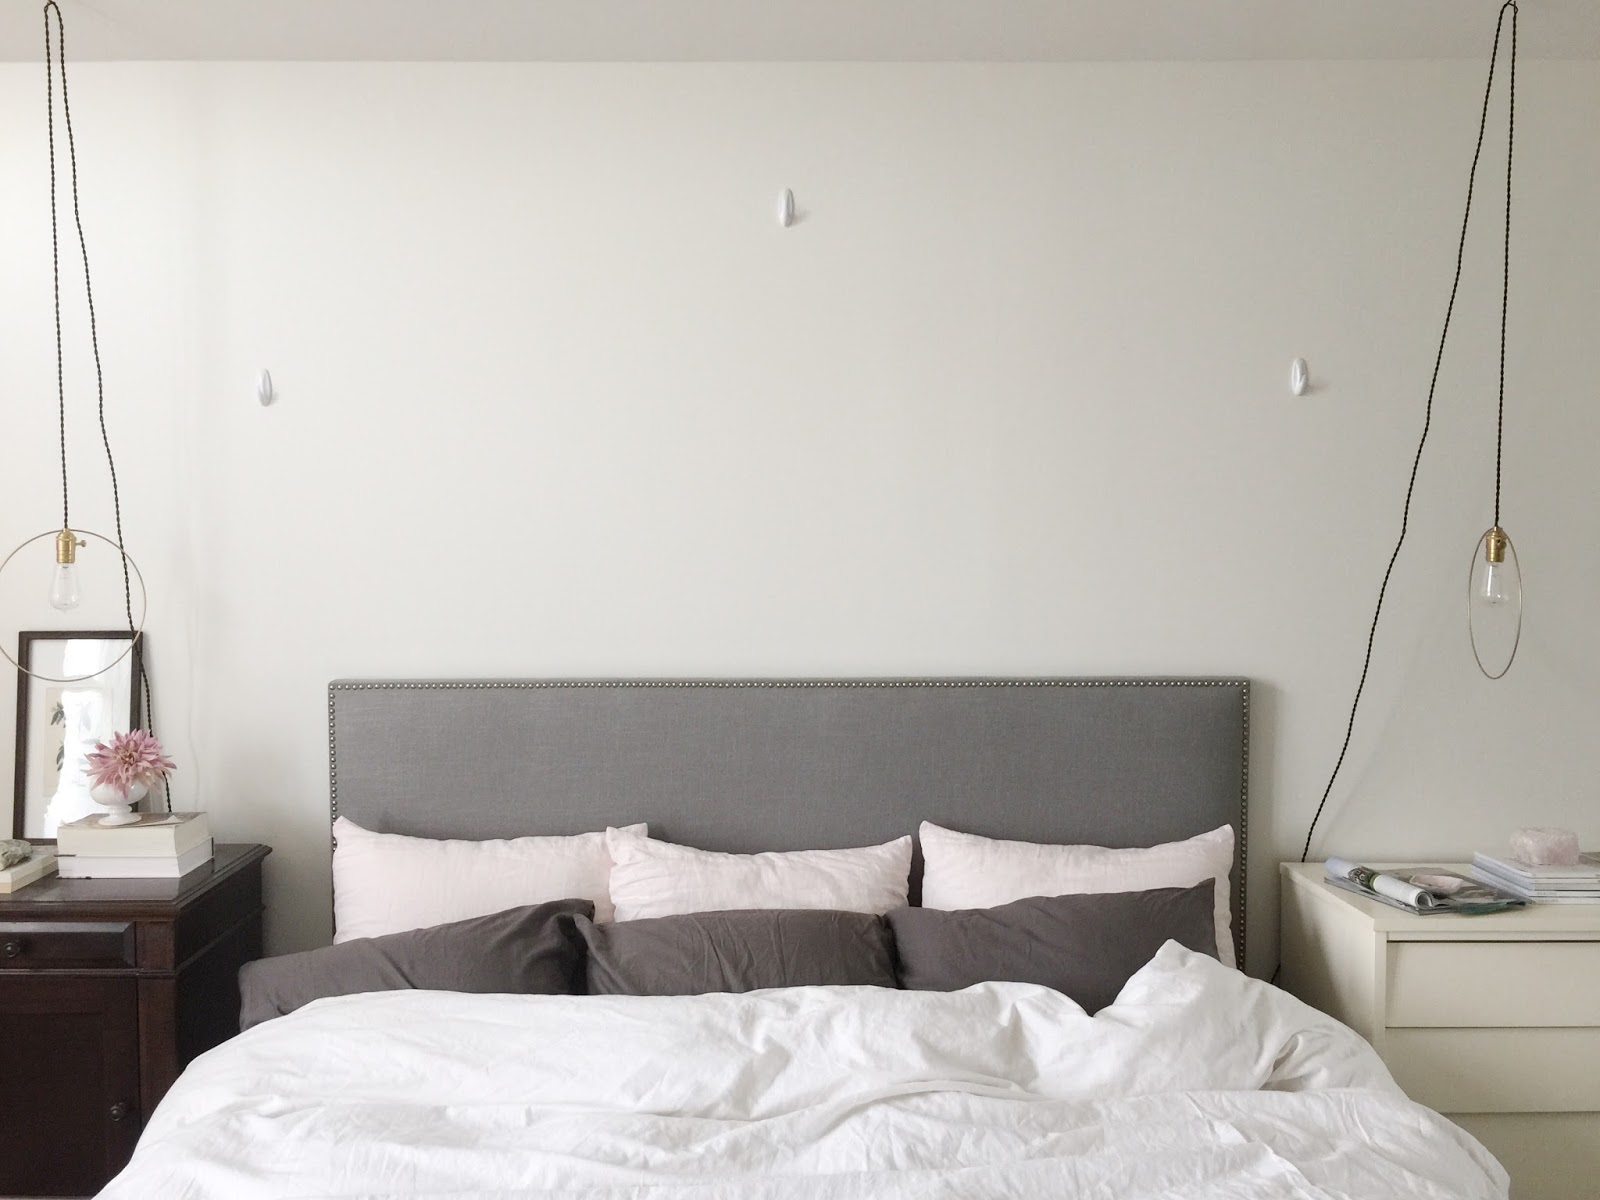
- Loosely fold the garland in half so you find the middle and hang it from that point on your center hook. Then you can hang one side at a time. Adjust as necessary.

Aaaaand scene. It's really simple and quick, and smells wonderful! It is also long-lasting. The color will lose its minty blue hints and fade to a more sage green over time. My sprigs from last year stayed in a vase looking lovely (without water) for months.
My daughter has already called dibs on this garland for her room after Christmas. She has also demanded I switch rooms with her, because she likes mine better. I'm not going to lie to you, that's probably the best compliment I can get on a project. :)
Enjoy the season!


.JPG)


.JPG)