Showing posts with label recipes. Show all posts

Thursday, December 11, 2014

speakeasy new year's eve // nosh & cards


welcome back my friends to day 4 of our speakeasy-themed new year's party kit. together with kyla from house of hipsters and grace from the big reveal, we're bringing you everything you need this week, one day at a time, to build the perfect new year's bash. today you get to stay with me (yay!) for an easy party snack recipe and some classic card games.

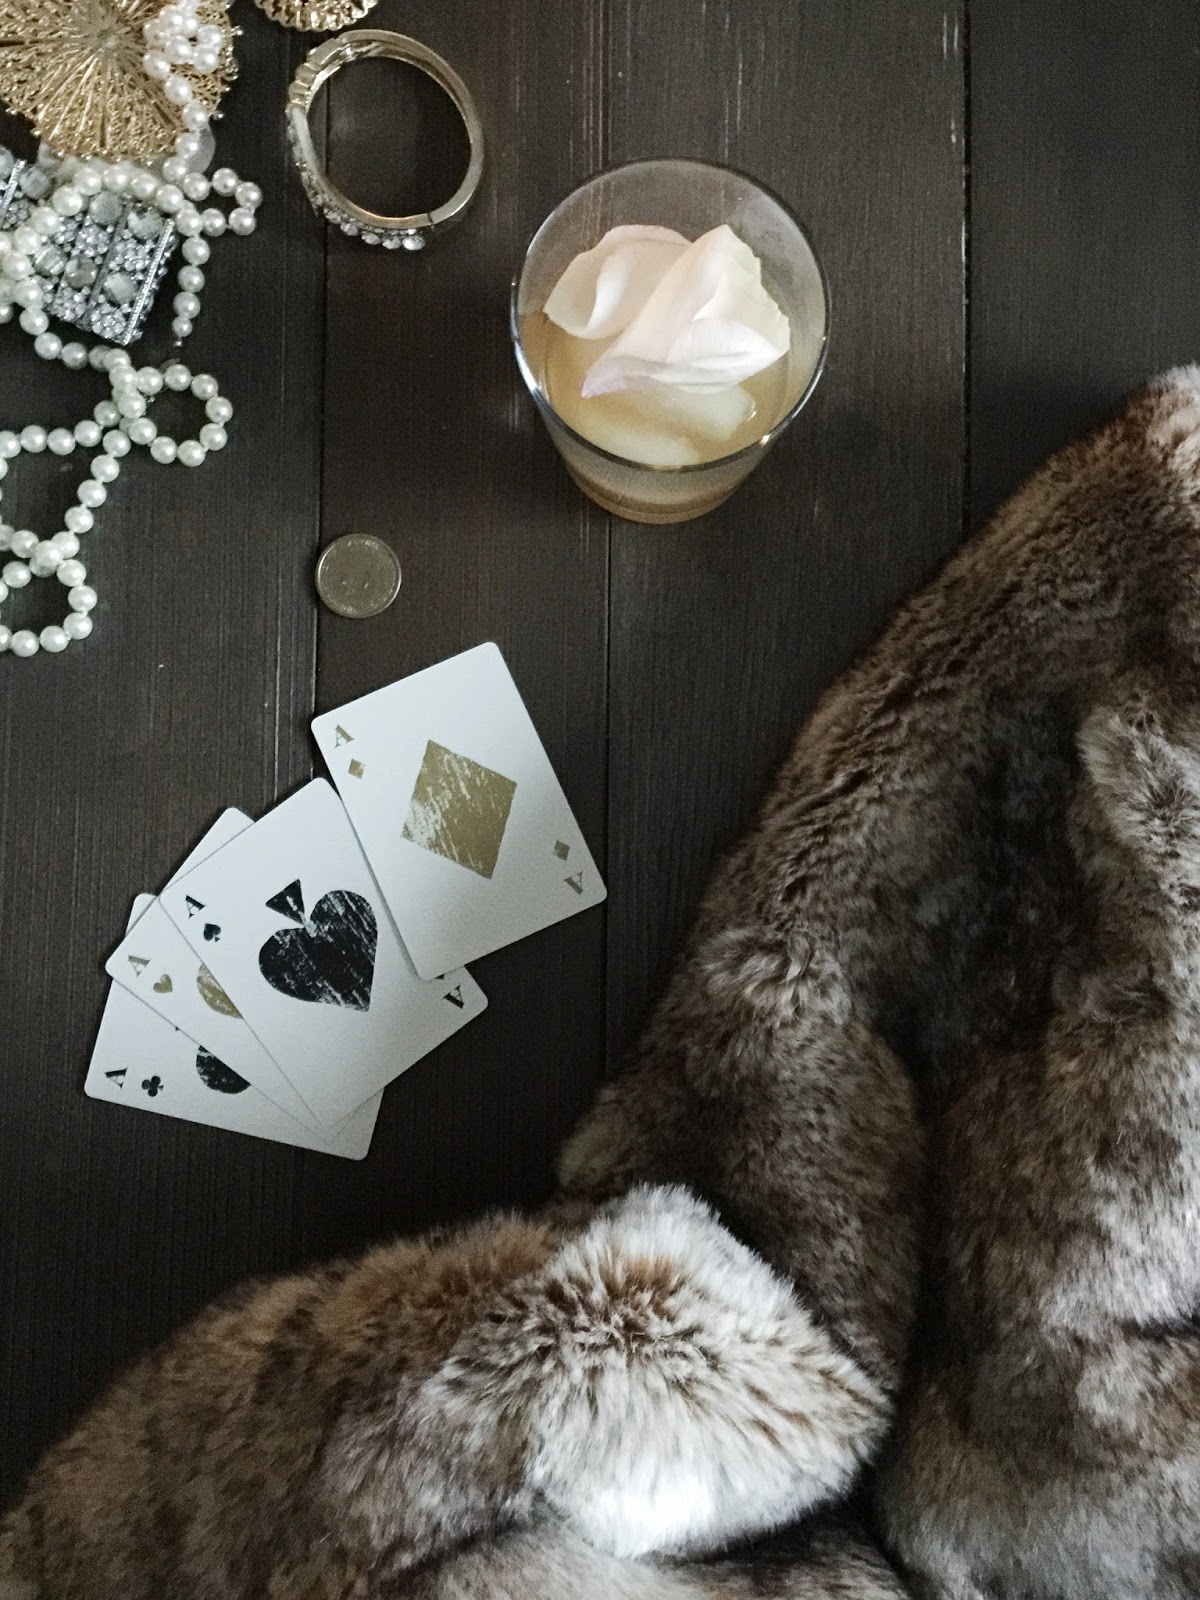
when we originally had the idea for this party, we envisioned mounds of fur throws and pillows, a tented canopy with twinkle lights held up by birch poles, luxe velvet drapes and elaborate vintage furniture. that's how you roll when you throw a sponsored party with someone else's money. in real life, you keep things simple. no one wants to go broke turning their house into a secluded woodland fairy tale for just one night. (i think the implication there is that i'd consider doing it if i could keep it that way forever...)

so instead of another decor post about how you can sew your own fur pillows (who wants that fuss? not me!) or ruin your ceilings draping fabric all about (can someone give my husband a hug of empathy and understanding on that one?) i decided to stick to the essentials: food and games.

first up, the eats:

while this isn't a complete menu, it will get you on your way with some tasty treats to go with your cocktails. this recipe was given to me by my sweet friend andrea hayden, who thought she was giving me a gift when she brought them to me, but in reality was creating an obsession that might or might not have kept me up some nights.

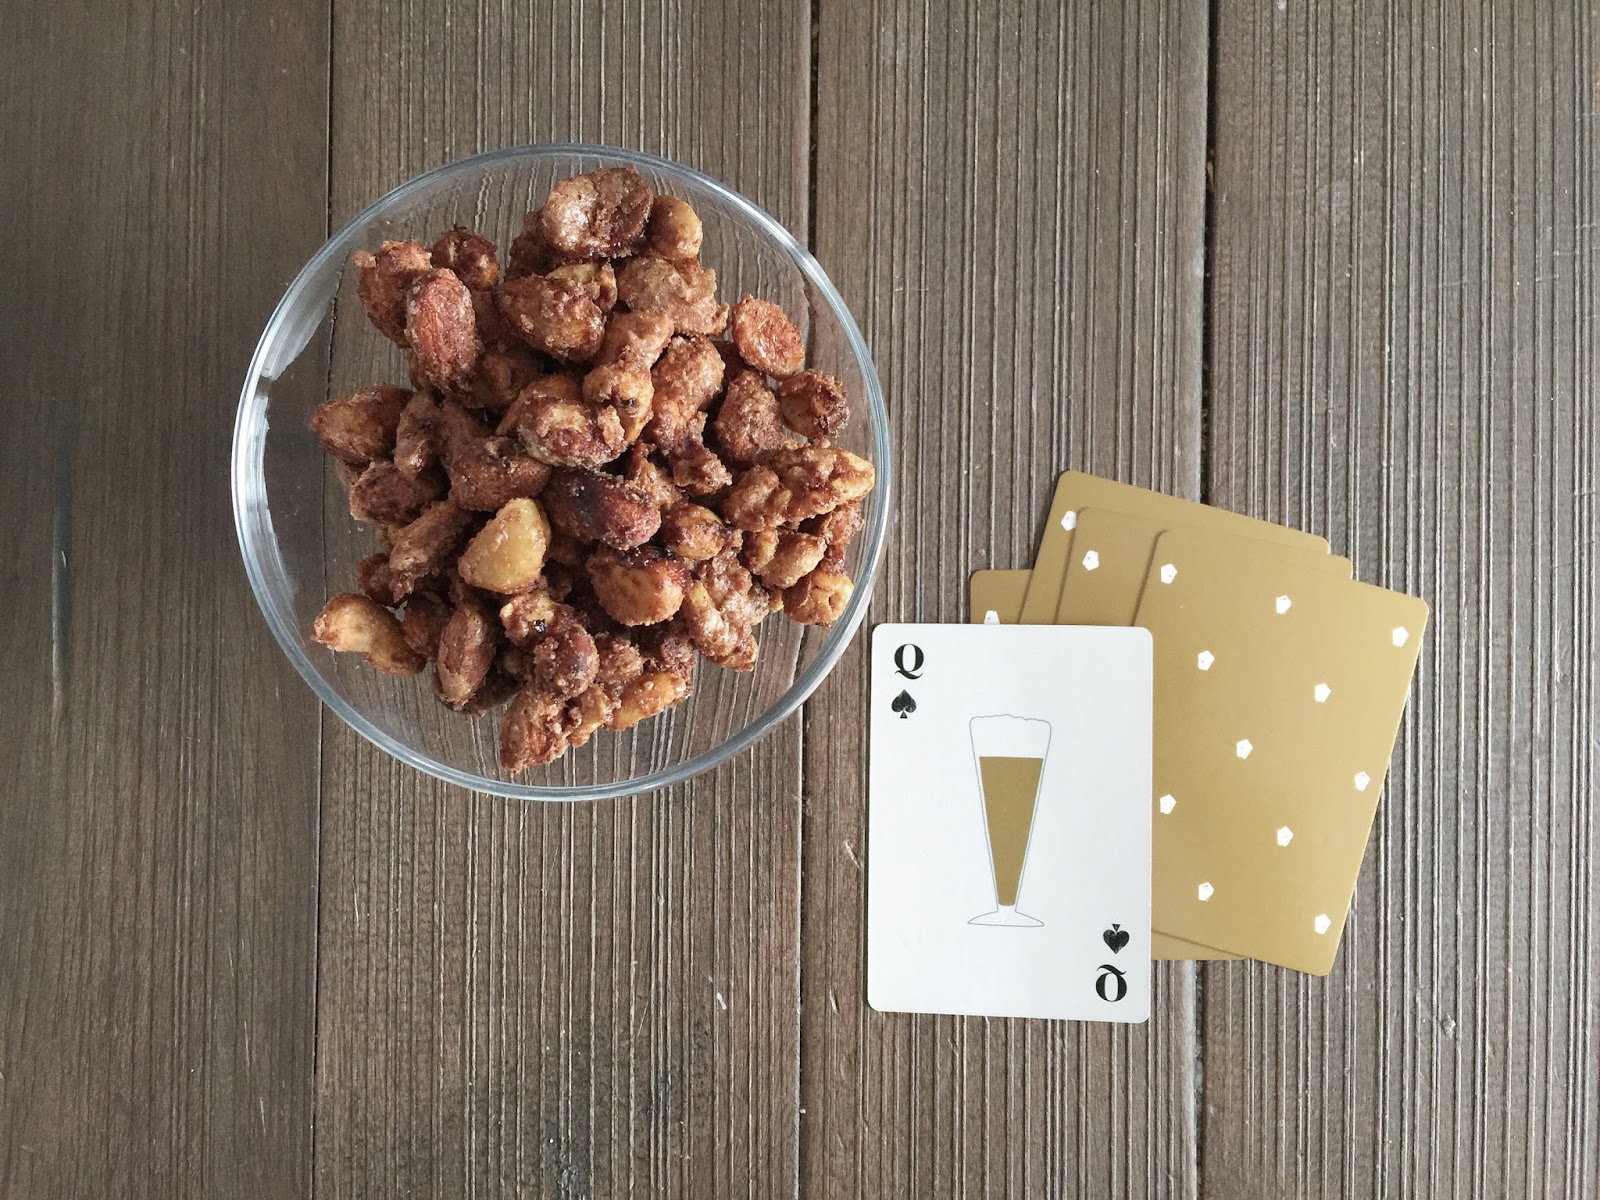
these are a timeless party hit: candied nuts. (hold the nut jokes kyla and grace!) this recipe is seriously soooooooo delicious. they take no time at all, you can make them days ahead of time, AND they make your house smell amazing. that's a win in all categories if you ask me. perfect yummy easy party fare.


C A N D I E D  N U T S

ingredients:

1 egg white
2 tablespoons water
2/3 cup sugar
1/3 cup brown sugar
2 teaspoons cinnamon
1/8 teaspoon cloves
3 cups nuts *


* pecans are a classic choice for candied nuts. my store didn't have pecans (apparently everyone in the world is making nut-based snack mixes this week), so i used 1 cup of almonds, 1 cup of mixed nuts (cashews, hazelnuts, peanuts), 1/2 cup walnuts, and 1/2 cup macadamia nuts. i really liked the variety in the end; even with the coating, the individual flavors of the nuts stood out.


directions:

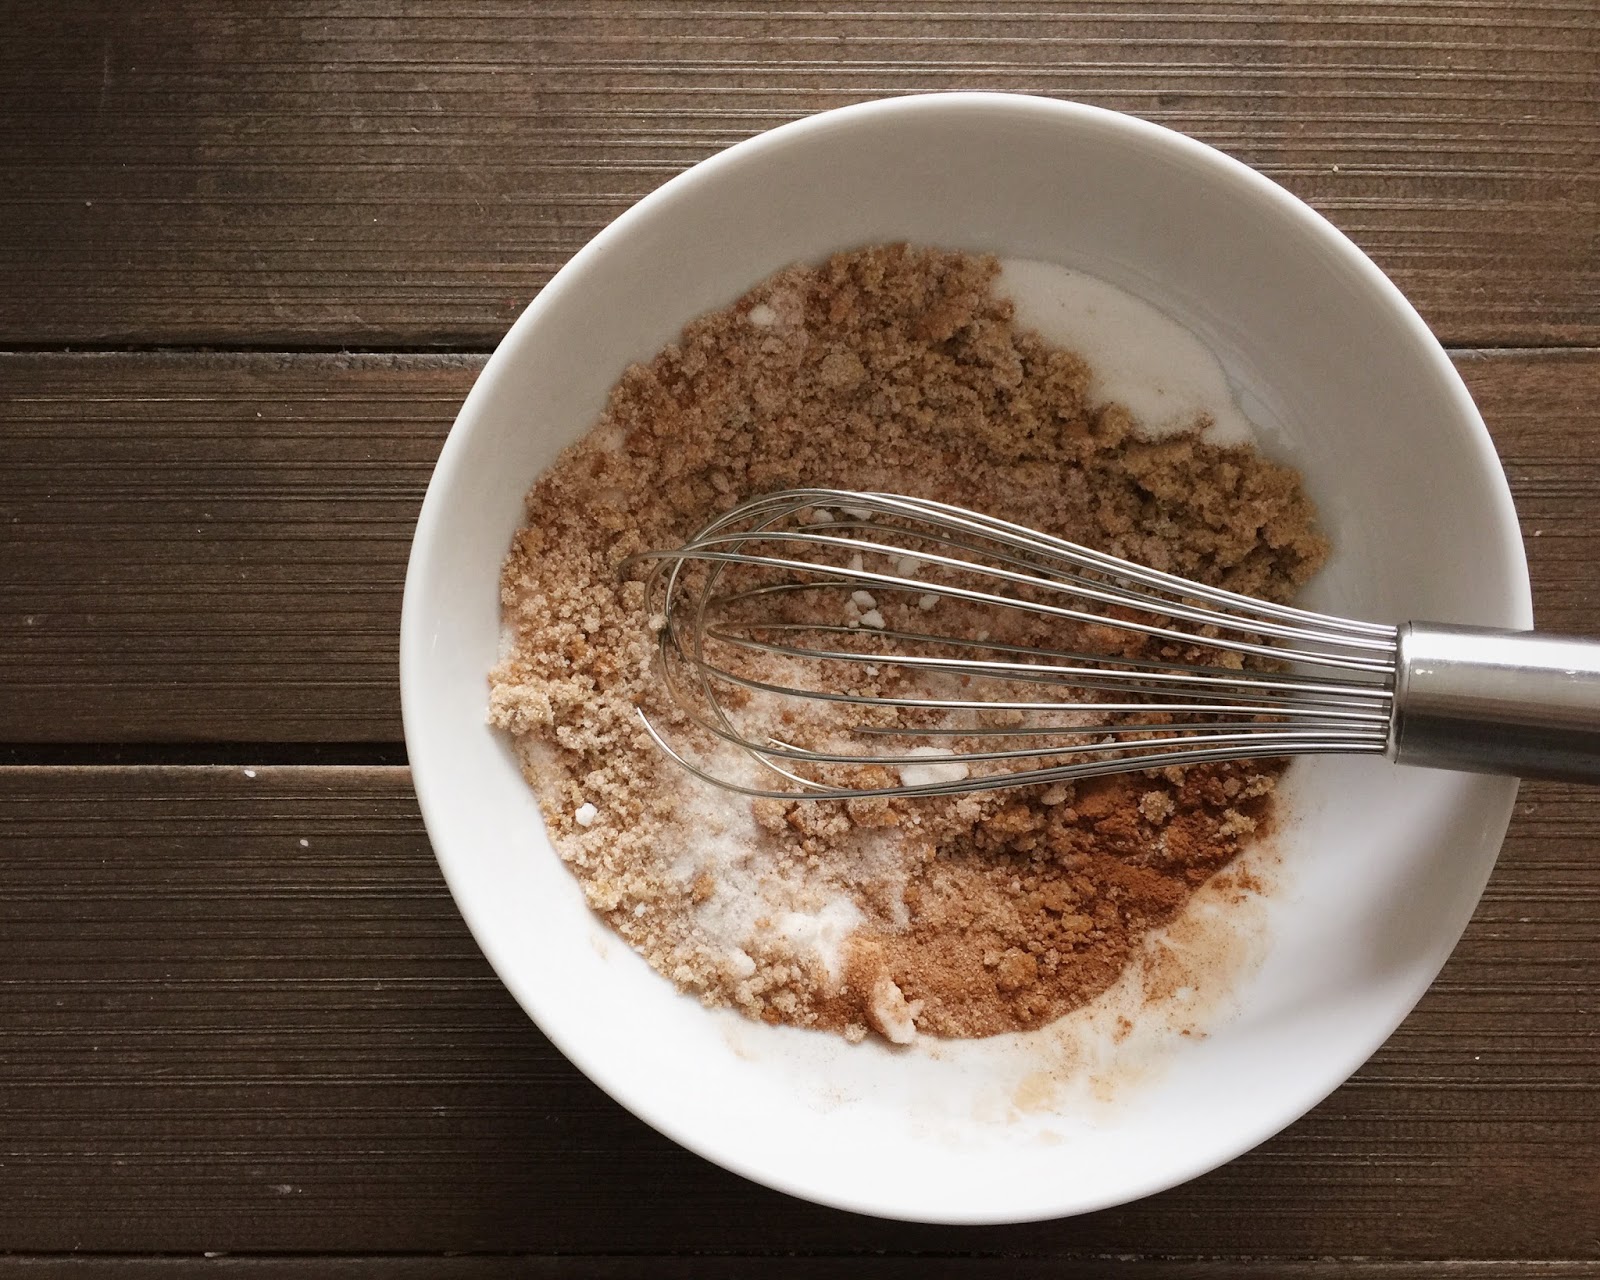
1. in a small mixing bowl, mix sugar, brown sugar, cinnamon and cloves until well blended. set aside.

2. whisk egg white with water until extremely frothy (i used the whisk attachment on the kitchenaid for at least a minute or two)

3. add nuts to the egg white mixture and stir until nuts are coated.

4. pour sugar mixture over nuts and stir until nuts are coated.

5. spread nuts on foil-lined cookie sheet and bake at 300 degrees for about 20 minutes.


tips:

do NOT burn these. it doesn't taste good.

make sure you line the pan; these stick big time.


notes:

recipe adapted from damn delicious and averie cooks
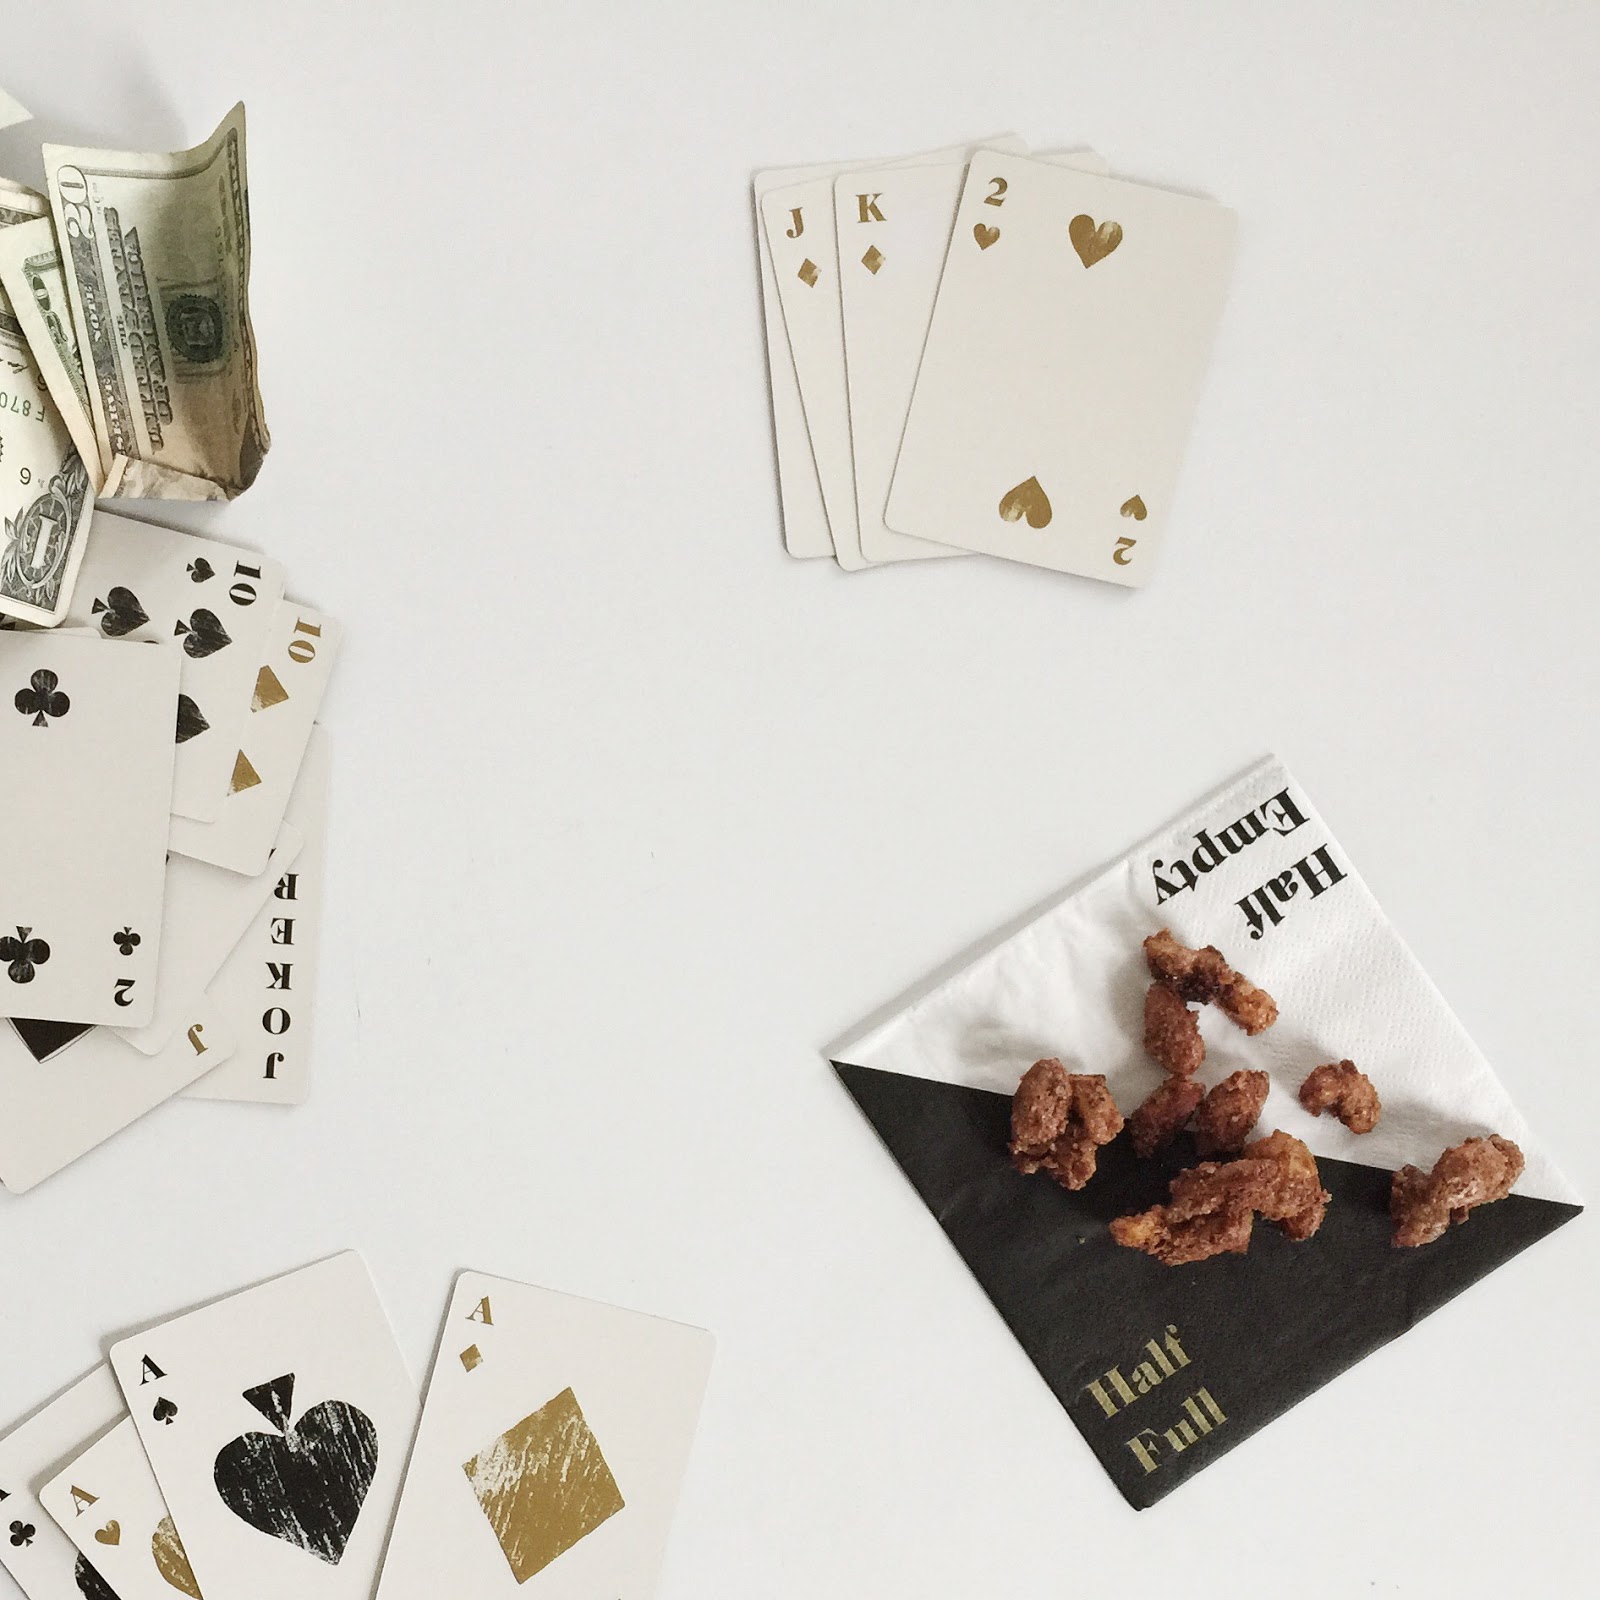
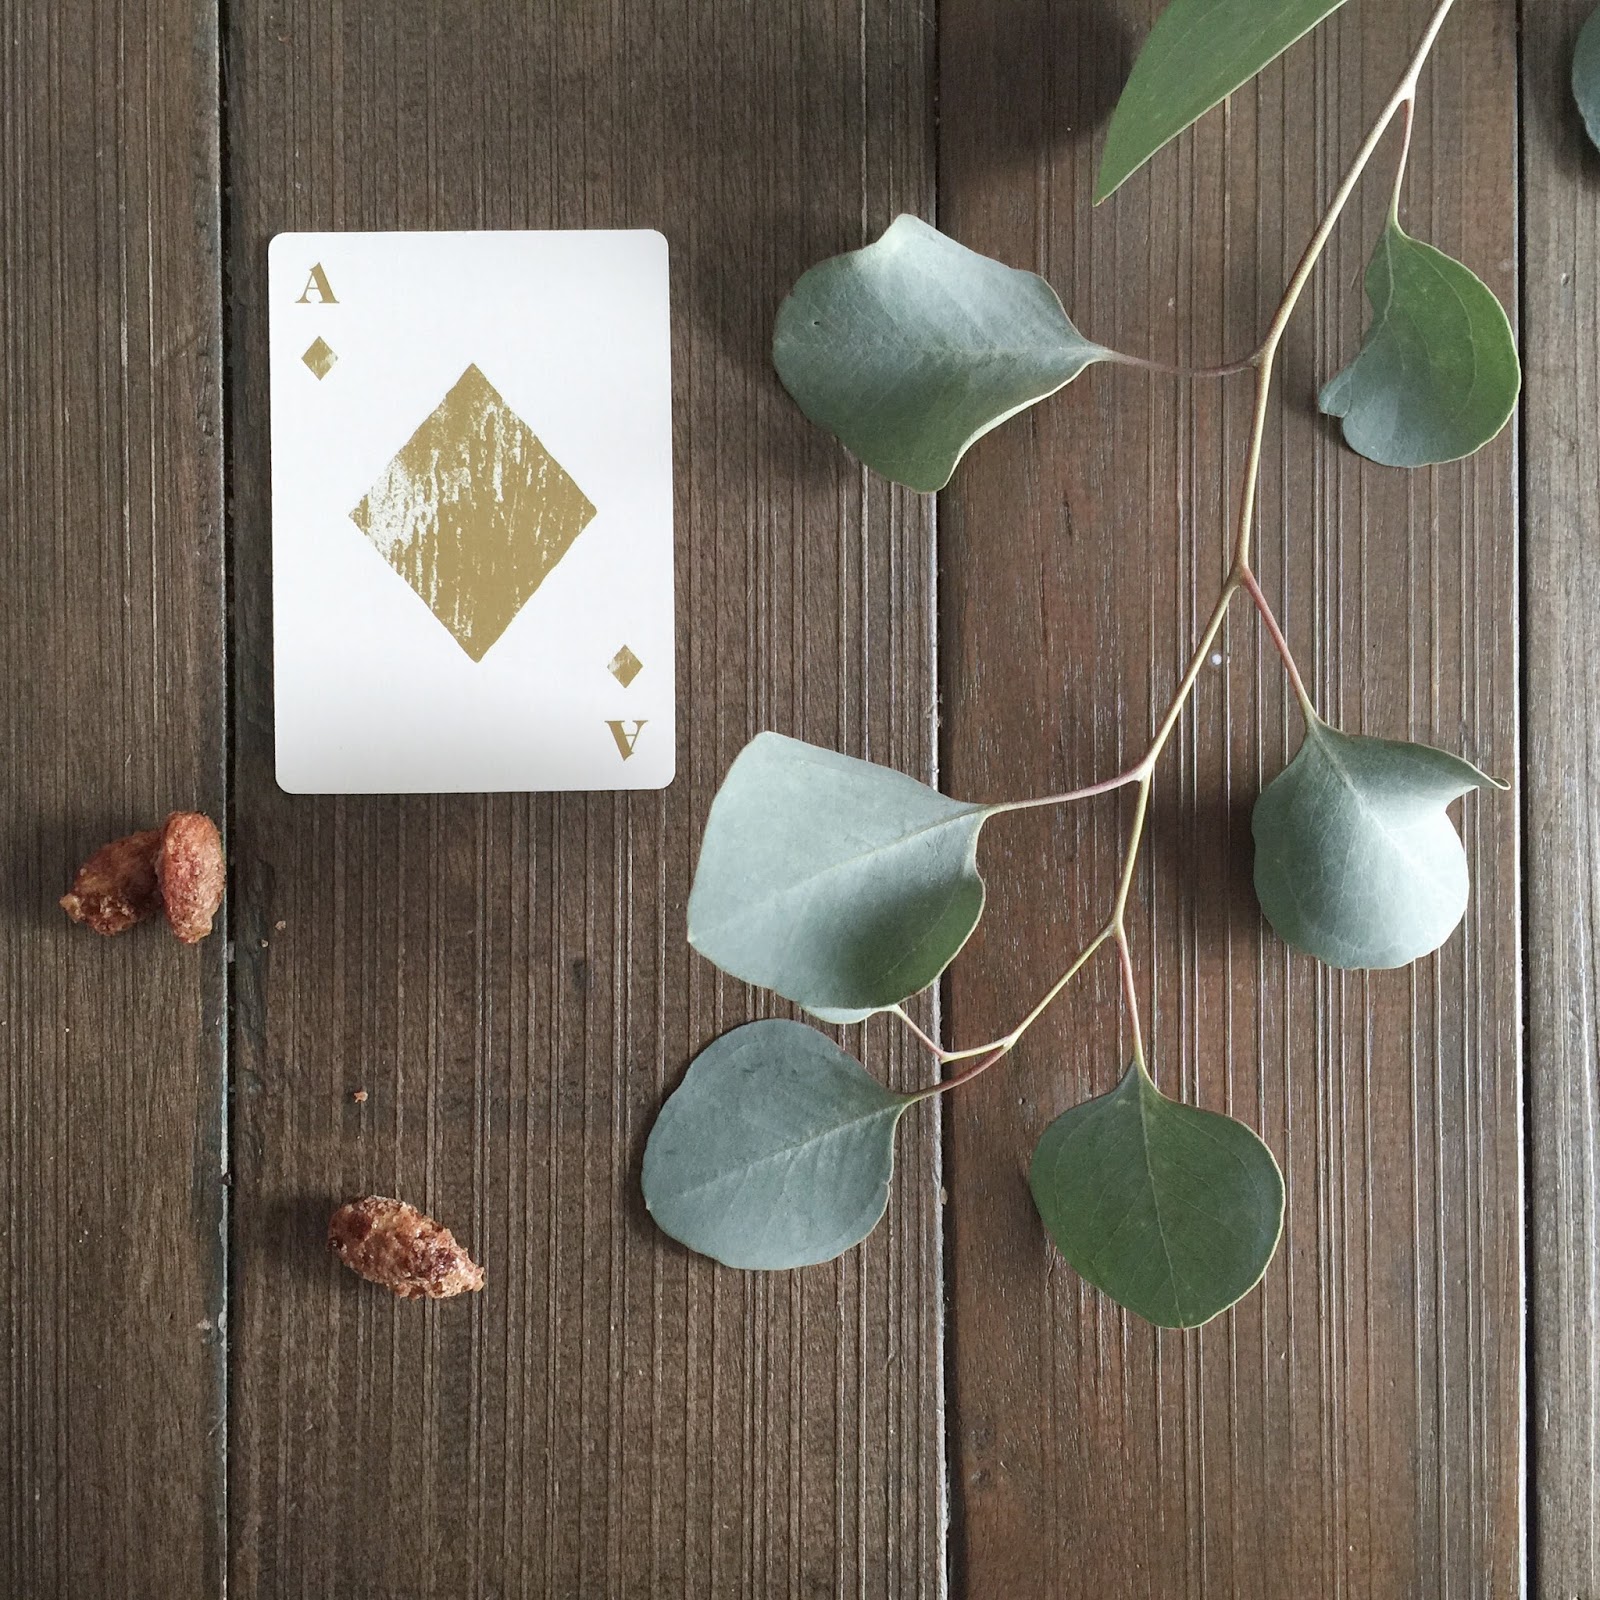

next up, the games:

now that you have something simple to nosh on, (sorry, do you hate that word? i love it. but i'm guessing it's one of those words that some people find grating on their soul), can't you just picture sitting back at a table full of friends, all of you looking fabulous, channeling the cool glamour of the 20's, playing cards? it's really the perfect, easy activity if standing around and staring at each other isn't your kind of new years. here are some of my favorites, and some that i'd love to learn:

C L A S S I C  C A R D  G A M E S

poker
euchre
hearts
gin
blackjack

M O D E R N  C A R D  G A M E S

nertz
werewolf
canasta

i'm personally a raging fan of euchre (yes i do have it on my phone and yes my husband and i do play it with just the two of us against "fake chris and katie" on occasion). but you just can't go wrong with any of the above classics. a bonus of a classic is that if the instructions for dummies are still lost on you, chances are at least one of your guests will know how to direct the crowd.

as for the more modern games, i used to play canasta with some dear california friends and it is an absolute blast. for this and any other game (like euchre) that require a small four-some of players, you can set up different tables and do tournament play.

nertz is one of the most fun games ev-er, and is perfect for a huge crowd. the more people you have the better and it ends up being like twister and solitaire combined (i know! the ultimate game)! be warned you'll need one complete deck of cards per party guest, and they all need to have different backs. if you go this route, have fun with it and find some crazy cards to send everyone home with as your party favor.


i'm so happy with how our party kit is coming along so far. i try to keep things realistic around here (for the most part!) and i really feel like this party is do-able for anyone in real life. are you inspired to try yet?? we have two more days to convince you!

and if you do end up using any or all of the things in this party kit, we would absolutely LOVE to hear about it. email us, tag us on instagram, tweet us, post pics (#wildwoodspeakeasy!!!)...stalk us in any and every way possible. it would make our day. if you've missed anything so far, catch up below. and i'll see you back here tomorrow for more!


Thursday, November 20, 2014

pumpkin cookies with cream cheese frosting


with fall and thanksgiving solidly here (and winter banging down their door), my brain naturally turns to the one thing that's arguably the best part of the season: pumpkin baked goods.

we have a tradition of getting together with friends on halloween for trick-or-treating with the kids and a big pot luck meal (which always involves lots of yummy soup). this year, my friend stephanie brought uh-mazing pumpkin cookies and i pretty much ate half the batch. i immediately told her i needed the recipe for the blog, and she sent me home with a few to stage and style. well, friends, i ate those before they could see the light of day or the camera's lens. aaaand so, i had to make them for myself. this is good news, however, because i can now attest that they are reproducible in a novice's kitchen.


steph got the recipe from allrecipes.com, and then gave me her tips and additions. first, head to this link to grab it:

pumpkin cookies with cream cheese frosting (the world's best)!

BUT then be sure to include stephanie's tips when you write it down. she is a master of baking. i followed her instructions exactly and they were per-fect. here is what she said (and i quote):

~ use an extra cup of flour for the dough

~ use an extra ounce of cream cheese AND at least a half cup extra powdered sugar for the frosting

~ use a piping bag and a star tip to pipe the frosting onto the cookies in a rosette pattern. the dough is soooo goey that it is hard to make them pretty. piping the frosting helps that i think. i never have patience for frosting with a knife!

if you've never used a piping tip to do this trick, check out this awesome video (with the cutest british lady ever) on how to pipe a rosette. i do them all the time so i can vouch they are ridiculously easy and the prettiness factor is huge for so little effort! 


enjoy!

Thursday, July 24, 2014

recipe: rhubarb cake


one of the best things about visiting my husband's family (among the many, many good things) is my mother-in-law's cooking. we're always trying to get her to stop making so much food, because we want to go easy on her, but in my heart i'm hoping she continues to get carried away forever. everything she makes is soooo good. (ahem! almond butter pancakes)!  she loves to use fresh organic ingredients which are half the time pulled from her own massive kitchen garden.

one of her specialties is rhubarb cake. i'd be lying if i said i didn't look forward to it when we head home every fourth of july. this year she made it for me twice. (i say "for me" because i'm pretty sure i ate three times more than anyone else). score. her homemade whipped cream with coconut sugar makes it even more amazing. and now that i'm home, i have a solid nine fourth-of-july pounds i need to start losing. hah, you think i exaggerate. no i do not.


// rhubarb cake with coconut sugar whipped cream //


ingredients:

cake:

1-1/2 cups brown sugar
1 stick of butter
1 egg
1 teaspoon vanilla
1 cup sour milk or buttermilk
1 teaspoon baking soda
2 cups flour
2 cups chopped rhubarb

topping:

1/2 cup sugar
1 teaspoon cinnamon

whipped cream (optional):

coconut sugar (to taste)
heavy whipping cream


preparation:

1. mix together brown sugar, butter, egg and vanilla.

2. mix together (in separate bowl) sour milk or buttermilk, baking soda, and flour.

3. combine ingredients. fold in rhubarb.

4. pour batter into 9 x 13 pan.

5. mix cinnamon and sugar together.

6. sprinkle cinnamon and sugar on top of cake before baking.

7. bake at 350 degrees for 35-40 minutes until deep golden brown.

just before serving:

pour heavy whipping cream into a kitchenaid and beat on high (or beat with a hand mixer). add coconut sugar as you mix until desired sweetness is achieved. whipped cream is done when it is thick and fluffy. (you know, like, the consistency of whipped cream). serve a dollop on top of each piece of cake.


this is what rhubarb looks like in its plant form. the hot pink stalks are the part you chop up for the cake. the football hanging out among the leaves is how you can tell this is a grandma's garden.


isn't my in-laws kitchen garden idyllic? just outside this shot their grandsons are lovingly watering these plants with their squirt guns. (actually they're trying to decimate an ant hill).

you may be wondering why i have no photos of the actual cake. well, i was too busy eating it to take any. and i'm not going to make it anytime soon (reference the part above about me needing to lose nine pounds), so you'll just have to trust me and go for it.

and if you want enough to go around for your guests, be sure to keep it out of sight of your daughter-in-law.


Thursday, June 19, 2014

yummy muffins and the mom side of me


a few years ago, i had the privilege of attending entrusted with a child's heart, a practical parenting course developed by betsy corning, founder of entrusted ministries. i would recommend it to anyone newly wading into the murky waters of parenthood; her guidance has helped me in countless ways as i seek to raise up my precious little ones in the way they should go.

fast forward and through a series of party run-ins thanks to a mutual darling (acquaintance is not a strong enough word), betsy and i found we shared an affinity for the creative whimsy that makes life with kids all the more fun.

i could not have been more surprised or flattered when she asked me to become a regular contributor to the entrusted ministry blog. her website is filled with resources to help moms in the most important of our jobs, and to help us have fun along the way.

here are some pictures from a recent recipe post i did. these muffins are my go-to way to sneak vegetables past picky palettes and into hungry tummies.


go here for the super yummy recipe. i know you'll love them. (and for more of the mom side of me, you can find all of my entrusted posts here). more importantly, stay awhile and visit with betsy. she's got mom help of the highest calliber. and anyone with little ones knows we need more of that!

Friday, May 23, 2014

recipe: almond berry scones


you guys, i am so excited right now. allow me to introduce my first regular guest contributor to avery street design blog (drum roll please): pastry chef bethany moser!

since beginning this blog two things have become obvious to me: 1) desserts may be my love language, and 2) i need someone to teach me how to make more of them.

it just so happens that bethany, who is my darling cousin, is also a professional pastry chef for maggianos (drool). and after seeing time and again the incredible baked goods she posts to facebook, i knew she needed to write for me.

i was thrilled when she agreed to come on board and share her recipes, tips and expertise with us, and her first post looks so delectable, i am headed out to buy the ingredients NOW. these almond berry scones will be the perfect lazy saturday morning treat this weekend. enjoy!

// //

Hi!

My name is Bethany and I am a foodie! So here I am to share - with YOU - one of my favorite scone recipes that I've created!


- EQUIPMENT -

^ Before anything, collect the following pieces of equipment (the mise en place bowls are optional):


^ Pre-heat the oven to 400 degrees

- INGREDIENTS -


- 1 cup all-purpose flour + more for dusting
- 3/4 cup whole wheat flour
- 1 tablespoon baking powder
- 1/4 teaspoon salt
- 2 tablespoons brown sugar
- 8 tablespoons cold unsalted butter, cut into 1/2” pieces

^ Combine in your medium bowl the all-purpose flour, wheat flour, baking powder, salt, and brown sugar - mix together these dry ingredients.
^ Next add the cold butter pieces and using a pastry cutter blend the butter into the flour mixture until the butter pieces are the size of large peas.


- 1 large egg
- 1/3 cup cold heavy cream
- 1/4 cup cold whole milk
- 1/4 teaspoon pure almond extract (Nielsen Massey Pure Almond is the best)
^ Mix together the egg, heavy cream, whole milk, and pure almond extract - till the egg is blended well.
^ Add the liquid mixture into the dry mixture and mix with a spoon until just barely blended.


- 1 cup toasted sliced almonds
- 1/2 cup fresh blueberries (or frozen)
- 1/2 cup black berries (or frozen)

^ Toss together the toasted sliced almonds, blueberries, and blackberries into the dough.

^ (This next part is very important - it is a 6-step process that layers the cold butter so that the scones will puff up beautifully!) *


1) pour the dough onto a lightly flour dusted surface & pat out the dough
2) gently fold the dough over half
3) fold the dough over half once more
4) pat out the dough into an 8” circle (about 1” thick)
5) take your sharp bench scrapper and cut the dough into 8 pieces
6) 8 even pieces!


^ Spread the scones out on a wax paper lined cookie tray.


^ Bake the scones for 15-20 minutes, till the scones begin to slightly turn brown.

^ ENJOY the scones warm with your favorite hot beverage!


- OPTIONAL: Amaretto Glaze -

- 1/2 cup amaretto
- 1 cup confectioners sugar
^ Whisk together these two ingredients and drizzle over the cooled scones

^ Top with toasted sliced almonds.


* Hot Point:
It is important to keep the butter cold from cutting into the flour to putting the scones into the oven. The picture below shows the difference of two scones - one baked with cold butter (on the left) and the other scone baked with warm butter (on the right).


I hope you enjoy!

TaTa!

Bethany

// //

well, if you aren't hungry now, there is something very, very wrong with you. (or you just ate a mcdonald's value meal). either way, i hope you'll join me in whipping these up this weekend. bethany and i would love to hear how they turn out for you!

Thursday, April 10, 2014

recipe: chocolate fudge cake


i'm not normally one for posting recipes, but i thought it would be fun to share the amazing chocolate cake i ended up making for my birthday this year. (yes, i usually make my own cake, because i do it better than the other four in my family. and yes, i had two cakes, the latter being from portillo's, because its awesome and one cake is just not enough).

my mom has been making this recipe for as long as i can remember, and i've tweaked it a bit (by adding things like whole wheat flour to make it more "healthy." as if).


// chocolate fudge birthday cake //

ingredients:

(quick note, i doubled this recipe to make the cake in the pictures above)

1 cup whole wheat flour
3/4 cup plain greek yogurt
1/2 cup softened butter
1/4 cup cocoa powder
1/2 teaspoon baking soda
1/2 teaspoon baking powder
1/2 teaspoon vanilla
1/4 teaspoon salt
1 egg

(i also added 1/2 cup of semi-sweet chocolate chips, because i wasn't going to use my mom's fudge topping-- keep reading for that).

directions:

1. preheat oven to 350 degrees.

2. grease, line with wax paper, grease again and flour (1) 9" cake pan

(to create the cake pictured i doubled the recipe and used (2) 6" and (2) 4" pans. i also used a little trick from martha stewart: use cocoa powder instead of flour on the pans - it will blend in with the color of the cake).

3. beat all ingredients in large bowl on low speed until combined.

4. pour into pan, and bake 30 or so minutes.

(try really hard not to overbake it, because it will get dry).

5. cool cake in pan 10 minutes, then invert on rack. cool completely before frosting.

because i was dead set on a mint green cake this year, i used a basic buttercream frosting dyed with americolor's soft gel paste food color in avocado. ($1.99 at hobby lobby and it was the perfect color- no mixing!)


however. the way my mom always makes this cake, and it's admittedly the best way, is with a gooey, dripping fudge topping laced with macadamia nuts. it's a must-try.

// chocolate macadamia topping //

ingredients:

1 cup heavy cream
1/2 cup sugar
2 tablespoons butter
1 tablespoon corn syrup
4 squares semi-sweet chocolate
1 teaspoon vanilla
7 ounce jar whole macadamia nuts

directions:

1. heat heavy cream, sugar, butter, corn syrup and chocolate in saucepan over medium-high heat until boiling, stirring constantly.

2. reduce heat to medium, cook and stir 5 more minutes.

3. remove from heat, stir in vanilla.

4. cool about 10 minutes, stir in macadamia nuts.

5. pour over your fully cooled cake.

it will run down the sides, pool around the edges, firm up eventually, and thoroughly delight your tastebuds.

{this picture is from the last time my mom & i made this cake together}

the rest of the gorgeous pictures above were taken by my wonderful friend, ellen swalley of red sweater photography. and yes, we totally ate it immediately after the shoot. which is why i ended up needing a second cake from portillos.

 {travis hickox took this picture of the portillos cake}


{and ellen caught me eating. seriously, we were done shooting and i went behind the counter to eat cake. so much for styling a profile picture. chocolate cake is good to you like that.}

now that you have a serious craving for chocolate and you're looking for a pen to write this recipe out, go grab these delicious (and free!) printable recipe cards from lauren at a fabulous fete. cuz yummy cake needs yummy paper. ok, the end.

 
Blogging tips